Physical Address
304 North Cardinal St.
Dorchester Center, MA 02124
Physical Address
304 North Cardinal St.
Dorchester Center, MA 02124

Master these 9 essential tent waterproofing techniques to prevent your camping trip from becoming a wet disaster.
Nothing ruins a camping adventure faster than water turning your cozy shelter into a soggy nightmare. You’ve invested in quality gear, but even the best tents need proper waterproofing maintenance to keep you dry when nature releases its fury. From sealing seams to strategic campsite selection, there’s more to staying dry than simply pitching your tent and hoping for the best. These nine essential techniques will transform your approach to weather protection and guarantee you’re prepared for whatever storms roll in.
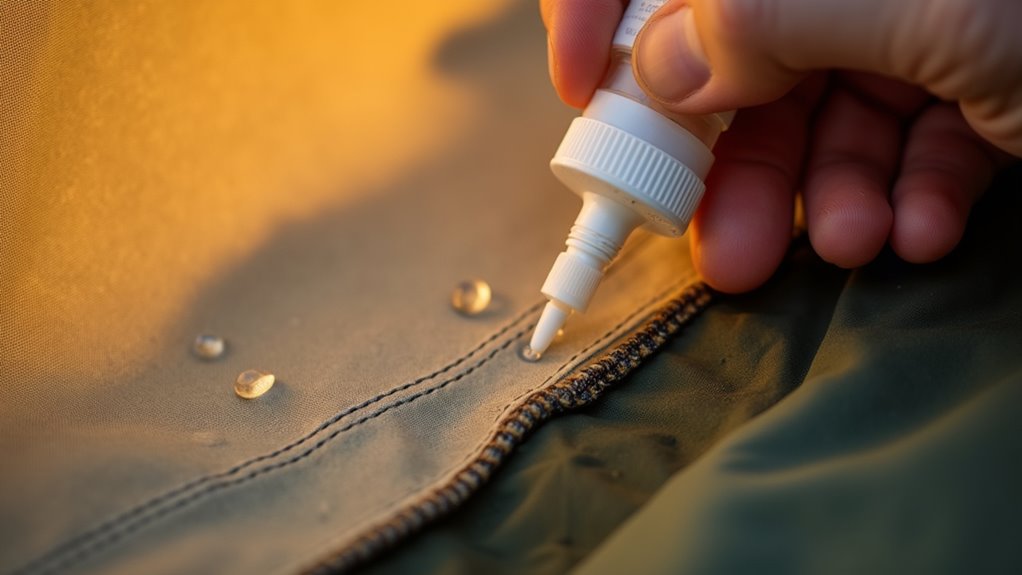
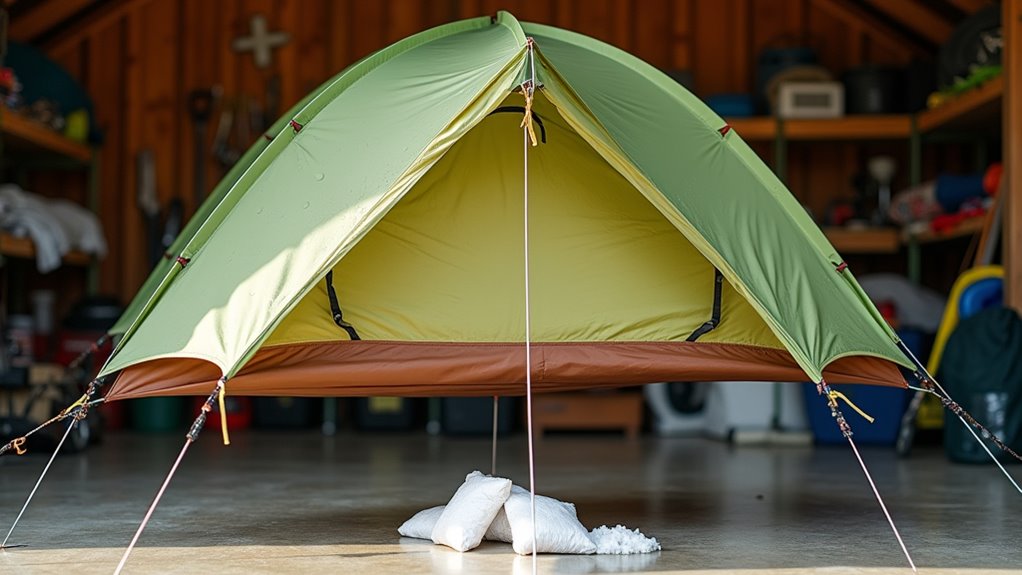
Before you pack your brand-new tent for that enthusiastic anticipated camping trip, you’ll need to seal every seam to prevent water from sneaking through the needle holes created during manufacturing.
Purchase a quality seam sealer designed specifically for your tent’s fabric type.
Match your seam sealer to your tent’s specific fabric material for optimal waterproofing performance and adhesion.
Set up your tent in a well-ventilated area and clean the seams with rubbing alcohol first.
Apply the sealer evenly along each seam using the applicator brush, working from inside the tent.
Pay special attention to stress points like corners and guy-line attachment areas.
Don’t forget the floor seams, which face the most moisture.
Allow the sealer to cure completely—typically 24 hours—before packing your tent.
This simple step prevents soggy surprises during rainstorms.
While tent waterproofing is crucial for traditional camping, consider that an RV vacation eliminates weather concerns entirely and might be worth exploring for your next family adventure.
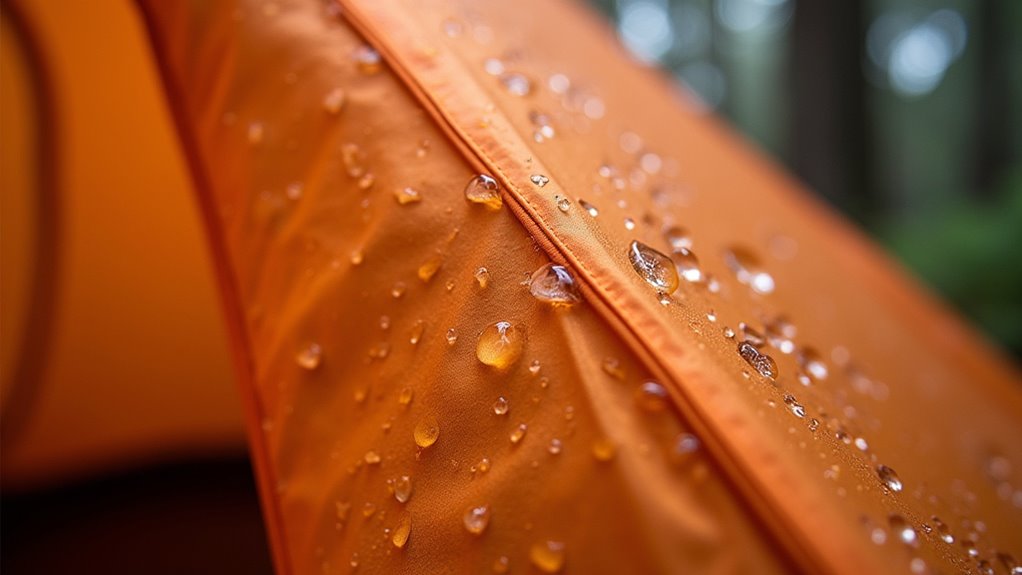
Even though your tent’s rainfly came with factory waterproofing, that protective coating gradually wears away with exposure to UV rays, dirt, and repeated packing. You’ll need to refresh it periodically to maintain the best water protection.
Before applying new coating, clean your rainfly thoroughly and let it dry completely.
Choose a spray-on or wash-in waterproofing product specifically designed for tent fabrics. Here’s how to apply it effectively:
Test the effectiveness by sprinkling water on the treated surface—it should bead up and roll off easily. For additional water management at your campsite, consider bringing a camping sink to handle washing dishes and other water-related tasks efficiently.
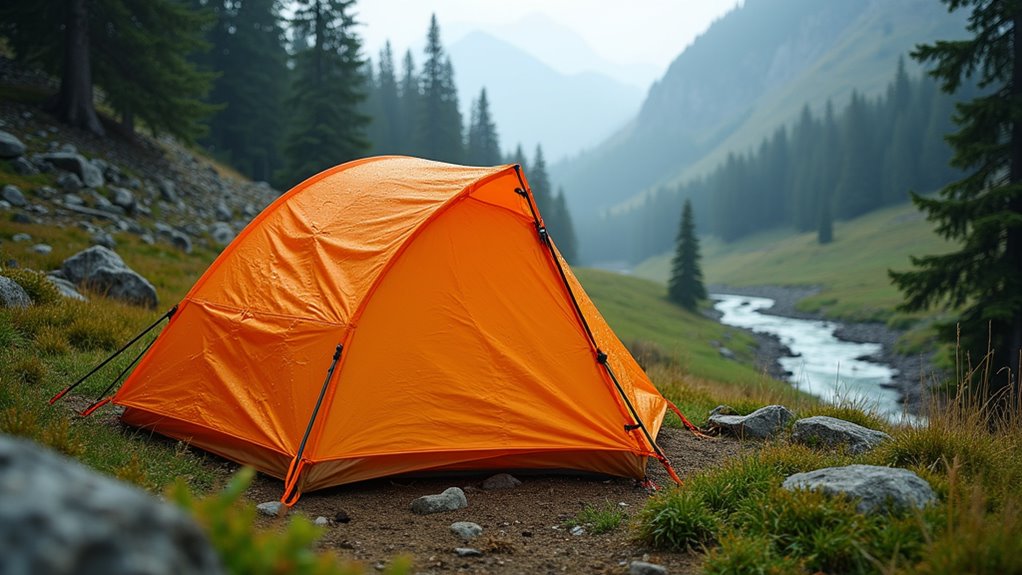
While waterproofing treatments protect your tent’s fabric, you’ll dramatically reduce water intrusion by selecting the right spot to pitch your shelter. Look for naturally elevated ground that slopes gently away from your tent site—this prevents water from pooling underneath your floor. Avoid camping in valleys, depressions, or natural drainage channels where rainwater collects during storms.
Choose areas with natural windbreaks like trees or rock formations, but don’t pitch directly under large branches that could break or create heavy drip zones. Test the ground by pressing down with your foot—soft, spongy earth indicates poor drainage. Rocky or sandy soil typically drains better than clay.
If possible, position your tent’s entrance away from prevailing winds to minimize rain blowing inside when you’re entering or exiting. When camping in mountainous regions like the Andes mountains, these drainage considerations become even more critical due to unpredictable weather patterns and rapid elevation changes.
A properly tensioned tent sheds water like a well-designed roof, but a saggy setup creates pockets where rain collects and eventually seeps through. You’ll want to pull your tent fabric taut without overdoing it—too much tension can stress seams and zippers.
When setting up, focus on these key adjustments:
Walk around your tent after setup, looking for loose spots or areas where water might pool. These simple adjustments make the difference between staying dry and dealing with leaks. Different tent types have varying setup requirements, so understanding your specific tent design will help you achieve optimal water-shedding performance.
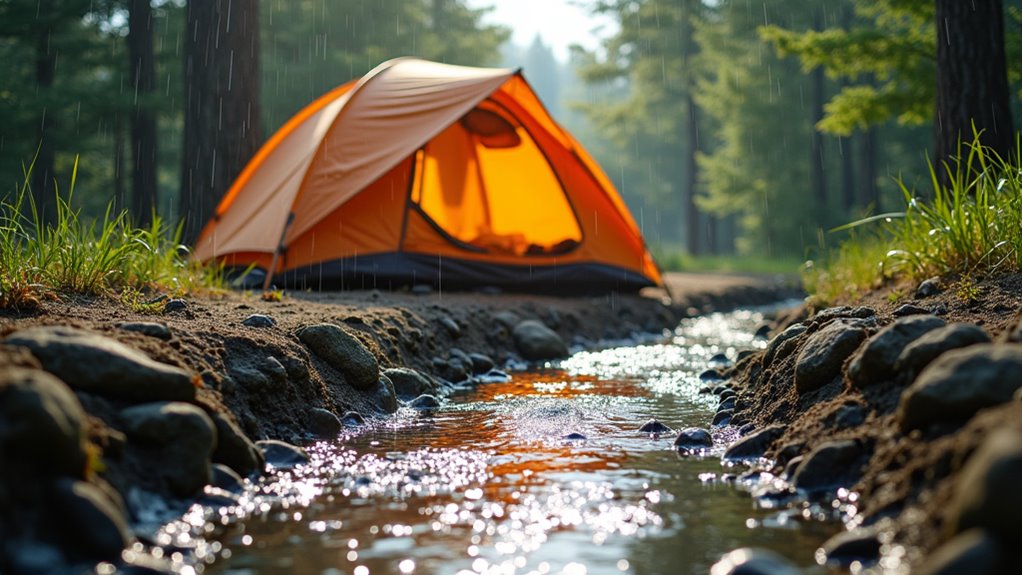
Though your tent might be perfectly waterproof, you’ll still wake up in a puddle if rainwater has nowhere to go once it hits the ground. Creating proper drainage prevents water from pooling under your tent floor.
First, choose a slightly sloped campsite where water naturally flows away. If you’re stuck with flat ground, dig shallow channels around your tent’s perimeter using a stick or camp shovel. These trenches should direct water downhill and away from your sleeping area.
Never camp in natural drainage areas like creek beds or depressions where water collects. Even dry washes can become dangerous torrents during storms.
Position your tent so its longest side faces uphill, allowing rain to flow around rather than directly into your setup.
Even if you’ve mastered tent drainage, sharp rocks, thorns, and rough ground can still puncture your tent floor and create unwanted leaks. A footprint or groundsheet acts as your tent’s first line of defense against these hazards.
Choose materials that’ll protect without adding bulk:
Size your groundsheet slightly smaller than your tent’s floor to prevent water pooling underneath. You’ll extend your tent’s lifespan while keeping moisture from seeping through micro-tears you can’t see. Remember that responsible camping includes protecting both your gear and the natural environment where you pitch your tent.
While you’re sleeping, your body releases moisture through breathing and perspiration, and this trapped humidity quickly transforms into condensation on your tent’s inner walls.
You’ll want to keep your tent’s vents open even during light rain – modern tent designs channel airflow without letting water in. Position your tent to catch cross-breezes when possible, and avoid setting up in low-lying areas where moisture collects.
If your tent has a vestibule, cook there instead of inside the main compartment to prevent steam buildup. Keep wet gear in the vestibule too.
Don’t zip everything completely shut; leave small gaps for air circulation. These simple ventilation practices prevent that clammy, dripping interior that makes waterproofing efforts pointless.
When choosing your campsite location, practice basic navigation skills to find elevated spots with good drainage and natural wind protection that won’t trap moisture around your tent.
Since tiny punctures and tears spread rapidly under stress, you’ll need to catch and fix them before your next camping trip turns soggy. Regular inspection prevents minor damage from becoming major headaches.
A stitch in time saves nine—catch tent damage early before minor tears become major camping disasters.
Check your tent thoroughly after each use, paying special attention to high-stress areas like seams, corners, and guy-out points. Look for pinhole punctures from thorns, rocks, or tent stakes.
For quick repairs, keep these essentials in your repair kit:
Address problems immediately rather than postponing repairs, as water damage spreads quickly once it starts. Whether you’re planning fly fishing adventures or general camping, a well-maintained waterproof tent ensures you stay dry in any weather conditions.
Proper storage protects your tent’s waterproof coating and extends its lifespan considerably. You’ll want to clean your tent thoroughly before packing it away, removing dirt, sap, and debris that can degrade waterproof treatments over time. Make sure it’s completely dry – even slight moisture can cause mildew and fabric deterioration during storage.
Don’t stuff your tent into its compression sack for long-term storage. Instead, hang it loosely in a closet or store it in a larger breathable bag. The constant compression weakens fabric fibers and coating.
Keep it away from extreme temperatures, direct sunlight, and chemicals like cleaning supplies.
Check on your stored tent periodically, unfolding it occasionally to prevent permanent creases that compromise waterproofing where fabric repeatedly bends.
Following these storage practices is especially crucial for tent camping beginners who may not realize how improper storage can quickly ruin their gear investment.
You’ve now got a complete arsenal to keep your tent bone-dry in any weather. Think of waterproofing as building a fortress—every sealed seam, proper setup angle, and strategic campsite choice adds another layer of protection. Don’t let a small tear become tomorrow’s flood; address issues immediately and maintain your gear religiously. With these nine strategies in your back pocket, you’ll stay comfortable and dry no matter what Mother Nature throws your way.