Physical Address
304 North Cardinal St.
Dorchester Center, MA 02124
Physical Address
304 North Cardinal St.
Dorchester Center, MA 02124

Bypass costly spring repairs by learning the essential winterization steps that could save you thousands in RV damage.
You’ve probably heard horror stories about RVs that weren’t properly winterized – burst pipes, cracked tanks, and thousands in repair bills come spring. I learned this lesson the hard way during my second year of RV ownership when I thought I could skip a few steps. Don’t make my mistake. Proper winter storage isn’t just about parking your rig and walking away; it’s about protecting your investment through a systematic approach that’ll save you both money and headaches.
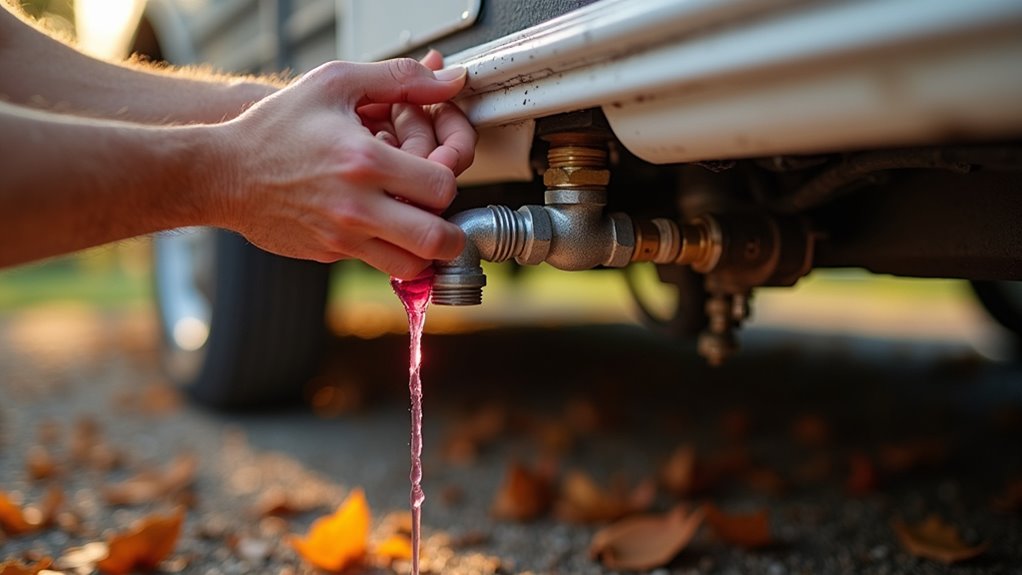
Before you park your RV for the season, you’ll need to tackle one of winter storage’s most critical tasks: protecting your water systems from freeze damage. Start by draining your fresh water tank completely, then open all faucets and flush the toilet to empty the lines. Don’t forget the water heater – turn off the power and drain it too.
Next, you’ll want to blow out remaining water using compressed air or add RV antifreeze to your system. I learned this lesson the hard way after finding burst pipes one spring. Pour antifreeze into drains and the toilet bowl to protect your P-traps.
Finally, bypass your water heater before adding antifreeze to prevent contaminating it unnecessarily. While winterizing your RV, consider updating your first aid kit to ensure you’re prepared for any emergencies during your spring camping adventures.
While protecting your water systems keeps pipes from bursting, your RV’s engine and generator need equal attention to start reliably come spring. Change your engine oil and filter before storage—old oil contains contaminants that’ll corrode internal parts during months of inactivity.
Fresh oil and filters before winter storage prevent corrosive contaminants from damaging your RV’s engine during months of inactivity.
Top off your fuel tank and add stabilizer to prevent fuel degradation and gum buildup.
For your generator, run it monthly for 30 minutes under load. I learned this lesson the hard way when my generator wouldn’t start after three months of neglect, costing me $400 in repairs.
If monthly runs aren’t possible, drain the carburetor completely or use fuel stabilizer.
Don’t forget to disconnect your RV’s battery and store it somewhere warm, checking voltage monthly.
If you’re considering different recreational options for future adventures, weigh whether renting or buying makes more financial sense for your specific usage patterns.
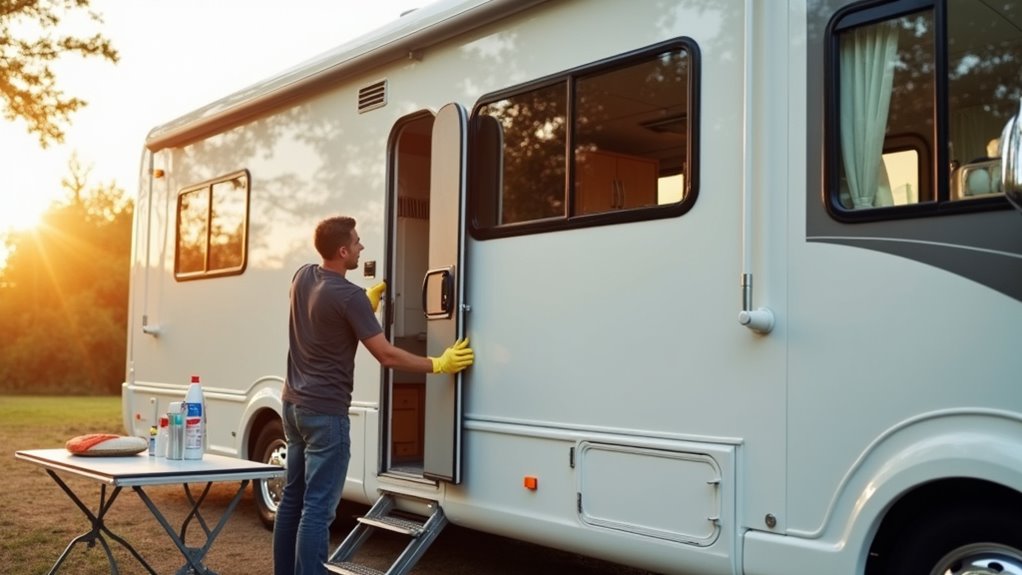
Just as your engine needs fresh oil, your RV’s surfaces need thorough cleaning to prevent mold, mildew, and pest infestations during storage. Start inside by vacuuming carpets, wiping down all surfaces with disinfectant, and cleaning the refrigerator thoroughly. Don’t forget to sanitize the bathroom and empty all trash bins.
I learned this lesson the hard way when I found a mouse family had made themselves comfortable in my poorly cleaned RV one spring. Now I always vacuum every crevice and wipe down cabinets with bleach solution.
Outside, wash and wax your RV’s exterior, clean the awning, and scrub the roof. Remove any food residue that might attract pests.
A clean RV deters unwanted guests and emerges from storage ready for adventure.
Even after you’ve cleaned every surface, determined critters can still find their way into your RV through surprisingly small openings. I learned this lesson when mice turned my stored RV’s pantry into their personal buffet over one winter.
Start by sealing entry points with steel wool – rodents can’t chew through it. Check around plumbing, electrical connections, and slide-out mechanisms.
Place mothballs or dryer sheets in cabinets, though I’ve found peppermint oil-soaked cotton balls work better and smell nicer.
Remove all food, including pet treats and birdseed. Don’t forget that forgotten granola bar in your glove compartment.
Set snap traps as backup – poison creates smelly surprises you’ll discover come spring.
Finally, prop cabinet doors open to eliminate dark hiding spots rodents love.
Once spring arrives and you’re ready to venture out again, consider how outdoor camping can reconnect you with nature after months of indoor living.
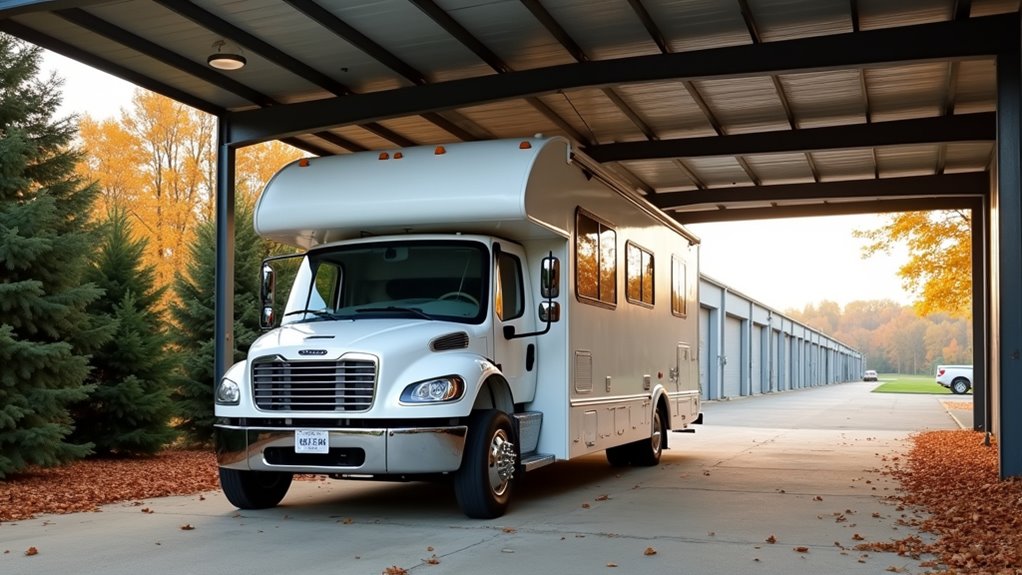
After securing your RV against unwanted guests, your next essential decision involves where you’ll park it for the winter months. You’ve got three main options: indoor storage, covered outdoor storage, or your own property.
Indoor storage offers the best protection but costs the most. I’ve seen RVs emerge from heated facilities looking brand new after harsh winters.
Covered outdoor storage provides decent weather protection at moderate cost, while storing on your property saves money but requires more preparation work.
Consider accessibility too. You’ll want occasional access for maintenance checks. Remote storage facilities might offer security but limit your ability to monitor your investment.
If storing at home, ensure adequate drainage and level ground to prevent structural stress during freeze-thaw cycles.
Making the right storage choice now helps you avoid costly RV buying mistakes when you’re ready to upgrade or replace your current vehicle down the road.
Why leave your RV exposed to winter’s harsh elements when proper covering and securing can prevent thousands in damage? I learned this lesson the hard way after finding my uncovered RV’s roof damaged by ice and debris one spring.
Here’s how you’ll protect your investment:
When spring arrives and you’re ready to take your RV out of storage, you’ll have the perfect opportunity to plan camping activities that will make your next family adventure memorable.
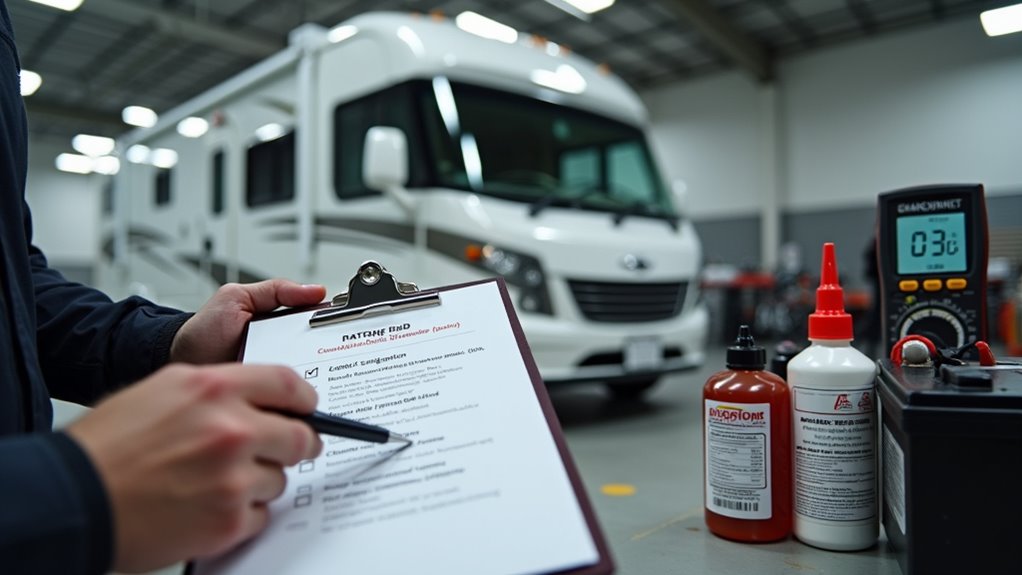
Before you lock up and walk away from your properly covered RV, take thirty minutes to complete a thorough maintenance inspection and create a storage record. Walk around your RV with a notepad, documenting anything you notice—loose trim, small scratches, or maintenance items to address come spring.
I learned this lesson after discovering a small roof leak that could’ve been prevented with a simple fall inspection.
Check tire pressure one final time and note the readings. Test your battery disconnect switch and ensure all windows are securely latched. Take photos of your RV’s condition from multiple angles.
Create a simple checklist noting what winterization steps you’ve completed, when you performed them, and any supplies you’ll need for spring startup. You’ll thank yourself later. Also inspect any camping gear stored inside your RV for signs of moisture damage, as mildew prevention during winter storage will save you from costly replacements in spring.
You’ve crossed every T and dotted every I—your RV’s now ready to hibernate like a bear through winter’s harsh bite. While it sleeps peacefully under its protective cover, you’ll rest easy knowing you’ve prevented costly freeze damage and pest invasions. Come spring, you’ll thank yourself when your home-on-wheels fires up effortlessly, ready for new adventures. Trust me, there’s nothing worse than discovering cracked pipes or mouse nests when camping season returns!