Physical Address
304 North Cardinal St.
Dorchester Center, MA 02124
Physical Address
304 North Cardinal St.
Dorchester Center, MA 02124
Winter storage mistakes can destroy your expensive camping gear, but these proven protection methods will keep your equipment pristine until spring adventures call.
Winter’s harsh conditions can destroy your camping gear faster than you’d think, turning your carefully collected equipment into expensive paperweights by spring. You’ve invested good money in that tent, sleeping bag, and cookware – don’t let improper storage waste those dollars. The difference between gear that lasts decades and gear that falls apart after one season often comes down to how you handle those vital winter months when everything’s packed away.
Before you pack away your camping gear for winter, you’ll need to give everything a thorough cleaning and guarantee it’s completely dry. Moisture trapped in storage leads to mold, mildew, and expensive replacements you can’t afford.
Proper cleaning and complete drying of camping gear before winter storage prevents costly mold damage and gear replacement.
Start with your tent by hosing it down and scrubbing away dirt with mild soap. Let it air-dry completely before folding.
Wash sleeping bags according to manufacturer instructions, then tumble dry on low heat.
Clean your camp stove and cookware with warm soapy water, removing all food residue that attracts pests.
Don’t forget smaller items like headlamps, water bottles, and camp chairs. Wipe them down and check battery compartments for corrosion.
For larger family tents like the Pegasus Tent that accommodate four people, make sure to clean both the interior and exterior surfaces thoroughly to remove any accumulated dirt from multiple campers.
Investing time in proper cleaning now saves you money replacing ruined gear next spring.
Once your gear is spotless and bone-dry, you’ll need to find the perfect spot to store it for the next few months. Your storage location can make or break your equipment’s longevity, so don’t just toss everything in the first available space.
Look for these key environmental factors:
Your bedroom closet, spare room, or climate-controlled storage unit work best.
If you’re stuck with less-than-ideal spaces, consider investing in moisture absorbers or a small dehumidifier to protect your investment. Just like planning backpacking food ideas for extended trips, proper storage requires thoughtful preparation to ensure everything stays fresh and ready for your next adventure.
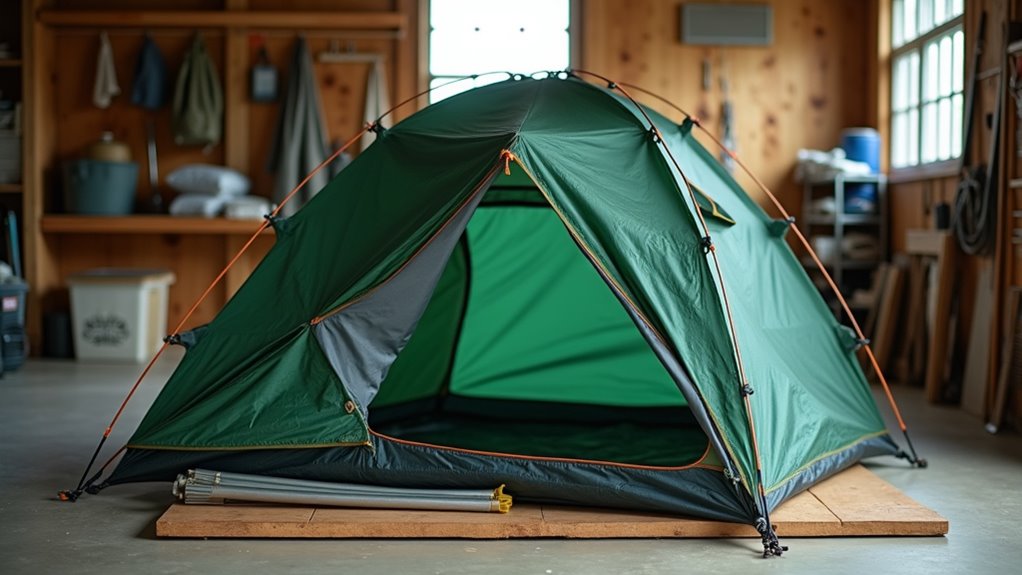
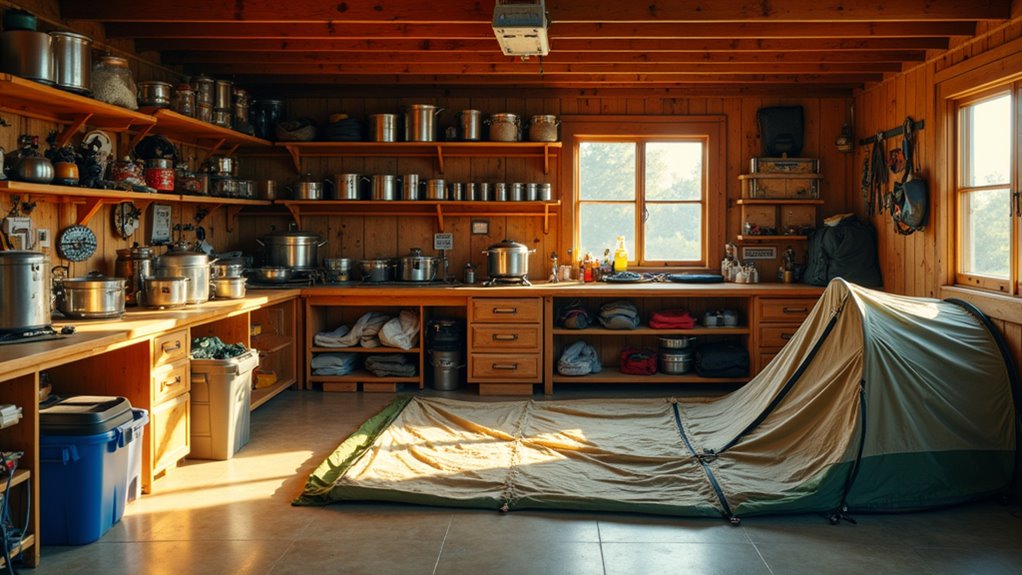
Tents require special attention since they’re your most vulnerable pieces of gear when it comes to long-term storage damage. Start by setting up your tent completely and letting it air-dry for at least 24 hours, even if it looks clean. Any trapped moisture will cause mildew and fabric deterioration.
Clean all surfaces with a damp cloth and mild soap, paying attention to zippers and seams where dirt accumulates. Once dry, stuff your tent loosely in its storage bag rather than rolling it tightly – this prevents permanent creases and fabric stress.
Store tent poles separately to avoid punctures, and keep everything in a breathable cotton bag instead of plastic.
Check your tent monthly during storage and re-position it to prevent permanent compression spots. These storage practices become especially important for beginner campers who may not yet recognize the subtle signs of tent damage that can develop over time.
Since sleeping bags lose their insulating power when compressed for months, you’ll need to store them properly to maintain their loft and warmth. Compressed insulation creates permanent flat spots that reduce thermal efficiency, making your next camping trip uncomfortably cold.
Follow these essential storage steps:
Your down or synthetic insulation will thank you by maintaining maximum warmth when you’re back outdoors. When spring arrives and you’re ready to explore again, consider taking your well-maintained gear on adventures like backpacking across scenic destinations for an unforgettable outdoor experience.
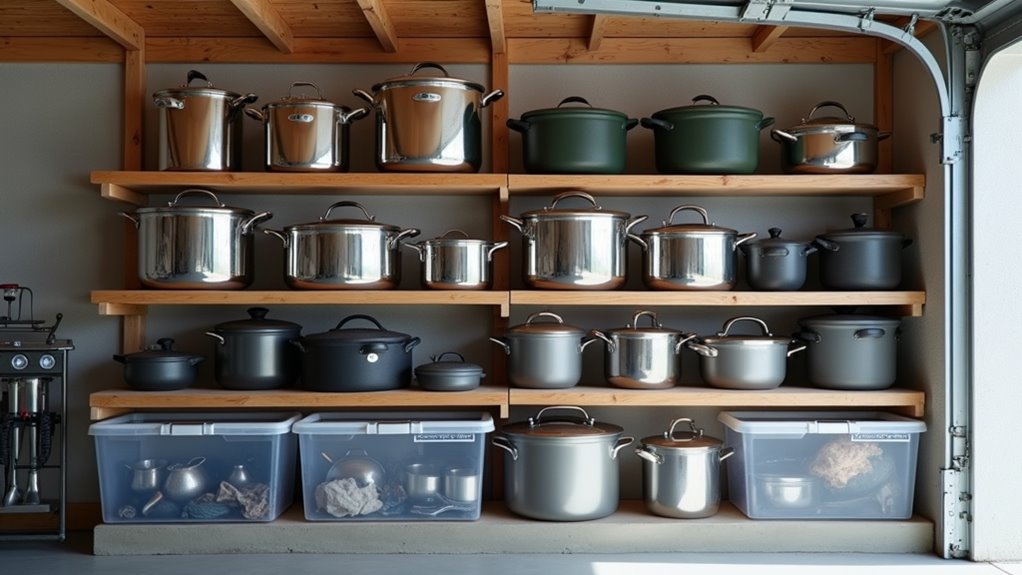
While sleeping bags need gentle care, your camp kitchen gear requires a more aggressive approach to prevent rust, corrosion, and food residue buildup during storage.
Start by scrubbing every pot, pan, and utensil thoroughly with hot soapy water. Don’t skip hidden spots where grease hides. Dry everything completely—even tiny water droplets cause rust on cast iron and carbon steel.
Apply a thin oil coating to metal surfaces, especially cast iron cookware. Store pots and pans with paper towels between them to absorb moisture and prevent scratching.
Clean your camp stove completely, removing fuel canisters and wiping down all surfaces. Store fuel separately in a cool, dry location.
Keep sharp knives wrapped in cloth and store cookware in sealed containers with moisture-absorbing packets you’ll find at hardware stores.
Having the right campfire cooking tools makes meal preparation easier and ensures your gear will be ready for your next outdoor adventure.
Your electronic gear faces different challenges than cookware but needs just as much attention before winter storage. Cold temperatures can damage batteries and sensitive components, so you’ll want to take preventive steps.
Here’s how to protect your devices without breaking the bank:
Store loose batteries separately in their original packaging. This simple routine prevents costly replacements and ensures your electronics work when you need them most. Don’t forget to include first aid items in your electronics inventory, as many digital thermometers and emergency devices contain batteries that also need proper winter storage care.
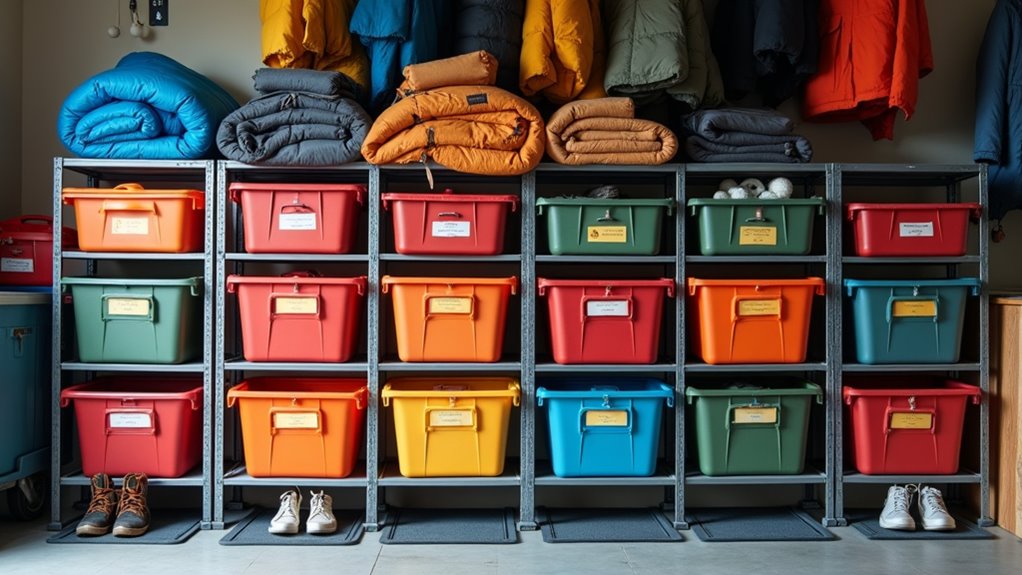
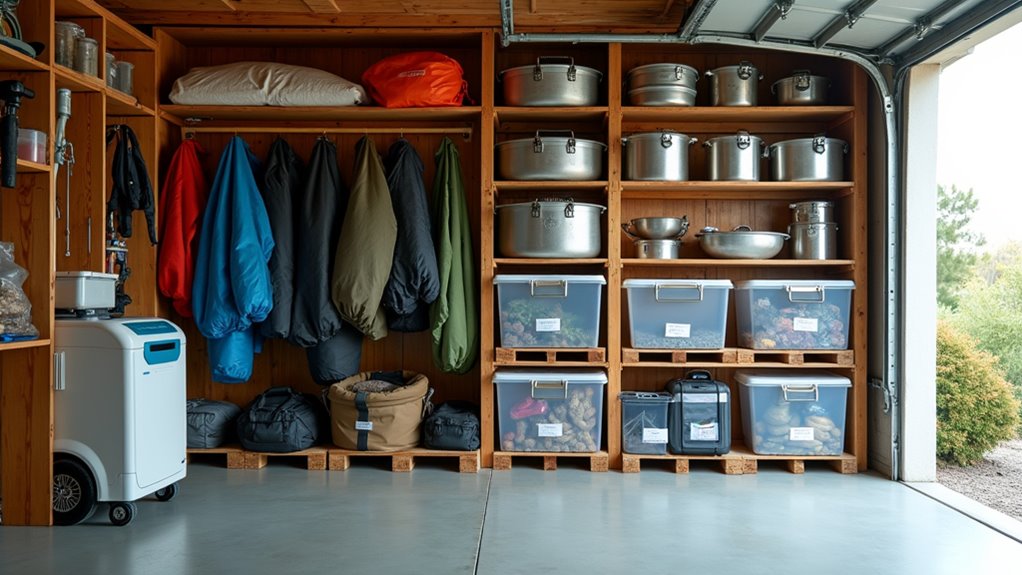
Once you’ve cleaned and protected all your gear, creating an organized storage system saves you time and frustration when camping season returns. Group similar items together – keep all cooking gear in one bin, sleeping equipment in another, and tools separate.
Smart organization today prevents frustrated searching tomorrow when adventure calls.
Use clear plastic containers when possible so you can see what’s inside without opening everything.
Label each container clearly with waterproof markers or tape. Include a detailed list of contents on each label – don’t just write “camping stuff.”
Create a master inventory list and tape it inside your storage area for quick reference.
Store frequently used items at eye level and seasonal gear higher up. This simple system means you won’t waste spring mornings digging through boxes searching for your favorite camp stove.
Consider keeping a separate section for winter-specific equipment like ice fishing gear if you plan to camp during colder months.
You’ll save yourself major headaches by following these winter storage steps. Here’s something that’ll motivate you: improperly stored camping gear has a 40% higher failure rate during its next use, often resulting in expensive replacements or ruined trips. Don’t let poor storage habits cost you hundreds in gear replacement. Spend thirty minutes now cleaning and organizing your equipment properly, and you’ll protect your investment while ensuring your next adventure goes smoothly.