Physical Address
304 North Cardinal St.
Dorchester Center, MA 02124
Physical Address
304 North Cardinal St.
Dorchester Center, MA 02124
Unleash these 8 expert techniques to banish tent condensation and stay bone-dry during frigid camping nights.
You’ve probably experienced that sinking feeling when you unzip your tent after a cold night only to find everything damp and miserable. Cold weather camping doesn’t have to mean sleeping in a soggy mess, but it requires smart preparation and technique. The difference between a comfortable night’s sleep and a wet disaster often comes down to a few critical decisions you’ll make before and during your trip. Here’s what separates the pros from the amateurs.
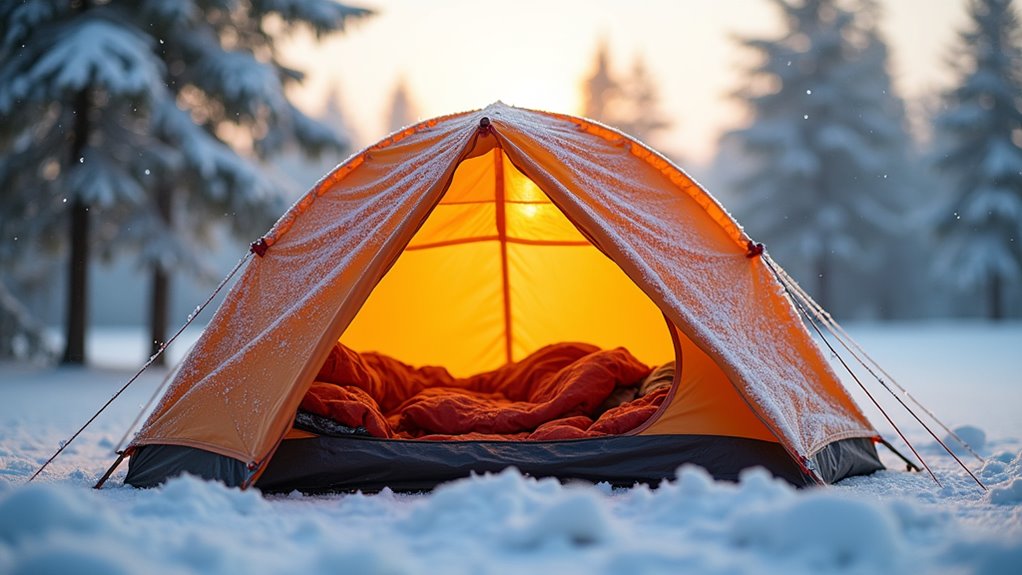
When you’re setting up camp in cold weather, your tent’s location can make or break your comfort level throughout the night. Scout for naturally sheltered spots like tree lines or rock formations that’ll block harsh winds without creating overhead hazards.
Smart tent placement in cold weather isn’t just convenience—it’s the difference between a miserable night and restful sleep.
Avoid low-lying areas where cold air settles and moisture accumulates.
Clear away snow and debris, then lay down a ground tarp – even a cheap plastic sheet works wonders for moisture protection.
Position your tent’s smallest side toward prevailing winds to reduce surface area exposure.
Angle your setup slightly downhill so any condensation flows away from your sleeping area.
If possible, choose sites with morning sun exposure to help dry out gear naturally.
These simple location choices cost nothing but deliver significant comfort improvements.
Remember that proper tent placement is just one aspect of outdoor camping safety, so always consider the full range of potential hazards in your environment.
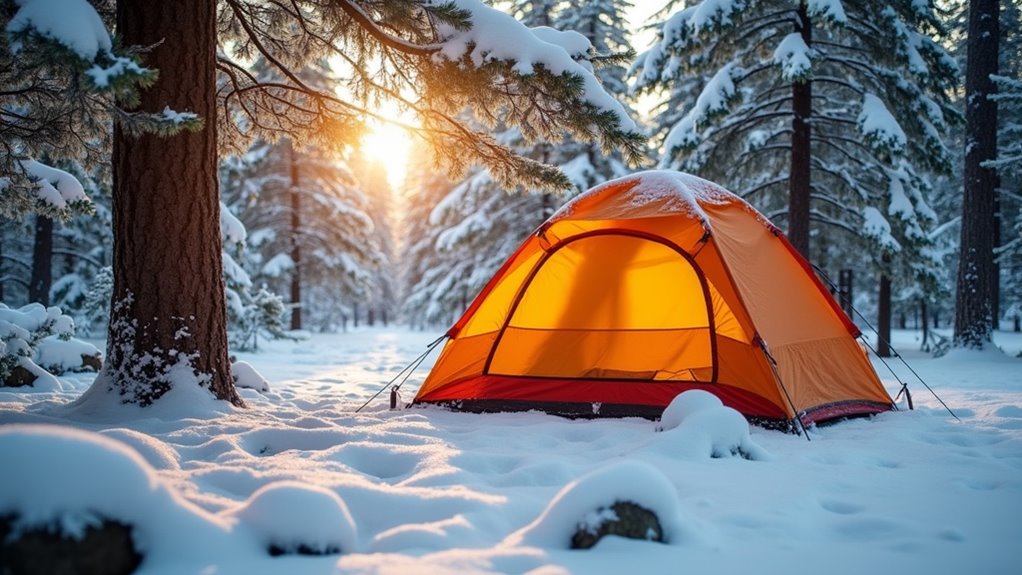
While tent location matters tremendously, you’ll struggle against condensation and moisture buildup if you’re using a three-season tent in winter conditions.
Four-season tents feature stronger fabrics, reinforced seams, and—most importantly—superior ventilation systems designed for cold weather.
Look for tents with multiple vents positioned high and low to create proper airflow. This circulation prevents your breath and body heat from creating excessive condensation.
Quality four-season tents also include vestibules where you can store wet gear outside your sleeping area.
Yes, they’re pricier than three-season models, but you don’t need the most expensive option. Mid-range four-season tents from reputable brands offer excellent performance without breaking your budget.
Consider it an investment in comfortable, dry winter camping experiences.
Just as choosing between mountain biking and road biking requires selecting the right equipment for specific terrain and conditions, selecting the appropriate tent for winter camping ensures optimal performance in challenging environments.

Even with the best tent, ground moisture will seep through your floor if you don’t create a proper barrier system. A footprint acts as your tent’s first line of defense against snow, ice, and frozen ground moisture that’ll eventually thaw and saturate your floor.
A tent footprint creates your essential barrier against ground moisture that will inevitably penetrate even premium tent floors.
You don’t need expensive gear here. A basic tarp works just fine – cut it slightly smaller than your tent’s footprint so rain won’t pool between the tarp and tent floor.
For extra protection, layer a second tarp underneath your sleeping area inside the tent.
This dual-layer approach costs under $30 but prevents thousands of dollars in soggy gear damage.
Position the bottom tarp with its edges tucked under to avoid water channeling underneath your tent. Following these tent camping tips helps ensure you stay dry throughout your cold weather adventure.
Your ground protection means nothing if your rainfly isn’t doing its job properly. Cold weather brings harsh conditions that’ll test every weak point in your setup. Getting your rainfly tension right is vital for preventing water pooling and ensuring proper drainage.
Proper tensioning creates a taut surface that sheds water efficiently. Loose areas collect moisture and eventually leak through. You don’t need expensive gear—just attention to detail and consistent checking throughout your trip.
As you prepare for your spring camping adventures, remember that mastering these rainfly techniques now will serve you well throughout the entire outdoor season.
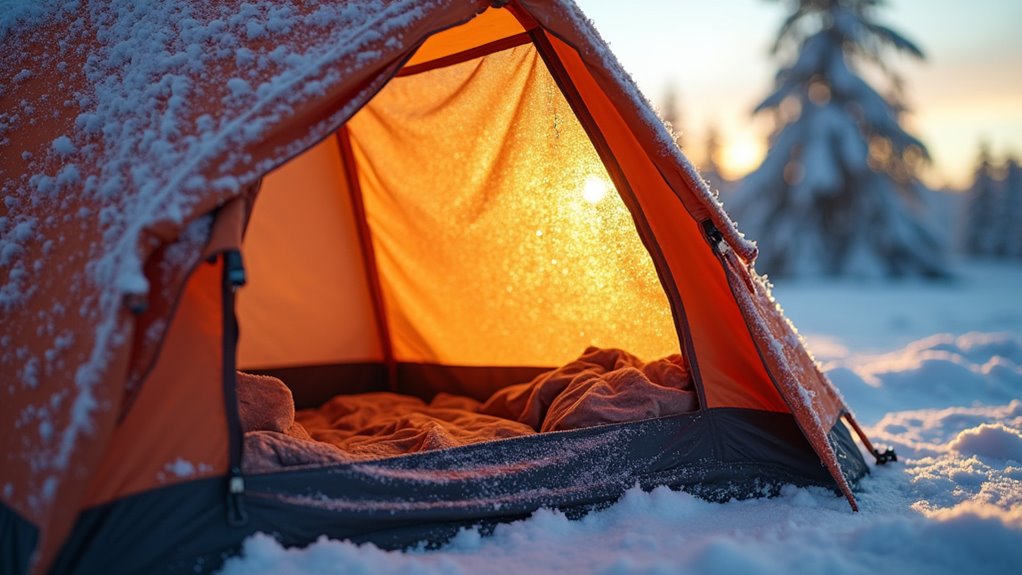
Since condensation forms when warm, moist air from your breath and body heat meets cold tent walls, you’ll need to create airflow that moves this moisture out before it becomes a problem.
Keep your tent’s vents partially open even in freezing temperatures. Yes, you’ll lose some heat, but preventing condensation buildup is worth the trade-off. Position vents to create cross-ventilation – open opposing vents to encourage air circulation.
Don’t seal yourself in completely. Crack your tent door slightly if wind conditions allow.
Store wet gear in your vestibule, not inside your sleeping area.
Use your gear strategically by placing a small towel near high-condensation spots to absorb moisture.
Cook outside whenever possible, as steam from cooking dramatically increases interior humidity levels.
For those who prefer structured camping setups, caravan camping offers better ventilation control and moisture management than traditional tent camping.
While it might seem logical to bring everything inside where it’s warm, wet boots, damp clothing, and snow-covered gear will sabotage your efforts to maintain a dry tent environment. You’ll create a moisture factory that turns your cozy shelter into a soggy mess.
Bringing wet gear inside your tent creates a moisture factory that transforms your cozy shelter into a soggy nightmare.
Designate your tent’s vestibule or an outside tarp area as the staging zone for wet items. This keeps moisture away from your sleeping space while still protecting gear from wind and additional snow.
Consider these smart storage solutions:
Just like avoiding common mistakes when purchasing recreational vehicles, proper gear management prevents costly errors that could ruin your winter camping experience.
You’ll wake up refreshed instead of clammy.
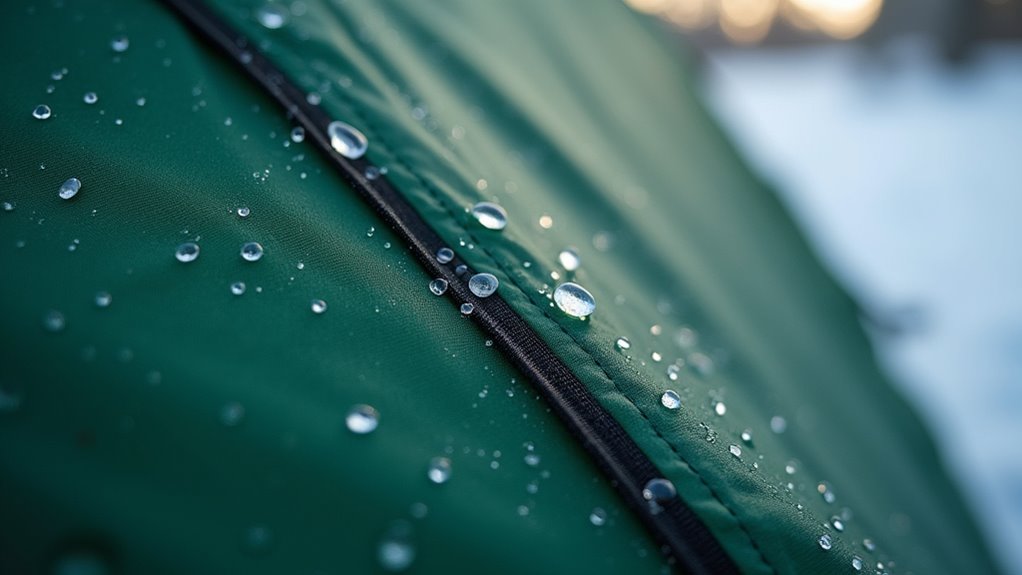
Before you head out on your cold-weather adventure, check your tent’s seams and waterproof coating—because even the smallest leak becomes a big problem when temperatures drop.
Inspect every seam for gaps or peeling tape. You’ll find seam sealer at outdoor stores for under $10, and it’s worth every penny. Apply it to vulnerable spots like corners and zippers before they fail on you.
Your tent’s waterproof coating degrades over time. Test it by sprinkling water on the fabric—if it soaks in instead of beading up, you need to retreat it. Water-repellent sprays cost around $15 and extend your tent’s life considerably.
Don’t wait until you’re dealing with soggy gear at 20 degrees. Spend thirty minutes maintaining your tent now, and you’ll sleep dry later.
Following proper waterproofing techniques will ensure your shelter remains reliable throughout your entire camping season.
Even with perfect tent maintenance, cold weather can turn a small rip into a major emergency faster than you’d expect. That’s why you’ll want to pack backup shelter and repair materials before heading out.
A tiny tear in freezing temperatures can escalate from minor inconvenience to life-threatening shelter failure in minutes.
Your emergency kit should include duct tape, tent patches, and a lightweight tarp. These items weigh almost nothing but can save your trip when temperatures drop and your shelter fails.
Essential backup items to pack:
Don’t wait until you’re shivering at 2 AM to wish you’d brought these affordable backup options. Plus, make sure all backup gear stays completely dry during storage, as moisture trapped in cold conditions can quickly lead to mildew growth that compromises your emergency equipment when you need it most.
You’ll sleep warmer and drier when you follow these eight essential tips. Here’s something that’ll motivate you: studies show campers lose up to 25% more body heat in wet conditions compared to dry ones. That’s why keeping your tent moisture-free isn’t just about comfort—it’s about safety and warmth. Don’t let a soggy tent ruin your winter adventure or drain your wallet on expensive gear replacements. Proper preparation beats costly mistakes every time.