Physical Address
304 North Cardinal St.
Dorchester Center, MA 02124
Physical Address
304 North Cardinal St.
Dorchester Center, MA 02124

Canyonlands National Park delivers budget-friendly camping and hiking adventures across three distinct districts, but choosing the wrong timing could ruin everything.
Like a treasure chest waiting to be opened, Utah’s Canyonlands National Park holds adventures that won’t drain your wallet. You’ll discover three distinct districts offering everything from easy day hikes to challenging backcountry expeditions, with camping options that suit any budget. Whether you’re drawn to mesa-top overlooks or remote wilderness trails, timing your visit correctly can make the difference between a good trip and an unforgettable experience that’ll have you planning your return before you’ve even left.
When you’re planning your Canyonlands adventure on a budget, the Island in the Sky District delivers the most bang for your buck. You’ll access dramatic viewpoints without expensive guided tours or specialized gear.
The Mesa Arch Loop Trail offers Instagram-worthy sunrise shots in just 30 minutes of easy walking. Grand View Point Overlook provides sweeping canyon vistas that rival pricier helicopter tours.
Capture stunning sunrise photos and panoramic canyon views without breaking the bank on expensive aerial tours.
Pack your lunch and spend the day at Upheaval Dome, where you can debate whether it’s an impact crater or salt dome while hiking the moderate 1.8-mile trail.
White Rim Overlook Trail stretches your legs with a 1.8-mile round trip to spectacular views.
Free camping’s available at nearby Dead Horse Point State Park, making this district perfect for budget-conscious adventurers seeking maximum scenery. If you’re considering water activities on the Colorado River below, weigh whether renting or buying a used boat makes more sense for your adventure budget and frequency of use.
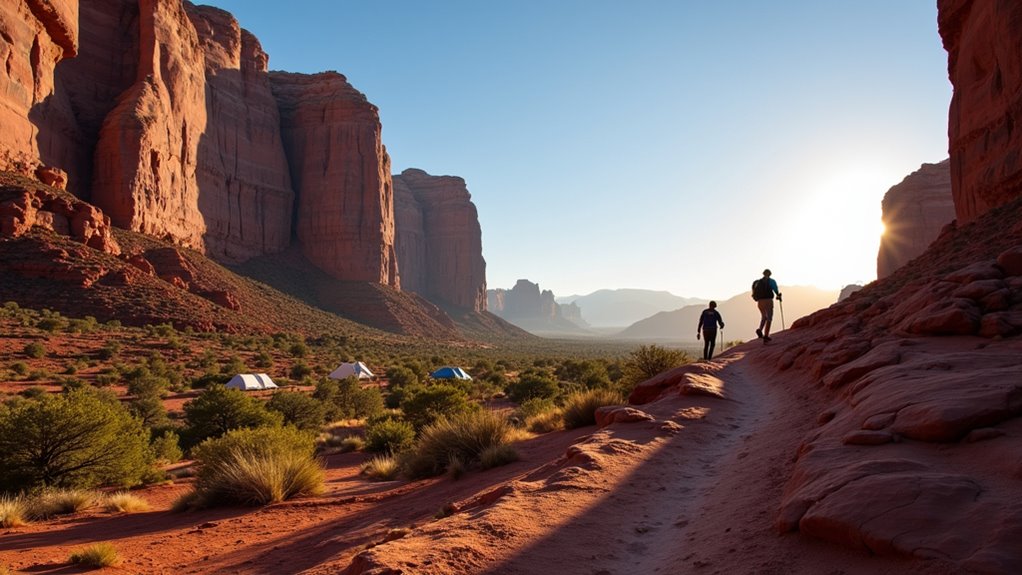
While Island in the Sky offers easy access to stunning vistas, the Needles District demands more effort but rewards you with intimate encounters among towering sandstone spires. You’ll need a high-clearance vehicle to reach most trailheads, but don’t let that deter you—the payoff’s incredible.
The Chesler Park Loop provides the best bang for your buck at 11 miles, weaving through narrow slot canyons and expansive grasslands surrounded by red rock pinnacles.
For shorter adventures, try the Cave Spring Trail‘s easy 0.6-mile walk to historic cowboy camps.
Budget-friendly camping’s available at Squaw Flat Campground for $25 nightly.
Pack plenty of water—there’s none available on trails.
The primitive roads add adventure but require careful navigation and spare tires.
Since water sources are scarce in this desert environment, consider bringing camping showers to maintain hygiene during multi-day backcountry adventures.
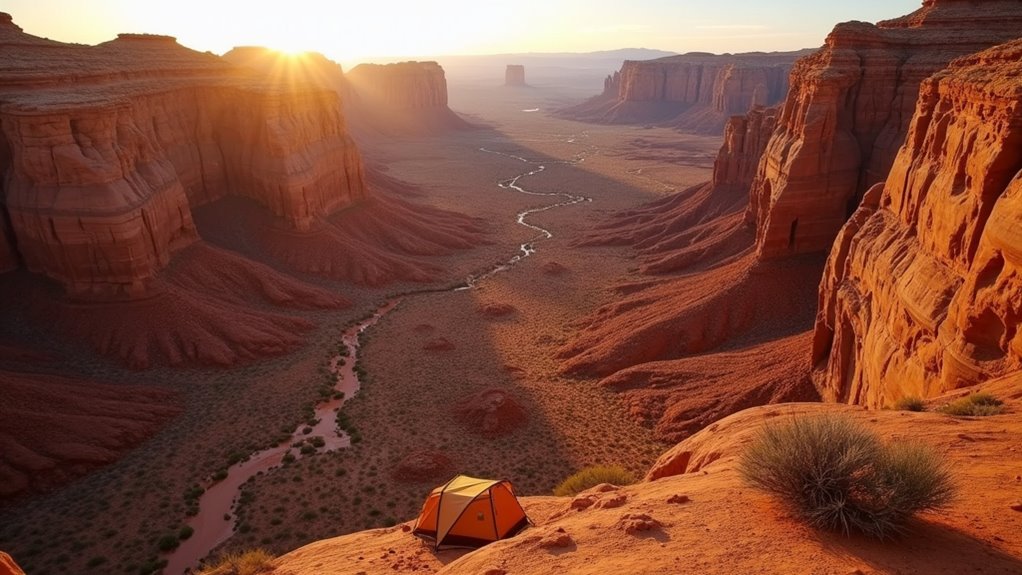
Why venture into the Maze District when Utah’s other parks offer easier access? You’ll find unparalleled solitude and pristine wilderness that rewards your extra effort. This remote section requires serious preparation—you can’t just show up unprepared.
The Maze District demands serious preparation but delivers unmatched solitude and pristine wilderness that casual visitors will never experience.
Plan for multi-day backpacking trips since day hikes aren’t practical from most access points. You’ll need high-clearance 4WD vehicles, detailed maps, and emergency supplies. Cell service doesn’t exist here, so inform others about your itinerary.
Budget extra time and money for gear rental if you don’t own specialized equipment. The reward? You’ll experience slot canyons, towering mesas, and ancient petroglyphs without crowds. Rangers recommend spring and fall visits when temperatures won’t drain your water supplies quickly.
Only attempt this district if you’ve got solid backcountry experience. First-time campers should master tent camping tips before tackling such challenging wilderness conditions.
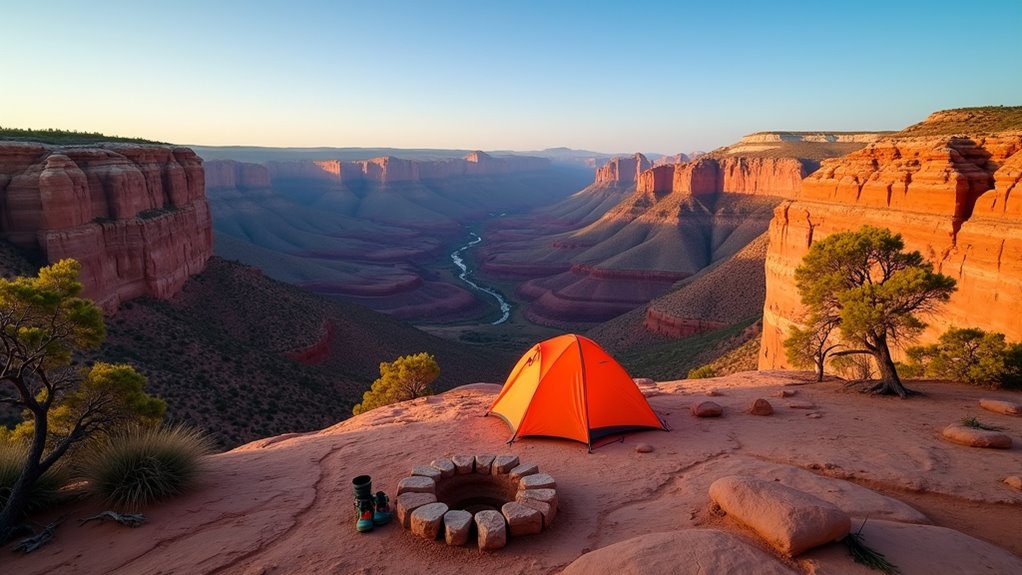
Since you’ll need somewhere to sleep after exploring Canyonlands’ rugged terrain, you’ve got camping options ranging from established campgrounds with restrooms to remote spots where you’ll dig your own cat holes.
Devil’s Garden Campground in Arches costs around $30 nightly and fills up fast during peak season. Willow Flat in Island in the Sky offers basic sites for $15 with vault toilets but no water.
You’ll save money choosing primitive backcountry camping, which only requires a $30 permit covering your entire stay.
Backcountry sites demand self-sufficiency—pack all water, food, and gear. Popular spots like White Rim Road provide designated camping areas, while true wilderness zones let you camp anywhere following Leave No Trace principles.
When selecting your shelter for these varied camping environments, make sure you choose a tent that matches the specific conditions you’ll encounter in Utah’s desert terrain.
Book reservations early since permits sell out months ahead.
Where should you start when Canyonlands offers over 60 trails ranging from easy strolls to grueling multi-day treks? Begin with Mesa Arch Trail, a 0.5-mile sunrise favorite that won’t drain your energy or wallet.
Start your Canyonlands adventure with Mesa Arch Trail—a budget-friendly 0.5-mile hike perfect for sunrise photography and beginners.
For day hikers, tackle Delicate Arch (3 miles) or Devil’s Garden Trail (1.6 miles) – both deliver Instagram-worthy payoffs without overnight gear costs.
Ready for bigger adventures? The Needles District’s Chesler Park Loop (11 miles) showcases towering sandstone spires, while Joint Trail squeezes you through narrow slot canyons.
Multi-day backpackers should consider the challenging Maze District routes, though you’ll need permits and serious preparation. When selecting gear for extended hikes, invest in one of the most unique travel backpacks designed specifically for rugged terrain and multi-day adventures.
Pro tip: Download offline maps since cell service is spotty. Pack extra water – desert hiking demands more hydration than you’d expect, especially during summer months.
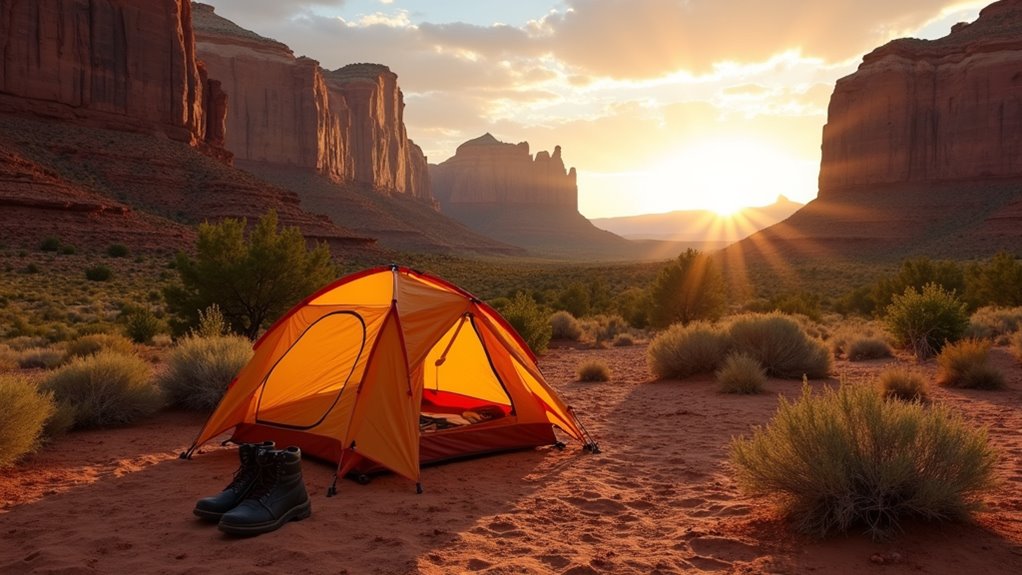
Although Canyonlands welcomes visitors year-round, timing your trip strategically saves money and maximizes enjoyment. Spring (April-May) and fall (September-October) offer perfect hiking weather with mild temperatures and fewer crowds than summer’s peak season. You’ll find cheaper accommodations and campsites during these shoulder months.
Summer brings scorching heat exceeding 100°F, making early morning starts essential. However, you’ll encounter the largest crowds and highest prices.
Winter offers solitude and budget-friendly rates, but unpredictable weather can close roads and trails. Snow creates stunning photography opportunities if you’re prepared for cold conditions.
Avoid holiday weekends when crowds surge and prices spike. Book accommodations early for spring and fall visits, as these prime seasons fill quickly. Check road conditions before winter trips, especially for backcountry access.
For overnight camping adventures, invest in a reliable camping lantern to illuminate your campsite during Canyonlands’ dark desert nights.
How do you transform a Canyonlands trip from potentially dangerous to unforgettable? Start with permits – you’ll need backcountry permits for overnight stays and day-use permits for certain areas like the Needles’ backcountry roads. Book online at recreation.gov well in advance.
Pack smart without breaking the bank. Bring layers for temperature swings, a headlamp with extra batteries, and plenty of water – at least one gallon per person daily. A basic first-aid kit and map are non-negotiable.
Safety’s your top priority in this remote terrain. Tell someone your itinerary before leaving. Cell service is spotty, so don’t rely on your phone for navigation. Watch for flash flood potential in slot canyons and wash areas. Stick to marked trails, and turn back if weather deteriorates. Remember that proper campsite selection can make or break your outdoor experience, so choose level ground away from potential hazards and water sources.
You’ll discover endless adventures whether you’re pitching your tent under starlit skies, you’re conquering challenging backcountry trails, or you’re capturing sunrise photos at Mesa Arch. Plan your permits early, pack your essential gear wisely, and respect the fragile desert ecosystem. Canyonlands won’t break your budget if you camp instead of staying in hotels, you bring your own meals, and you explore free trails. Start planning your red rock adventure today.