Physical Address
304 North Cardinal St.
Dorchester Center, MA 02124
Physical Address
304 North Cardinal St.
Dorchester Center, MA 02124
Navigate campsite selection like a pro with these 15 expert tips that could mean the difference between adventure and disaster.
While you might think any flat spot will do for pitching your tent, choosing the wrong campsite can turn your outdoor adventure into a miserable experience. You’ll face everything from sleepless nights on rocky ground to dangerous situations with falling branches or flash floods. The difference between a memorable camping trip and a disaster often comes down to the fifteen minutes you spend evaluating potential sites—and there are specific criteria that separate experienced campers from novices.

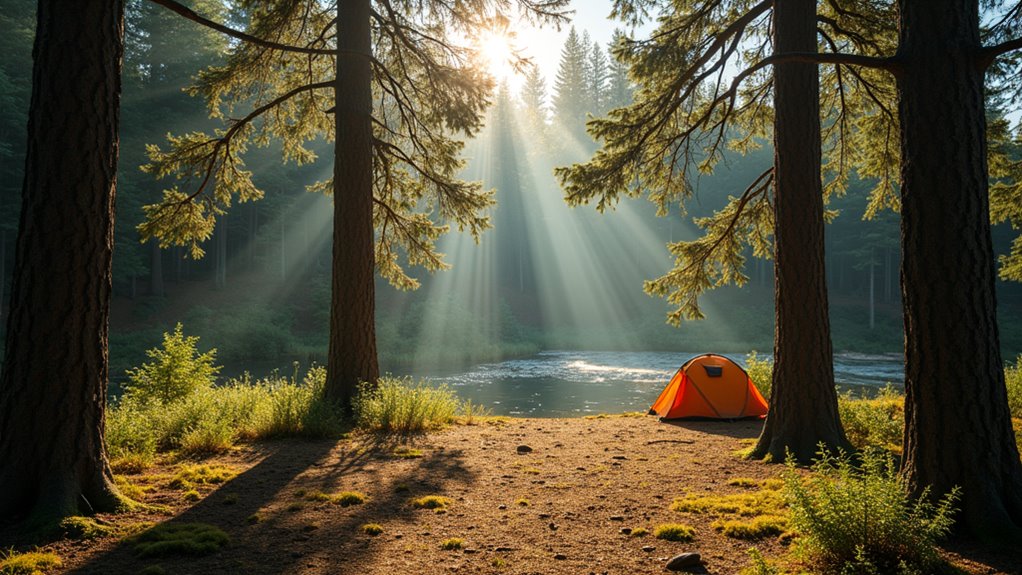
When you’re setting up camp, finding level ground should be your top priority since it directly affects your comfort and safety throughout the night. Sleeping on a slope will cause you to roll around constantly and wake up with aches and pains.
Look for natural flat spots rather than trying to clear and level uneven terrain. Test the ground by lying down on it before pitching your tent. You’ll quickly feel any bumps, rocks, or depressions that need addressing.
Proper drainage is equally vital. Avoid low-lying areas where water collects during rain. Check for natural water flow patterns around your site.
Position your tent on slightly elevated ground so water runs away from, not toward, your shelter during storms. Plus, consider that level ground not only improves sleep quality but also provides better stability for your tent structure and reduces the risk of equipment sliding or shifting during the night.
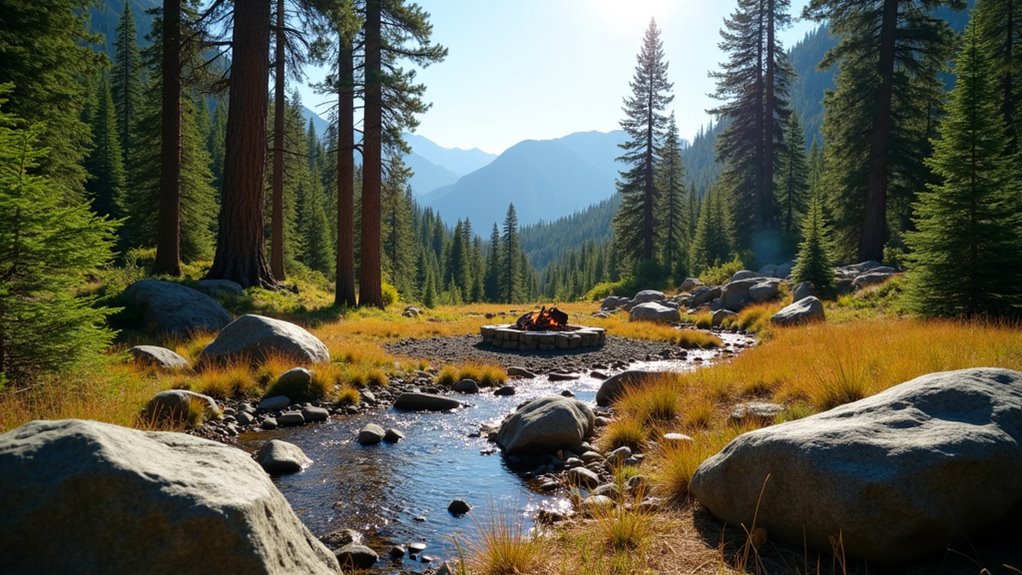
While water access is essential for any camping trip, you’ll want to strike the right balance between convenience and safety when choosing your campsite’s proximity to water sources. Position yourself within walking distance but not directly beside streams or lakes. Flash floods can occur without warning, even during clear weather upstream.
Set up camp at least 200 feet from water sources to protect local ecosystems and wildlife corridors. Animals frequently travel to water during dawn and dusk, and you don’t want to block their access routes.
Maintain 200 feet distance from water sources to preserve wildlife corridors and prevent disrupting animal access during their dawn and dusk travels.
Choose higher ground near water rather than low-lying areas that collect runoff. Consider seasonal water level changes – that peaceful creek might become a raging torrent during storms.
Always have backup water storage and purification methods regardless of proximity. When selecting your spot, keep in mind these essential tips for camping near water bodies to ensure both convenience and environmental responsibility.
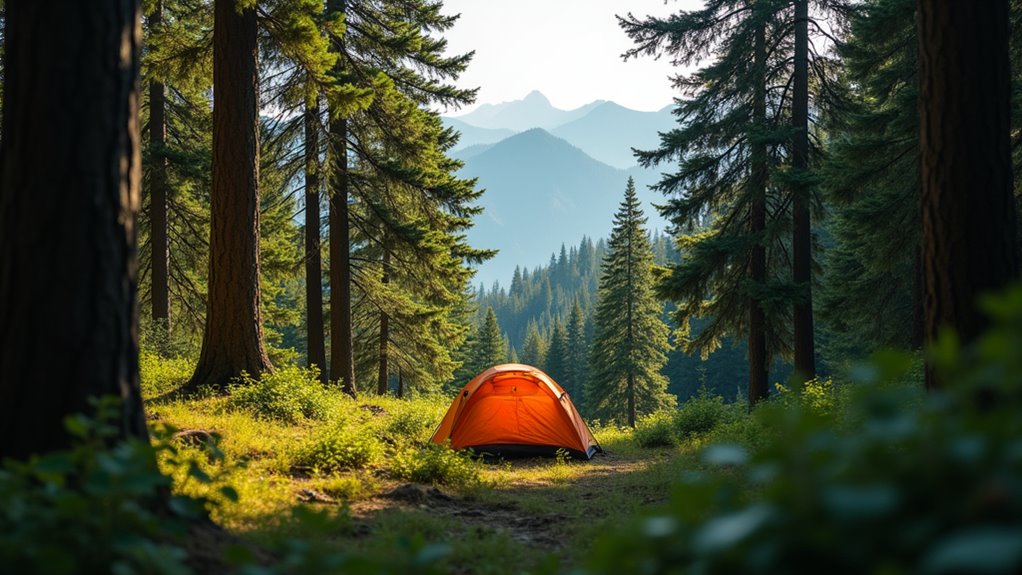
Understanding wind patterns before you pitch your tent can make the difference between a comfortable night’s sleep and hours of flapping fabric and rattling guy-lines. Look for natural windbreaks like rock formations, dense tree clusters, or ridgelines that’ll shield your campsite from prevailing winds.
However, don’t camp directly under large trees that could drop branches during storms.
Pay attention to terrain features that create wind tunnels—valleys, gaps between hills, or shorelines often funnel air and create stronger gusts.
Test wind direction by dropping grass or leaves, then position your tent so the narrowest end faces the wind. This reduces surface area and improves stability.
Check weather forecasts for expected wind changes, and always secure guy-lines properly regardless of current conditions.
Wind protection is especially important when setting up your camp cooking area, as gusts can affect stove performance and make food preparation challenging.
After considering wind protection, you’ll want to look up and scan for anything that could fall on your tent during the night. Dead branches, also called “widow makers,” pose serious risks during storms or high winds. Check the entire canopy above your potential campsite, not just directly overhead. Look for loose bark, cracked limbs, or branches hanging at odd angles.
Don’t camp under trees with obvious disease, insect damage, or recent lightning strikes. Heavy snow loads can also bring down healthy branches, so consider seasonal conditions. If you spot any questionable overhead hazards, simply move your campsite. It’s much easier to relocate before setting up than dealing with tent damage or potential injury later.
Once you’ve secured a safe location, remember that proper food safety measures are equally crucial for preventing illness during your outdoor adventure.
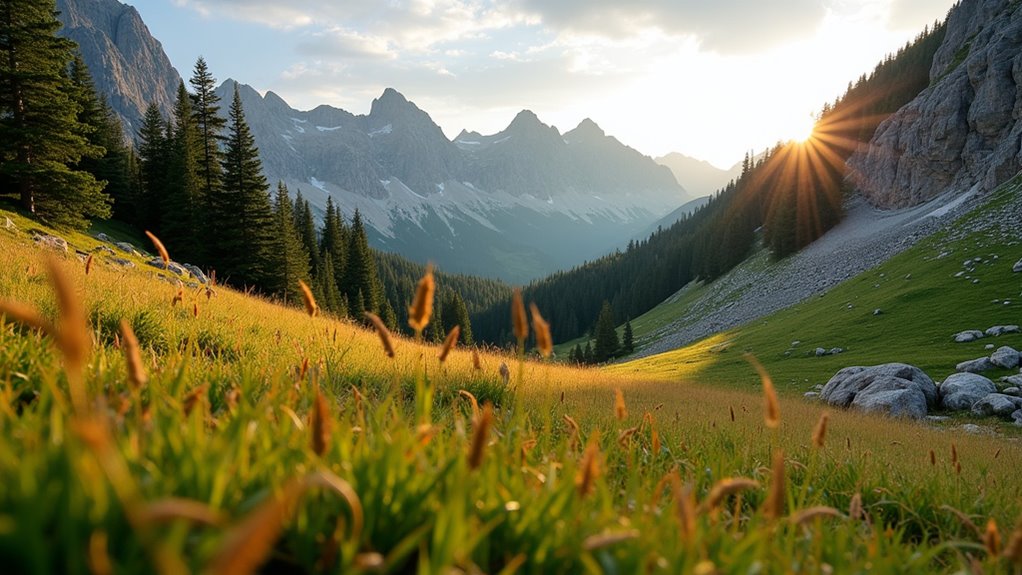
Once you’ve cleared the area of overhead dangers, evaluate how the sun will move across your campsite throughout the day. You’ll want morning sun to dry off dew and warm your tent, but afternoon shade becomes vital during hot weather.
Look for spots with natural windbreaks like trees or rocks that’ll provide relief from intense midday heat.
Consider your camping season too. Summer campers need more shade, while spring and fall campers often appreciate extended sun exposure for warmth.
Don’t pick areas that’re completely shaded all day – you’ll miss out on solar heating and natural light for camp activities.
Test your chosen spot by observing shadows at different times if you’re setting up early in the day.
When darkness falls, having a reliable camping lantern will ensure you can safely navigate and enjoy your carefully selected sunny or shaded campsite.
While scouting your potential campsite, look for signs of recent wildlife activity like tracks, droppings, or disturbed vegetation. Fresh bear scat, claw marks on trees, or overturned rocks indicate active feeding areas you’ll want to avoid.
Check for well-worn animal trails that might bring nocturnal visitors through your camp.
Avoid setting up camp directly on or near obvious animal pathways that could lead wildlife straight through your sleeping area.
Research local wildlife regulations before your trip. Many areas require bear-proof containers or designated food storage lockers.
If you’re using a bear canister, place it at least 100 feet from your tent and cooking area.
Hang food bags 12 feet high and 4 feet from tree trunks when canisters aren’t available.
Never store food, toiletries, or scented items in your tent. Even toothpaste and deodorant attract animals, so secure everything properly.
Plus, consider areas with high populations of biting insects, as proper campsite selection can help minimize exposure to mosquitoes, ticks, and other biting insects that can make your outdoor experience uncomfortable.

Beyond protecting your food from wildlife, you’ll need to evaluate what’s beneath your feet before setting up camp. Rocky terrain won’t provide comfortable sleeping and makes staking down your tent nearly impossible. Sandy soil drains well but doesn’t hold stakes securely, while clay becomes a muddy mess when wet.
Look for firm, level ground with good drainage. Test the soil by pressing your foot down—it should feel stable without being rock-hard. Avoid areas where water might pool during rain, like depressions or spots at the bottom of slopes.
Clear away rocks, sticks, and debris from your tent area. Even small stones can create uncomfortable pressure points that’ll keep you awake. A few minutes of ground prep saves hours of tossing and turning.
When selecting your campsite, prioritize established camping areas whenever possible to practice low impact camping principles and minimize your environmental footprint.
Weather can turn dangerous quickly in the outdoors, so you’ll want to position your campsite with natural windbreaks and storm escape routes in mind. Look for areas protected by rock formations, dense tree lines, or hills that’ll shield you from prevailing winds. However, avoid camping directly under large trees or in valleys where water collects during storms.
Choose campsites with natural windbreaks like rock formations or tree lines, but avoid spots under large trees or in water-collecting valleys.
Scout multiple exit routes from your campsite in case you need to evacuate quickly. Keep your vehicle accessible and don’t camp in flash flood zones near streams or dry washes.
Check weather forecasts before departing and monitor conditions throughout your trip using a weather radio.
Set up camp early enough to secure everything properly. Strong winds can turn loose gear into dangerous projectiles, so anchor your tent thoroughly and store lightweight items inside.
Mountain regions like the Andes present unique weather challenges with rapid elevation changes that can create sudden temperature drops and unpredictable storm patterns.
After securing your campsite against the elements, you’ll want to contemplate how much solitude and quiet you’re seeking from your outdoor experience. If you’re craving peace, avoid sites near main roads, popular trails, or bathroom facilities where foot traffic runs heavy. Look for natural barriers like trees or rock formations that’ll buffer noise and block sightlines from neighboring campers.
Consider your group’s noise level too—if you’re planning campfire sing-alongs, choose spots away from quiet campers. Scout the area during different times if possible, since noise levels change throughout the day. Weekend sites tend to be louder than weekday spots.
Camp loops often have quieter sites at the back, farther from entrance roads where vehicles constantly pass. For those seeking ultimate solitude, consider camping near remote areas like glacier climbing trails, which typically see fewer casual visitors and offer pristine wilderness experiences.
Fire restrictions can make or break your camping trip, so check current regulations before you pack those marshmallows. Contact the local forest service or park authorities to confirm whether campfires are permitted during your visit dates. Some areas ban fires completely during dry seasons, while others restrict them to designated fire rings only.
Even when fires are allowed, you’ll need proper safety equipment. Bring a shovel, bucket, and plenty of water for extinguishing flames. Clear flammable debris from around your fire pit, keeping the area at least ten feet wide.
Never leave a fire unattended, and ensure it’s completely cold before leaving your campsite. Remember that “out” means you can hold your hand over the ashes without feeling heat. Just like deciding whether to rent or buy outdoor equipment, weighing fire safety options requires careful consideration of your specific camping needs and circumstances.
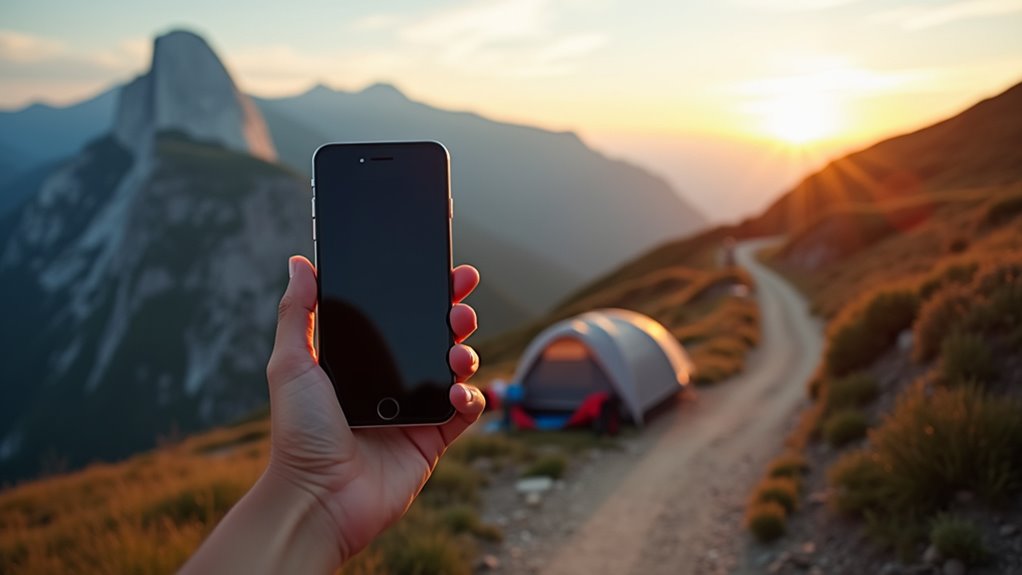
While you’re scouting potential campsites, test your cell phone reception at different spots around the area. Walk around the campsite perimeter and check signal strength on elevated ground, near water sources, and inside your tent location. Some carriers work better than others in remote areas, so test all devices if you’re camping with others.
Identify the nearest road access for emergency vehicles. Note landmarks and GPS coordinates you can share with emergency services if needed. Check if there’s a landline phone at nearby facilities like visitor centers or ranger stations. Consider downloading offline maps before your trip since GPS can fail without signal.
Don’t rely solely on technology – inform someone about your camping location and expected return date as backup communication. For longer camping trips, you might want to invest in portable broadband solutions like satellite internet devices or mobile hotspots to maintain connectivity for both safety and convenience.
Before you set up camp, take time to understand how your presence affects the natural environment around you. Leave No Trace principles aren’t just guidelines—they’re essential practices that preserve wilderness areas for future campers.
Choose durable surfaces like established campsites, rock, gravel, or sand instead of fragile vegetation. You’ll minimize long-term damage while protecting sensitive ecosystems.
Stick to rock, gravel, and established sites—your footsteps today determine what wilderness tomorrow’s campers will discover.
Follow these core principles when selecting your spot:
Consider seasonal wildlife patterns too. Some areas become nesting grounds during specific months, making them off-limits for responsible campers.
Research local regulations beforehand—many parks have designated camping zones that balance recreation with conservation needs.
For those planning extended backpacking trips, these principles become even more critical as you’ll be establishing multiple campsites throughout your journey.
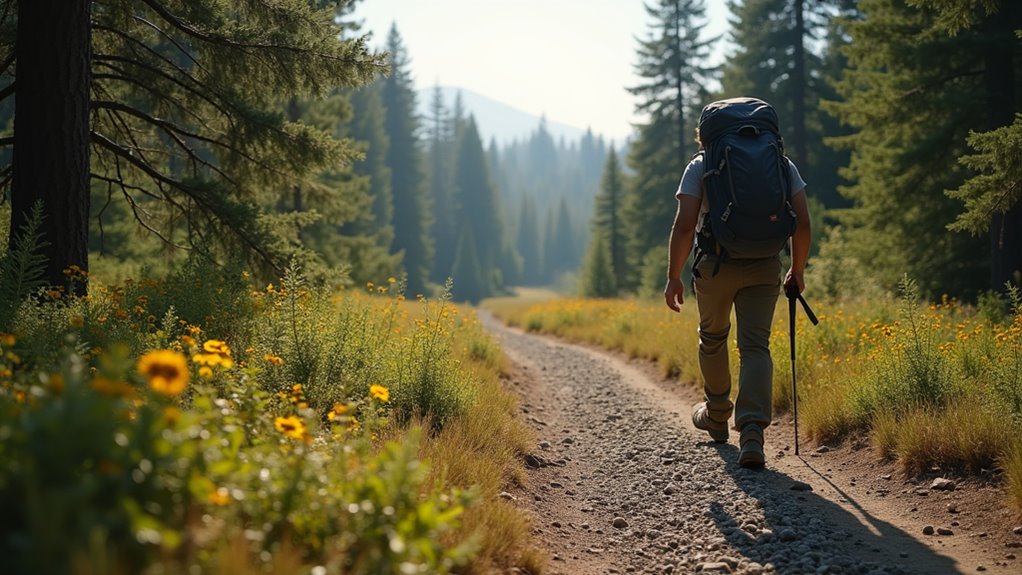
Once you’ve identified environmentally responsible locations, you’ll need to think practically about how far you’re willing to carry your gear. Consider your physical fitness, the weight of your equipment, and the difficulty of the terrain between your car and potential campsites.
If you’re backpacking with minimal gear, a mile or two might be manageable. However, if you’re car camping with coolers, chairs, and multiple bags, you’ll want sites closer to parking areas.
Check if the trail involves steep inclines, rocky paths, or stream crossings that could complicate gear transport. If your campsite is near rocky terrain where you might later explore, familiarize yourself with rock climbing techniques to ensure safe movement over challenging surfaces.
Don’t overestimate your carrying capacity. Multiple trips back and forth will exhaust you before you’ve even set up camp, leaving less energy for enjoying your outdoor experience.
After you’ve narrowed down potential sites based on distance and accessibility, you’ll need to research the specific rules governing your chosen area. Different locations have varying regulations that can make or break your camping plans.
Start by checking these essential requirements:
Don’t assume you can show up and set up camp anywhere. Contact local ranger stations, park offices, or land management agencies directly. They’ll provide current information about closures, seasonal restrictions, and any special conditions you should know about before heading out.
Plus, verify what safety equipment is required or recommended for your chosen area, as some locations may mandate specific first aid items for remote camping situations.
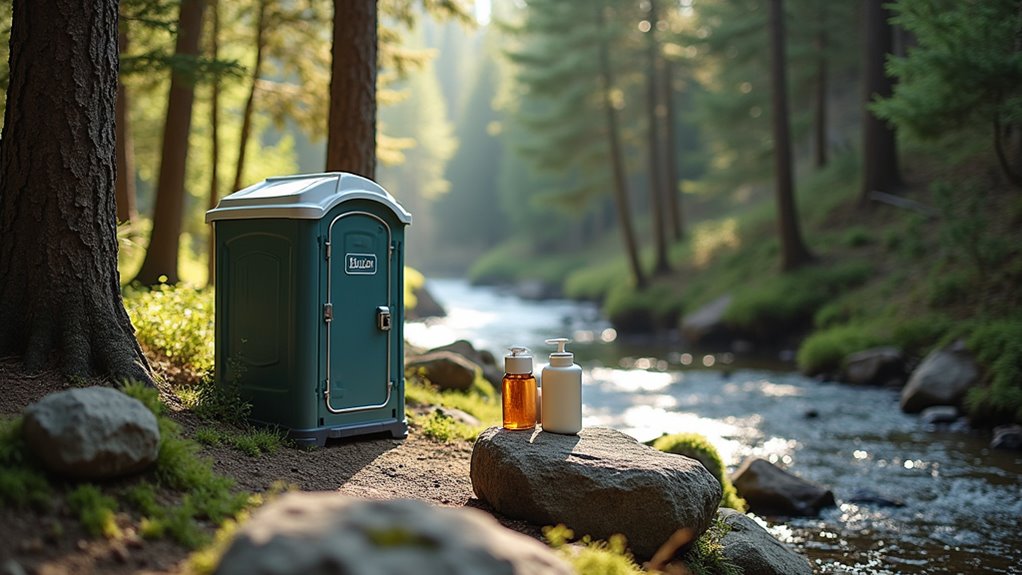
While many campers focus on scenic views and accessibility, proper waste management often determines whether your trip becomes memorable for the right reasons. You’ll need to understand Leave No Trace principles and local regulations before setting up camp.
Check if your campsite has established restrooms nearby. If not, you’ll need to dig catholes at least 200 feet from water sources, trails, and campsites. Pack a lightweight trowel and toilet paper in sealed bags for packing out.
For grey water from cooking and washing, strain food particles and scatter water away from camp. Never dump soap or food waste directly into streams. Bring biodegradable soap and use it sparingly.
Pack out all trash, including organic waste like orange peels that won’t decompose quickly in wilderness environments. Being a responsible camper means planning ahead for proper waste disposal to protect the natural environment for future visitors.
You’ve researched every detail, planned like a military operation, and checked all the boxes for the perfect campsite. Yet here’s the beautiful irony: nature doesn’t care about your meticulous planning. The “perfect” spot you’ve scouted might flood overnight, while that imperfect patch of ground becomes your favorite memory. Follow the guidelines, but don’t forget—sometimes the best camping experiences come from embracing the unexpected chaos nature throws your way.