Physical Address
304 North Cardinal St.
Dorchester Center, MA 02124
Physical Address
304 North Cardinal St.
Dorchester Center, MA 02124

Avoid costly camping disasters by mastering these essential tent selection secrets that separate comfortable adventurers from miserable, soaked campers.
You’d be surprised how many campers return from trips soaked, cramped, or shivering because they chose the wrong tent. The difference between a memorable adventure and a miserable night often comes down to understanding just a few key factors before you buy. Whether you’re planning your first weekend getaway or upgrading from that hand-me-down disaster, there’s a systematic approach that’ll save you money and guarantee you actually sleep well under the stars.
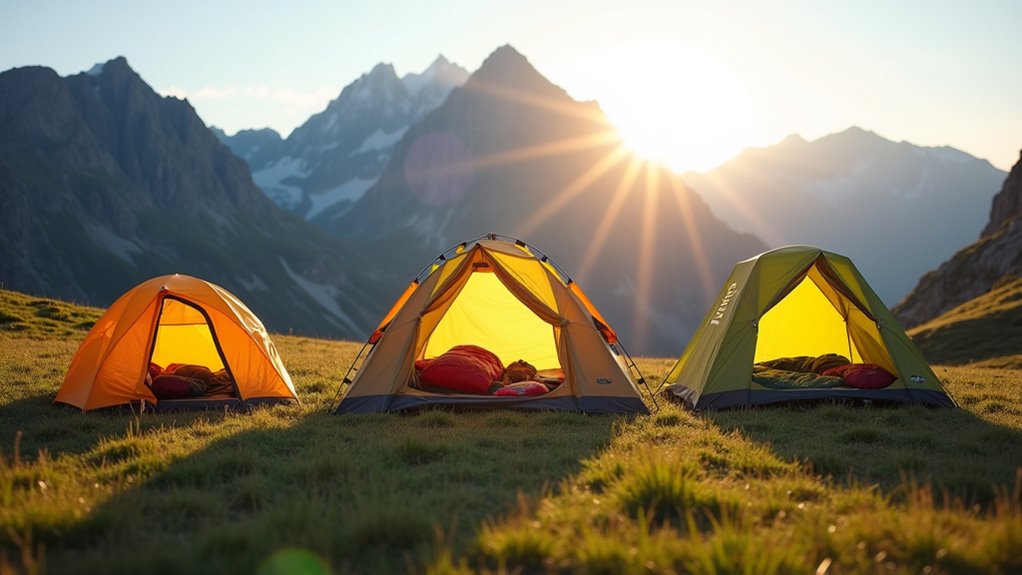
How much space do you actually need when you’re cramped inside a tent after a long day on the trail? Manufacturers’ capacity ratings are optimistic at best. A “two-person” tent barely fits two people lying shoulder-to-shoulder with no gear inside. You’ll want extra room for your backpacks, boots, and changing clothes without elbowing your tentmate.
Add one person to the manufacturer’s rating for comfort. If you’re camping solo, consider a two-person tent. Couples should look at three-person models. Check floor dimensions, not just capacity numbers. A tent that’s 7×5 feet gives you actual living space, while a narrow 8×4 design feels like a coffin.
Peak height matters too—you don’t want to crawl everywhere inside your temporary home. Remember that keeping tents clean requires adequate space to organize gear properly and maintain good hygiene practices during your camping trip.
Once you’ve figured out your space needs, you’ll need to match your tent to the conditions you’ll face. Three-season tents handle spring through fall camping with decent rain protection and ventilation. They’re your best bet for most adventures and won’t break the bank.
Four-season tents tackle harsh winter conditions with reinforced poles and fabrics, but they’re pricier and heavier.
Look for waterproof ratings above 1,500mm for the rainfly and 3,000mm for the floor. Sealed seams prevent leaks at stitching points.
Double-wall designs with separate rainfly and inner tent offer better condensation control than single-wall models.
Don’t forget ventilation features like mesh panels and adjustable vents – they’ll keep you comfortable when temperatures rise.
When selecting a tent size, consider that a 4-person tent like the Pegasus provides ample room for sleeping and gear storage during extended camping trips.

While seasonal ratings protect you from the elements, your tent’s weight will make or break your camping experience depending on how you plan to use it.
For car camping, weight doesn’t matter much since you’re driving to your site. You can choose heavier, spacious family tents without breaking your budget or your back.
Backpacking changes everything. Every ounce counts when you’re carrying gear for miles. Look for lightweight options under three pounds, though you’ll pay more for advanced materials like silnylon or Dyneema.
Ultralight tents often sacrifice durability and space for weight savings.
Bike touring falls somewhere between—you’ll want reasonable weight without spending ultralight prices. Consider your camping style first, then balance weight against your budget and comfort needs.
Remember that selecting the right tent weight is something you’ll be proud of when you’re comfortable at your campsite rather than struggling with gear that doesn’t match your adventure style.
Beyond weight and weather protection, your tent’s construction type determines how quickly you’ll set up camp and how much space you’ll actually have inside.
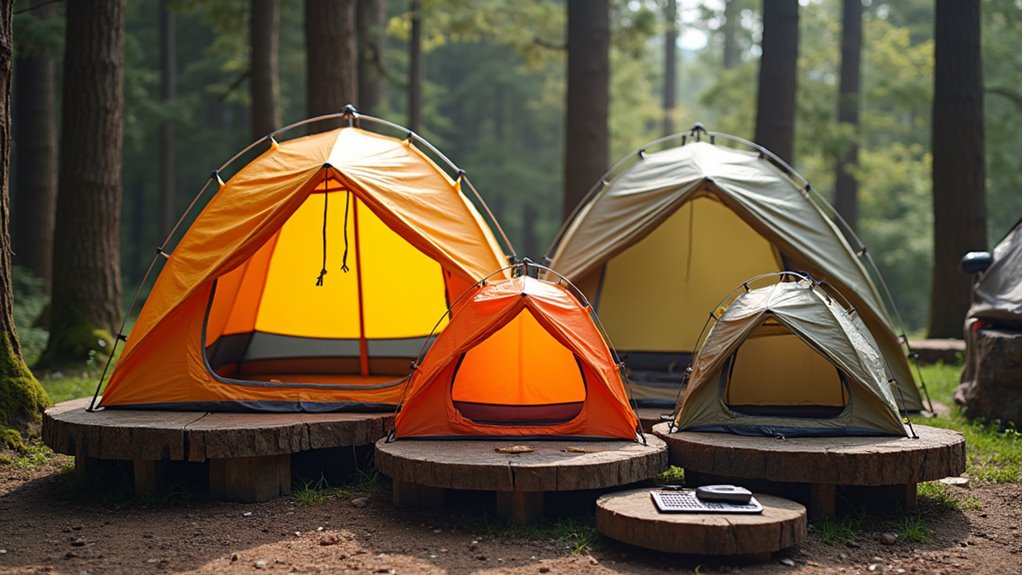
Freestanding tents use poles to create their shape without requiring guy lines or stakes, making them perfect for rocky terrain or beach camping. You’ll pay more, but setup’s a breeze.
Non-freestanding tents need stakes and guy lines to maintain their structure—they’re lighter and cheaper, but you’re stuck if the ground won’t take stakes.
Dome tents offer excellent wind resistance and headroom.
Tunnel designs maximize floor space but need careful positioning against wind.
Cabin-style tents provide the most interior space and comfort but struggle in severe weather.
Consider how often you’ll move camp versus staying put when choosing your construction type. If you’re planning water-based adventures like canoeing with dogs, ensure your tent choice accommodates quick setup near shorelines where ground conditions can be unpredictable.

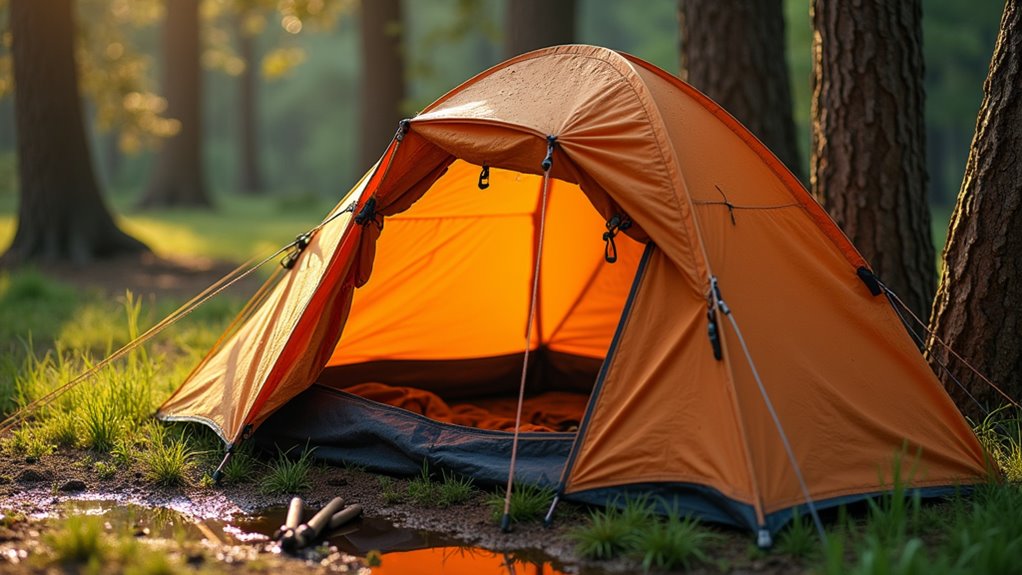
How does a tent’s fabric determine whether you’ll stay dry during a downpour or wake up soaked? Your tent’s materials directly impact your comfort and safety outdoors.
Here are four key fabric technologies you’ll encounter:
You’ll also see denier ratings indicating fabric thickness. Higher numbers mean heavier, more durable materials.
Balance your priorities: weight versus durability versus cost.
These considerations become especially critical when camping in humid environments like rainforest trails, where moisture management can make or break your outdoor experience.
Even the best waterproof fabric won’t keep you comfortable if moisture builds up inside your tent from your own breathing and body heat. Look for tents with multiple ventilation points – mesh panels near the ground and adjustable vents at the peak work together to create airflow that carries moisture away.
Double-wall tents naturally manage condensation better than single-wall designs. The inner mesh wall lets vapor pass through while the rainfly catches moisture and channels it away from your sleeping area.
Don’t overlook vestibules – they’re not just gear storage. Opening vestibule doors creates cross-ventilation that dramatically reduces interior humidity.
Budget tents often skimp on ventilation features, but you’ll regret poor airflow during humid conditions or when multiple people share the space.
Proper ventilation becomes even more critical during winter camping, when temperature differences between inside and outside air create the perfect conditions for condensation buildup.
While tent prices range from $50 to $500+, you don’t need to break the bank for quality shelter. Smart budget planning helps you find the sweet spot between affordability and performance.
Consider these value factors when tent shopping:
You’ll get better long-term value investing in a mid-range tent that’ll last years rather than replacing cheap models frequently. Focus on meeting your specific camping needs without paying for unnecessary premium features. Remember that a well-organized camping backpack is equally important for maximizing comfort and getting the most value from your gear investment.
Once you’ve identified your budget range, the tent manufacturer’s track record becomes your next consideration. Established brands like REI, Coleman, and MSR didn’t earn their reputations by accident—they’ve weathered decades of customer feedback and product refinement.
You’ll want to research warranty terms carefully, as they reveal a company’s confidence in their product. Look for manufacturers offering at least one-year coverage on materials and craftsmanship defects.
Check online reviews focusing on long-term durability rather than initial impressions. Pay attention to how companies handle warranty claims—responsive customer service saves you money and frustration down the road.
Lesser-known brands might offer attractive prices, but you’re gambling with reliability. Stick with manufacturers who’ve proven they’ll stand behind their products when zippers fail or seams leak during your camping adventures.
If you’re planning extreme adventures like glacier climbing, you’ll need specialized tents designed for harsh alpine conditions that regular camping gear simply can’t handle.
How do you guarantee your tent investment pays off for years to come? Regular testing and proper maintenance transform your tent from a one-season purchase into a reliable shelter that’ll serve you for countless adventures.
Before each trip, conduct these essential checks:
After camping, clean your tent properly, dry it completely, and store it loosely packed.
This simple routine prevents mold, extends fabric life, and saves money long-term. A well-maintained tent becomes your trusted companion on epic adventures like hiking Scotland’s West Highland Way, where reliable shelter makes all the difference.
Your tent choice directly impacts 90% of your camping satisfaction, according to outdoor gear surveys. You’ve got the knowledge now—capacity, weather ratings, weight, and construction type all matter for your specific adventures. Don’t forget that mid-range tents often deliver the best value, lasting 5-7 years with proper care. Test your setup at home first, maintain those zippers, and you’ll enjoy countless comfortable nights under the stars without breaking your budget.