Physical Address
304 North Cardinal St.
Dorchester Center, MA 02124
Physical Address
304 North Cardinal St.
Dorchester Center, MA 02124
Achieve lightning-fast tent setup with these 10 expert techniques that experienced campers use to pitch camp in minutes, not hours.
You’ve probably watched experienced campers effortlessly pitch their tents in minutes while you’re still wrestling with poles and stakes twenty minutes later. The difference isn’t luck or expensive gear—it’s knowing the right sequence and having a solid system. Whether you’re racing against an incoming storm or just want to enjoy your campsite sooner, these proven techniques will transform your setup time from a frustrating ordeal into a smooth, confident routine.

Before you even pull your tent from its bag, scout the area thoroughly for the perfect spot. You’ll save time and avoid headaches by choosing wisely upfront. Look for level ground that’s free from rocks, sticks, and holes that’ll dig into your back all night.
Avoid low-lying areas where water collects during rain – you don’t want to wake up in a puddle. Check overhead for dead branches or loose rocks that could fall. Stay away from animal trails and ant hills.
Find natural windbreaks like trees or large rocks, but don’t pitch directly under branches. Test the ground by lying down briefly – if it’s uncomfortable now, it’ll be worse with just a thin tent floor between you and the earth.
Consider how your camping style influences your location needs, as car campers have more flexibility than backpackers who must work with available terrain.
While you might be tempted to figure out your tent setup at the campsite, you’ll thank yourself for practicing in your backyard first. There’s nothing worse than wrestling with confusing instructions while daylight fades and mosquitoes swarm.
Here’s what to focus on during your practice run:
Your fellow campers will be impressed when you efficiently set up camp while they’re still reading instructions. This preparation becomes even more valuable when you’re dealing with other tent camping essentials that beginners often overlook.
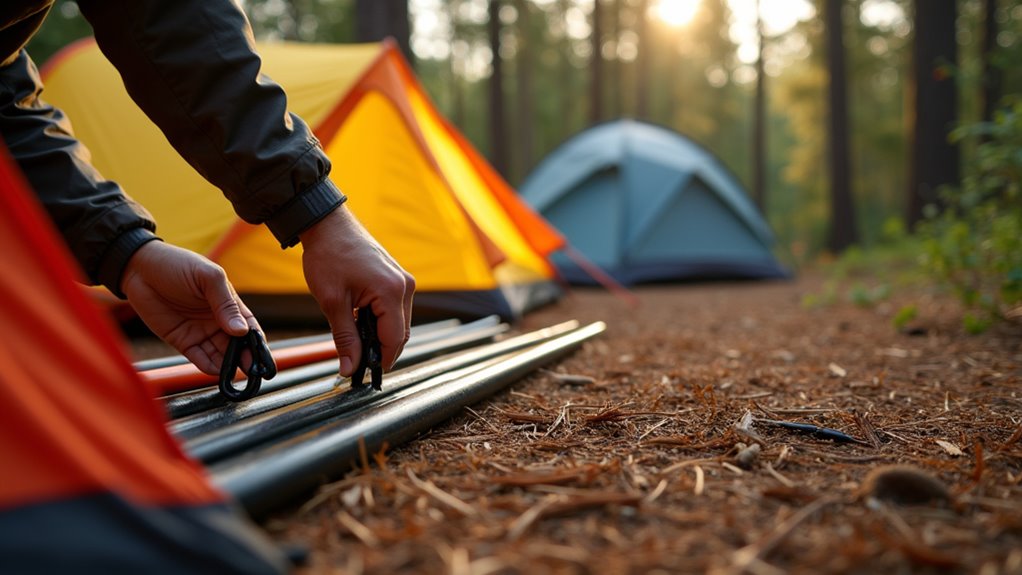
Once you arrive at your campsite, resist the urge to dive straight into assembly—instead, unpack everything and spread it out on a clean tarp or groundsheet. This prevents losing small parts in dirt or grass and protects your gear from moisture and debris.
Take inventory of all components: tent body, rainfly, poles, stakes, guylines, and footprint if you have one. Check that pole sections aren’t cracked and stakes aren’t bent. Count your stakes—you’ll need extras if the ground’s rocky or if some break.
Look for any tears in the fabric or broken zippers before you start. It’s frustrating to discover damage mid-setup when daylight’s fading. Having everything visible also helps you work systematically, preventing the classic mistake of threading poles incorrectly or skipping essential steps.
This methodical approach is one of the fundamental camping tips that experienced campers swear by, as it saves time and prevents headaches later in the setup process.
After you’ve organized your gear, lay down your footprint or groundsheet as the foundation for your tent. This protective layer shields your tent floor from rocks, sticks, and moisture while extending its lifespan. Don’t skip this step—it’s cheaper than replacing a damaged tent.
Here’s how to position it properly:
A properly placed groundsheet makes the difference between a comfortable night and a soggy, uncomfortable experience. In areas like the Himalayas, proper tent setup also helps ensure wild animal safety by creating a secure barrier between you and potential nocturnal visitors.
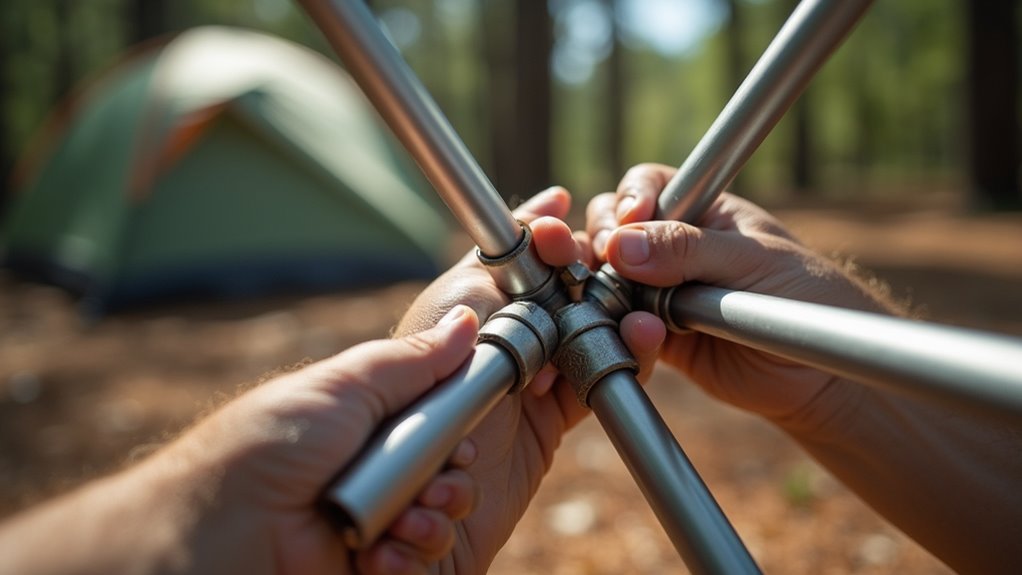
Most campers make the mistake of trying to assemble tent poles while threading them through fabric sleeves, which creates unnecessary stress and potential breakage. You’ll save time and avoid frustration by fully connecting all pole sections before insertion.
Lay your poles on the ground and connect each section completely. The shock cord inside will guide proper alignment, but don’t force pieces together. If sections won’t connect easily, check for dirt or damage at the connection points.
Once assembled, gently flex each pole to ensure all connections are secure. This prevents poles from separating mid-setup, which can damage your tent fabric.
With poles properly assembled, threading them through sleeves becomes smooth and efficient, reducing setup time considerably. After setting up your tent, you’ll want to establish your camping shower area to maintain cleanliness throughout your outdoor adventure.
Why struggle with tent setup alone when a second pair of hands can cut your time in half? Working with a buddy transforms camping setup from a wrestling match into a smooth operation.
Here’s how to maximize your two-person efficiency:
You’ll save precious daylight and energy while reducing frustration. Plus, having someone spot potential problems prevents costly mistakes like torn fabric or bent poles.
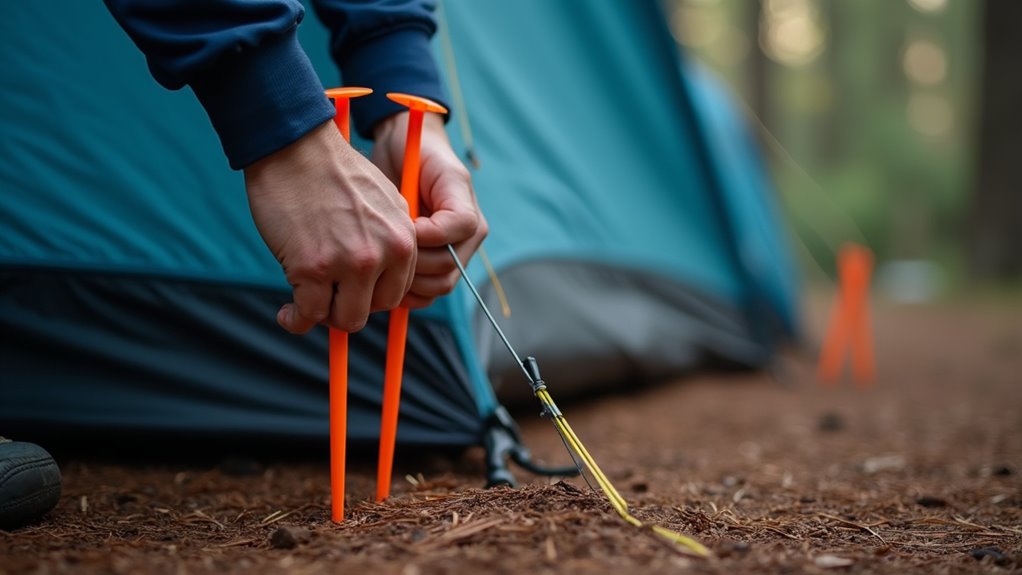
How you stake down your tent corners determines whether you’ll sleep comfortably or spend the night fighting sagging walls and pooling rainwater. Start with opposite corners first – never stake adjacent corners in sequence. This creates even tension across the tent floor and prevents one side from pulling too tight while the other stays loose.
Begin with the corner facing prevailing wind, then move to the diagonal opposite. This anchors your tent against gusts while you work.
Next, stake the remaining two corners using the same diagonal pattern. Pull each corner taut but don’t overstretch – you’ll stress the fabric and seams.
Finally, adjust all stakes equally until the floor sits flat without wrinkles or sags. Proper corner staking prevents water pooling and maximizes interior space. Regular tent maintenance throughout your camping trip will help preserve the fabric’s integrity and extend your shelter’s lifespan.
Before you fully tighten your tent body, slip the rainfly over the frame – this timing makes all the difference between a quick setup and a frustrating wrestling match.
When your tent’s still got some slack, you’ll have room to maneuver the rainfly without fighting against tight fabric.
Here’s your step-by-step approach:
This method prevents that annoying scenario where you’re stretching and pulling fabric that won’t cooperate. You’ll save time, reduce wear on your gear, and avoid those moments when you’re questioning your outdoor skills. If you’re camping near water sources, knowing how to safely cross rivers becomes just as important as efficient tent setup for your overall outdoor safety.
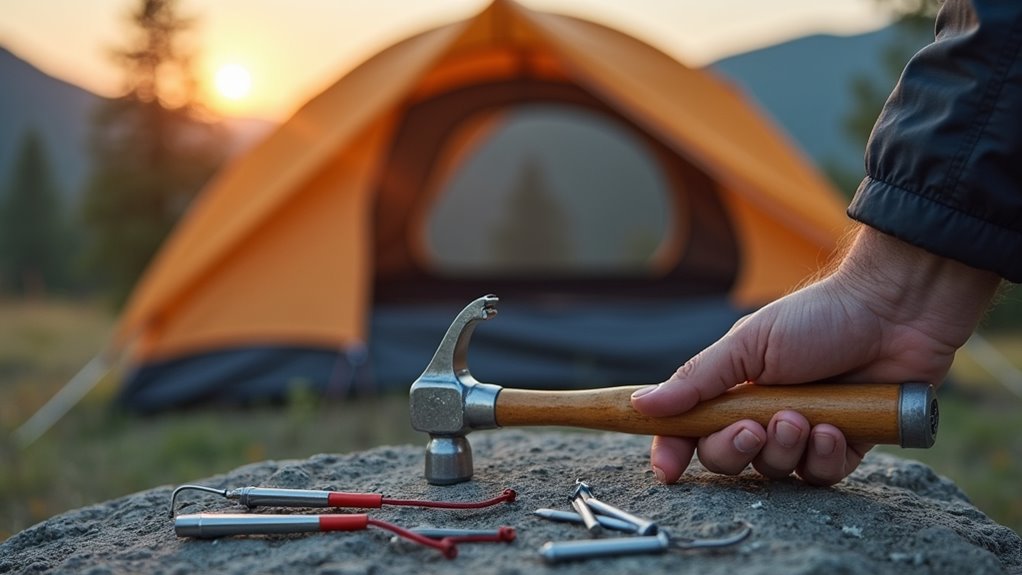
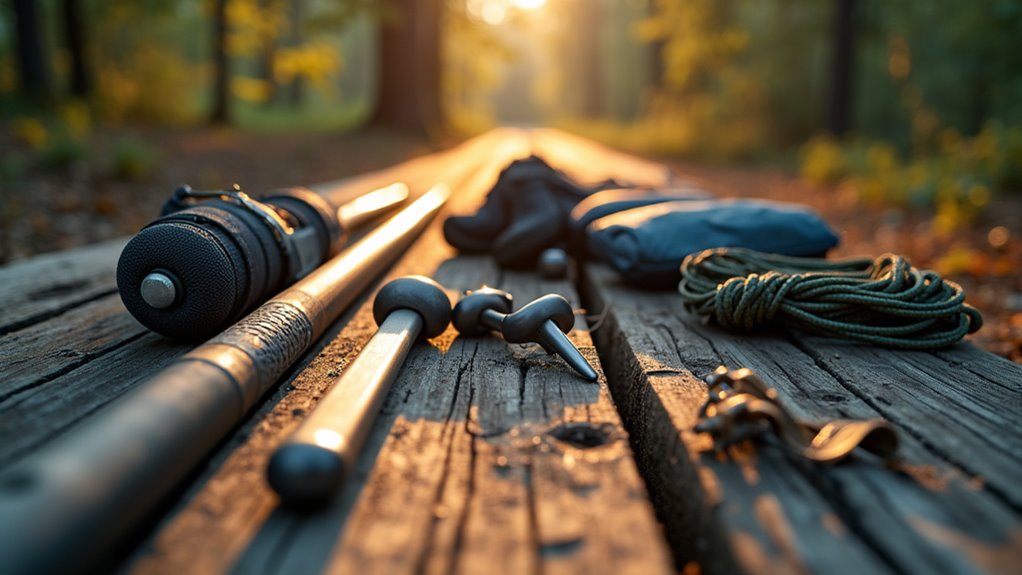
While fumbling around for your tent stakes or mallet slows down the entire setup process, organizing your essential tools beforehand keeps you moving efficiently. Before you start, gather your tent stakes, mallet or hammer, and any repair tape in one accessible spot near your setup area.
Keep these items in a dedicated gear bag or pocket so you’re not digging through your entire pack mid-setup. If you don’t own a mallet, a sturdy rock works just as well for driving stakes.
Place your tools on a tarp or groundsheet to prevent them from getting lost in grass or dirt. Having everything within arm’s reach means you’ll maintain momentum throughout the process, especially when weather conditions demand speed.
If you’re planning to upgrade to a more permanent camping solution, consider exploring motorhome shows where you can discover the latest in mobile camping technology and comfort.
Once you’ve set up your tent a few times, you’ll notice certain steps work better in a specific order. Creating a consistent routine saves time and prevents mistakes, especially when you’re tired or dealing with bad weather.
Your setup routine should follow these key steps:
Following a consistent setup routine transforms tent pitching from chaotic guesswork into an efficient, reliable process every camper can master.
This methodical approach becomes second nature quickly, turning tent setup from a frustrating puzzle into a smooth, automatic process. Before developing your routine, make sure you’ve selected the perfect camping tent that matches your specific outdoor needs and camping style.
You’ll turn tent setup from a wrestling match into a well-oiled machine once you’ve mastered these techniques. Don’t let Mother Nature catch you off-guard—practice makes perfect, and your wallet will thank you for avoiding those pricey campground cabin rentals when the weather turns nasty. With your newfound speed and efficiency, you’ll be sipping cocoa inside your cozy shelter while others are still fumbling with their poles in the dark.