Physical Address
304 North Cardinal St.
Dorchester Center, MA 02124
Physical Address
304 North Cardinal St.
Dorchester Center, MA 02124
Nearly every hiker makes these preventable footwear mistakes that cause painful blisters, but the surprising solution changes everything.
You might think blisters are just part of hiking, but they’re completely preventable with the right approach. Every experienced hiker has faced that familiar burning sensation that can turn an amazing trail adventure into a painful ordeal. The truth is, most people make simple mistakes with their footwear and preparation that lead to hot spots and blisters. Once you understand what’s really causing this friction and moisture buildup, you’ll discover why some hikers never seem to struggle with foot problems while others suffer mile after mile.
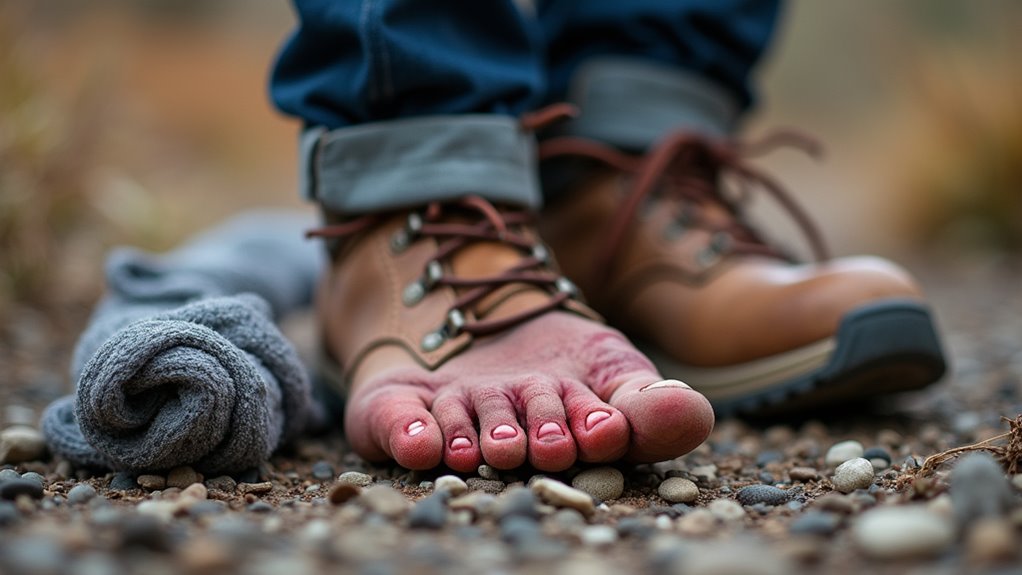
When you’re miles into a beautiful hike and feel that telltale burning sensation in your boot, you’re likely dealing with a blister in the making. Blisters form when friction repeatedly rubs against your skin, creating heat and separation between skin layers.
This happens when your feet slide around inside ill-fitting boots, your socks bunch up, or moisture makes everything slippery.
The most common culprits include boots that are too tight or too loose, cotton socks that retain moisture, and feet that aren’t properly conditioned for long distances.
Hot spots—those areas where you first feel irritation—are your early warning system. Your heel, toes, and the ball of your foot are prime real estate for blister formation since they experience the most movement and pressure during hiking.
Just like protecting your other gear during off-season months, proper camping gear storage can help maintain the quality of your hiking boots and prevent moisture-related issues that contribute to blisters.
Since proper footwear serves as your first line of defense against blisters, you’ll want to invest time in finding boots or shoes that fit like they were made for your feet.
Shop for hiking footwear in the afternoon when your feet are slightly swollen, mimicking trail conditions. Your toes should have wiggle room without sliding forward on descents.
Shop for hiking boots in the afternoon when your feet are naturally swollen to ensure proper trail fit.
Choose materials that breathe well and break in new boots gradually before hitting challenging trails.
Consider your foot shape – wide feet need wide boots, and high arches require adequate support.
Don’t assume your regular shoe size translates to hiking boots, as sizing varies between brands.
Replace worn-out footwear promptly, as compressed cushioning and smooth treads contribute to hot spots that become painful blisters.
Just as church camp experiences build character through outdoor challenges, proper hiking preparation creates meaningful connections with nature while keeping your feet comfortable on the trail.
Even the best-fitting boots won’t protect you from blisters if you’re wearing the wrong socks. Your sock choice can make or break your hiking experience, literally.
Choose moisture-wicking synthetic materials or merino wool over cotton, which retains moisture and creates friction. Consider sock layering – a thin liner sock underneath your hiking sock creates a protective barrier that reduces rubbing against your skin.
Here’s what proper sock layering looks like:
This double-layer system lets friction occur between socks rather than against your skin, dramatically reducing blister formation while keeping your feet dry and comfortable. Whether you’re exploring national parks on foot or setting up camp after RV travel, proper foot care remains essential for outdoor adventures.
While proper socks form your first line of defense, your feet need conditioning before they hit the trail. Start preparing weeks before your hike by gradually increasing your walking distance. Wear your hiking boots during daily activities to break them in naturally.
Strengthen your feet with simple exercises like toe curls, calf raises, and picking up marbles with your toes. These movements build the small muscles that support your arches and prevent fatigue.
Toughen your skin by walking barefoot on different surfaces when possible. This builds natural calluses in the right places.
Don’t forget to trim your toenails straight across, leaving them slightly long to prevent ingrown nails. File any rough edges that might catch on socks.
Pack essential first aid items like blister treatment and bandages in case your preparation efforts need backup support on the trail.
Your feet will thank you when you’re miles into your adventure.
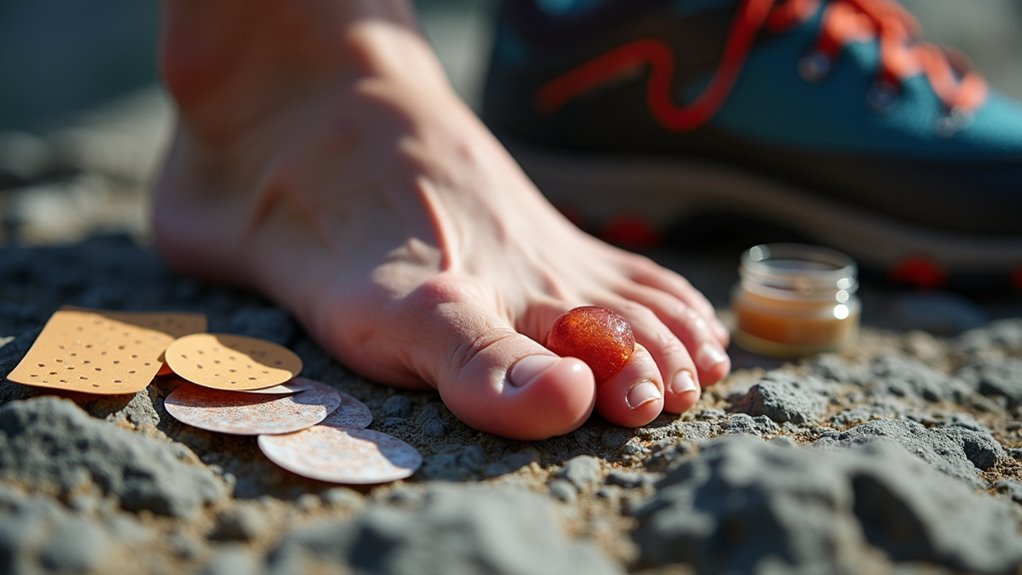
Beyond conditioning your feet, the right gear makes all the difference in preventing painful blisters on the trail. You’ll want to invest in quality products that create barriers between your skin and potential friction points.
Essential blister prevention gear includes:
Don’t skimp on these items. They’re lightweight, inexpensive, and can save your entire hiking experience. Pack extras in your first aid kit for emergency trail repairs. Whether you’re pursuing hiking as a hobby or considering mountaineering careers, proper foot care remains fundamental to your success on any trail.
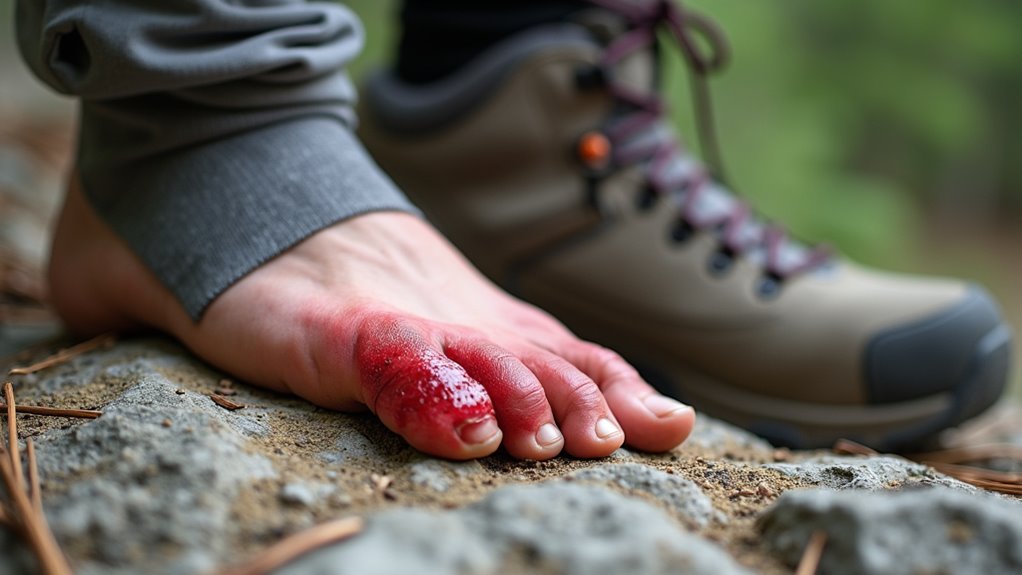
The moment you feel that familiar warmth or tenderness in your foot, stop immediately—don’t push through hoping it’ll go away. Remove your boot and sock to inspect the area. You’ll likely see redness or slight swelling where friction’s occurring.
Clean the hot spot gently with water or antiseptic wipe if available. Apply moleskin, blister tape, or even duct tape directly over the affected area, ensuring smooth edges that won’t create new pressure points. If you don’t have specialized products, medical tape works too.
Before putting your sock back on, adjust your lacing technique—loosen areas creating pressure while maintaining heel security. Consider changing to thinner socks or adding toe separators if you’re experiencing friction between toes.
Taking five minutes now prevents hours of painful hiking later. This same principle applies to ice climbing adventures, where proper foot care becomes even more critical in extreme cold conditions.
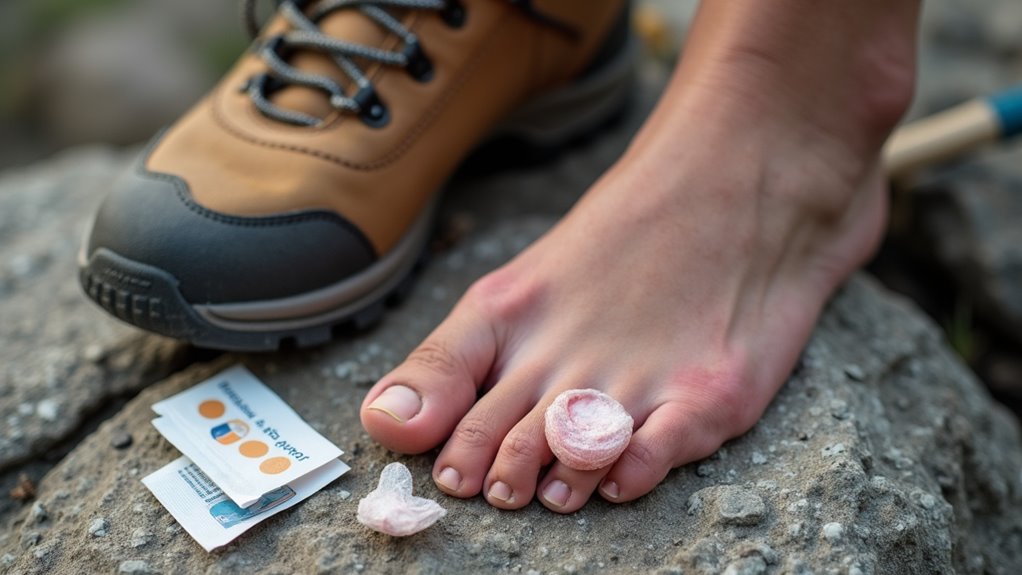
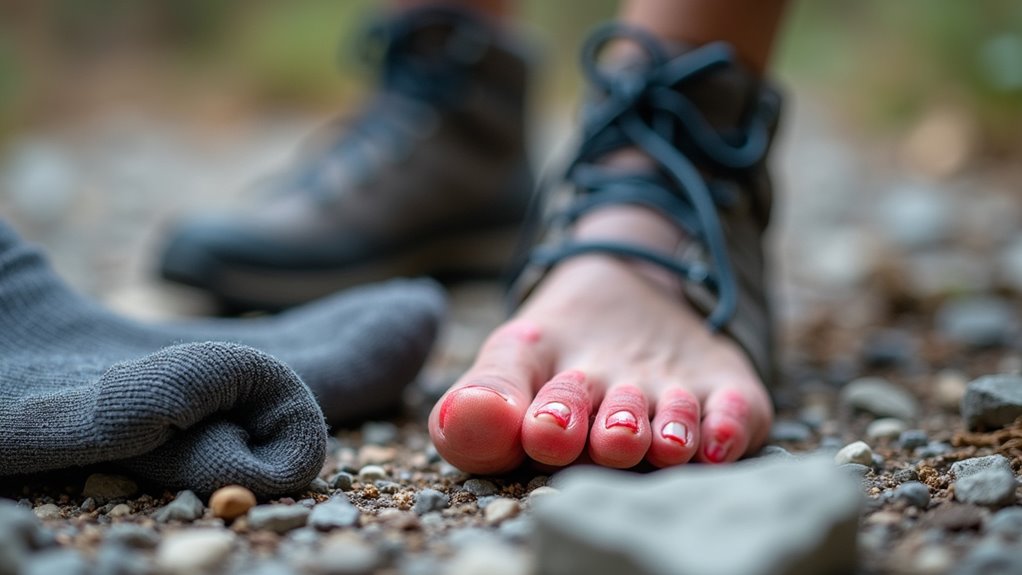
Sometimes despite your best efforts, that hot spot develops into a full blister before you can prevent it. Don’t panic – you’ve got options to keep hiking comfortably.
Don’t let blisters derail your adventure – with the right approach, you can treat them and continue hiking safely.
If the blister’s small and painless, leave it alone. Your body will naturally reabsorb the fluid. However, if it’s large or causing significant discomfort, you’ll need to drain it safely:
The skin flap acts as natural protection for healing tissue underneath. Keep the area clean and monitor for infection signs like increased redness or warmth.
Planning affordable camping experiences often involves longer hiking days, making proper blister care even more crucial for enjoying your outdoor adventures.
Don’t let blisters turn your mountain adventure into a painful nightmare! You’ve got the knowledge now – proper footwear, moisture-wicking socks, pre-hike prep, and early hot spot treatment. Remember, prevention’s your best friend on the trail. Pack those blister prevention supplies, listen to your feet, and address issues before they snowball. With these strategies in your hiking toolkit, you’ll conquer those peaks with happy, healthy feet every single time.