Physical Address
304 North Cardinal St.
Dorchester Center, MA 02124
Physical Address
304 North Cardinal St.
Dorchester Center, MA 02124

Forget replacing expensive hiking boots every season—these seven simple maintenance secrets will keep your footwear trail-ready for years.
Your hiking boots take a beating on the trails, but most hikers don’t realize they’re shortening their boots’ lifespan with simple mistakes. You’ve invested good money in quality footwear, yet without proper care, even the best boots will fail when you need them most. The difference between boots that last one season versus several years often comes down to seven essential maintenance habits that take just minutes but save you hundreds of dollars.

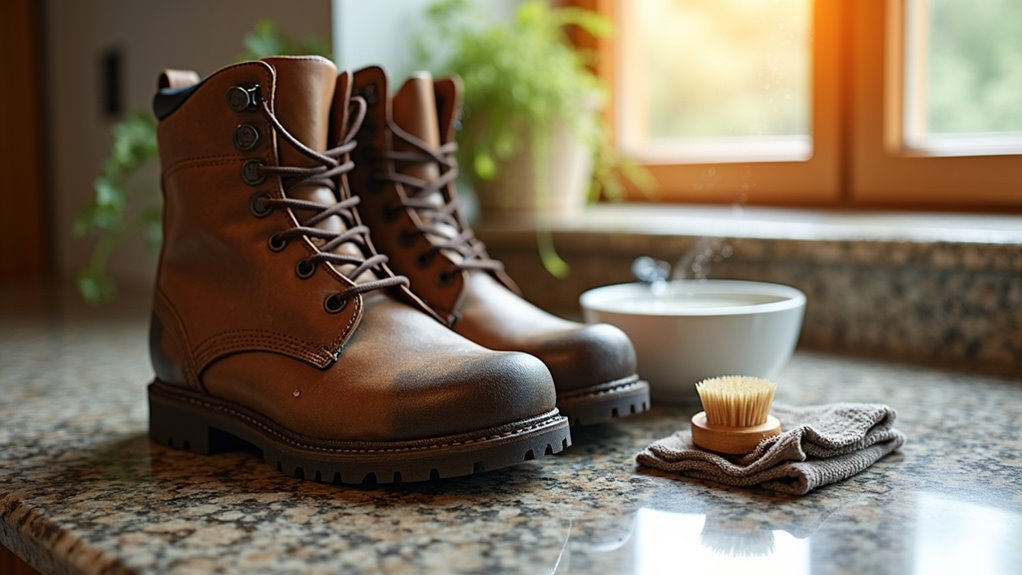
After each hiking adventure, you’ll want to remove dirt, mud, and debris from your boots before they’ve a chance to set in. Start by knocking your boots together to shake off loose dirt and rocks.
Clean your hiking boots immediately after each trail adventure to prevent dirt and mud from permanently setting into the material.
Use a stiff brush or old toothbrush to scrub away stubborn mud from the treads and seams. Don’t forget the tongue and laces—they collect grime too.
For leather boots, wipe down with a damp cloth, then let them air dry completely away from direct heat.
Fabric boots can handle a gentle rinse with water. Remove the insoles and laces to clean separately.
Once everything’s dry, you’re ready for the next step in proper boot maintenance. Proper boot care becomes even more important when you consider your camping style, as different outdoor activities will expose your footwear to varying levels of wear and environmental conditions.
Even though you might be enthusiastic to head out on your next trail, rushing your boots back into action while they’re still damp is a recipe for disaster. Wet boots become breeding grounds for bacteria and fungus, leading to unpleasant odors and potential foot infections.
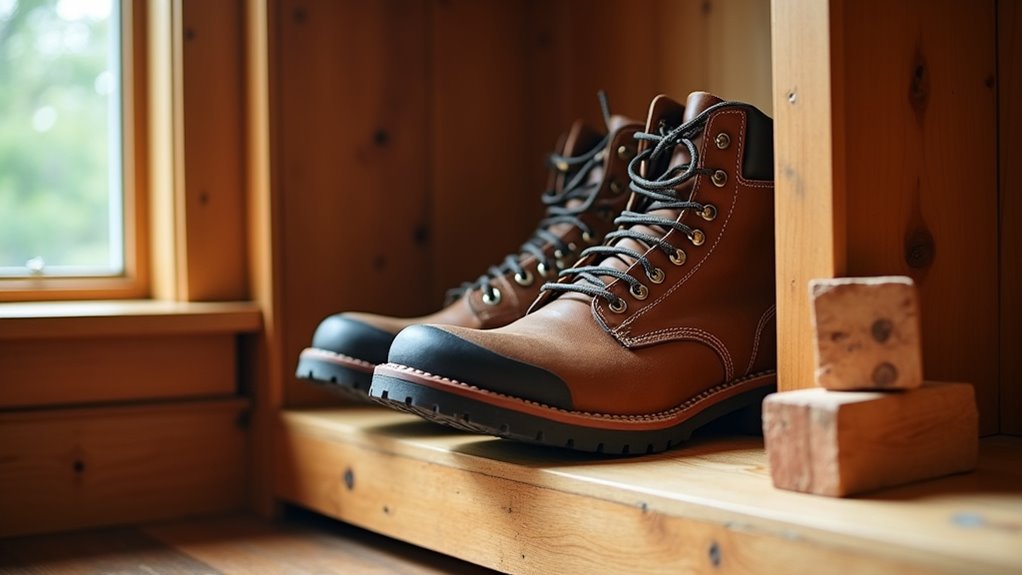
After cleaning, remove the insoles and laces. Then stuff your boots with newspaper or cedar shoe trees to maintain their shape while absorbing moisture. Place them in a well-ventilated area away from direct heat sources like radiators or fireplaces, which can crack the leather and weaken adhesives.
Allow at least 24-48 hours for complete drying, depending on humidity levels. Your boots will thank you with extended lifespan and better performance on future adventures.
Well-maintained hiking boots are essential companions whether you’re exploring mountain trails or enjoying caravan camping adventures in nature’s diverse landscapes.

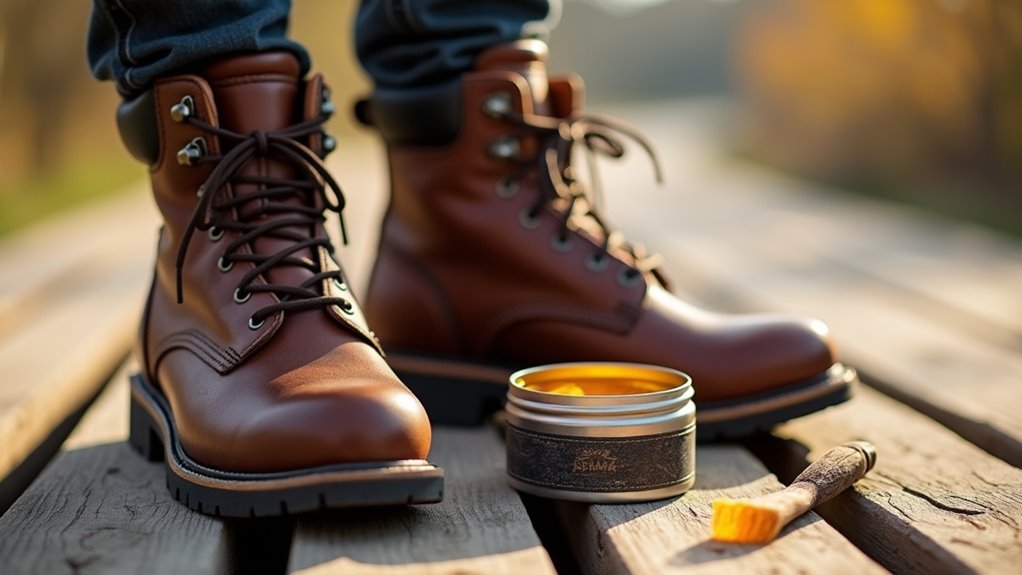
Once your boots are completely dry, it’s time to restore their water-resistant barrier. Waterproofing treatments wear off with use, so you’ll need to reapply them regularly to maintain protection against moisture.
Choose the right product for your boot material. Leather boots need wax-based treatments, while synthetic materials work better with spray-on waterproofing agents. Clean your boots first, removing dirt and debris that could interfere with product absorption.
Match your waterproofing product to your boot material for optimal protection and performance.
Apply the treatment evenly, paying special attention to seams and stress points where water typically penetrates. Don’t oversaturate the material – thin, even coats work best. Allow the treatment to cure completely before wearing your boots.
Reapply waterproofing every 20-30 hikes or whenever you notice water soaking in rather than beading off the surface. Proper winter storage of your hiking boots after waterproofing helps preserve the treatment and extends the life of your gear during the off-season.
While you’re maintaining your boots’ waterproofing, don’t overlook the laces – they’re often the first component to fail on a trail. Check your laces before each hike for fraying, thinning spots, or damaged aglets. These weak points can snap when you’re miles from the trailhead.
Replace laces at the first sign of wear rather than waiting for complete failure. Choose laces made from durable materials like paracord or reinforced nylon that match your boot’s eyelet spacing. Keep the old laces as backups in your pack.
Consider upgrading to round laces if your boots came with flat ones – they typically last longer and grip better in the eyelets. Always carry spare laces on multi-day trips since a broken lace can end your adventure early.
Just as you regularly adjust hiking poles for comfort and efficiency on the trail, taking time to properly maintain your laces ensures your boots perform optimally throughout your hike.

Proper storage can make the difference between boots that last for years and ones that deteriorate in your closet. You’ll want to create an environment that prevents damage from moisture, heat, and pests while maintaining the boot’s shape and materials.
Choose a cool, dry location away from direct sunlight and heat sources. Stuff your boots with newspaper or boot trees to maintain their shape and absorb residual moisture. Make certain they’re completely dry before storage to prevent mold and mildew growth.
Just like deciding whether to rent or buy equipment for outdoor activities, consider your storage options carefully to maximize the lifespan of your investment.
Although leather hiking boots are built to withstand tough conditions, they’ll crack and deteriorate without regular conditioning. Apply leather conditioner every 3-4 months or after particularly muddy hikes to keep the material supple and waterproof.
Choose a conditioner specifically designed for hiking boots rather than generic leather products. Clean your boots thoroughly before conditioning – dirt and debris prevent proper absorption.
Apply the conditioner with a clean cloth, working it into seams and creases where cracking typically begins. Don’t oversaturate the leather, as excess product can clog pores and reduce breathability.
Focus extra attention on high-stress areas like the toe box and heel. Allow boots to dry naturally after conditioning – never use direct heat.
Well-conditioned leather stays flexible, maintains waterproofing, and markedly extends your boots’ lifespan. Just as you invest in quality winter sleeping bags for cold weather adventures, properly maintained hiking boots are essential gear that will serve you reliably across multiple seasons and challenging conditions.

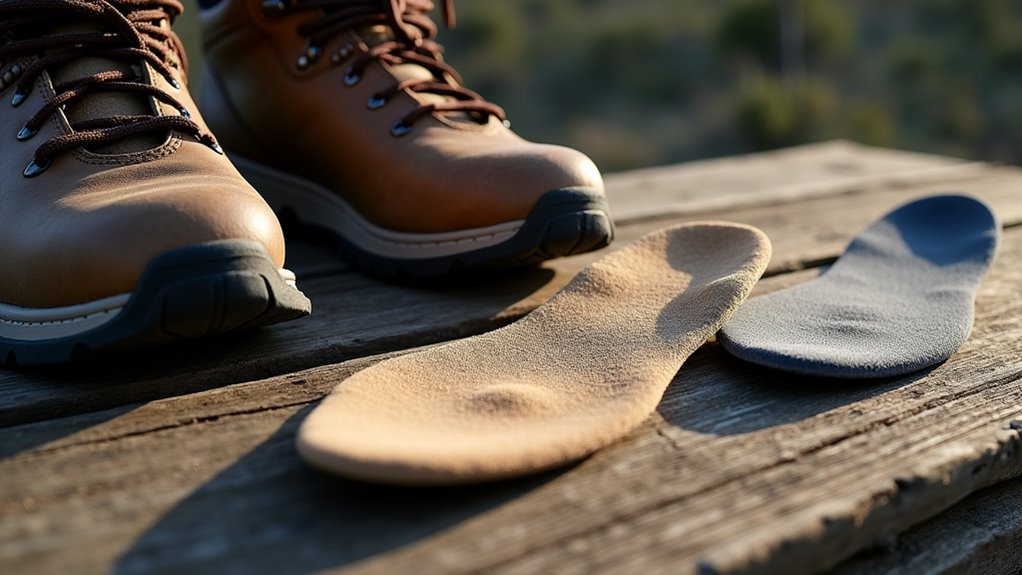
Even the best hiking boots can’t provide proper support when their insoles have compressed and worn down. Your feet will suffer from poor arch support, increased fatigue, and potential injury if you don’t replace worn insoles promptly.
Worn insoles compromise even premium hiking boots, leading to poor arch support, foot fatigue, and increased injury risk.
Watch for these signs that it’s time for new insoles:
Don’t wait until your insoles are completely shot. Quality aftermarket insoles often provide better support than factory ones.
Choose insoles designed for hiking that match your foot type and gait pattern. When hiking with children, the same principles apply – regularly check your kids camping gear to ensure everything provides adequate support and protection for their developing feet.
Your hiking boots are your faithful trail companions—treat them like the workhorses they are. Follow these seven maintenance tips religiously, and you’ll squeeze every mile out of your investment. Don’t cut corners on care; clean them thoroughly, dry them properly, and keep that leather conditioned. Replace what’s worn before it fails you mid-hike. With consistent attention, your boots’ll carry you through countless adventures without missing a beat.