Physical Address
304 North Cardinal St.
Dorchester Center, MA 02124
Physical Address
304 North Cardinal St.
Dorchester Center, MA 02124
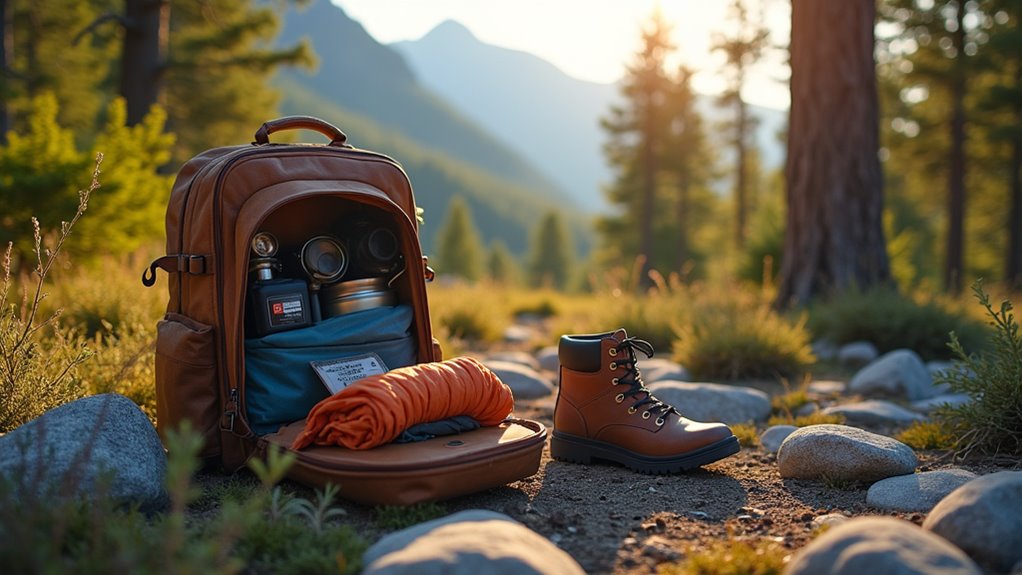
Overnight hiking success depends on mastering these 8 crucial packing strategies that separate seasoned adventurers from struggling beginners.
Like the Boy Scouts say, “Be prepared”—but when you’re planning an overnight hiking trip, preparation means more than just good intentions. You’ll face countless gear choices, weight considerations, and safety decisions that can make or break your adventure. The difference between a memorable experience and a miserable slog often comes down to how you pack. Master these eight essential strategies, and you’ll discover why experienced hikers swear by them.
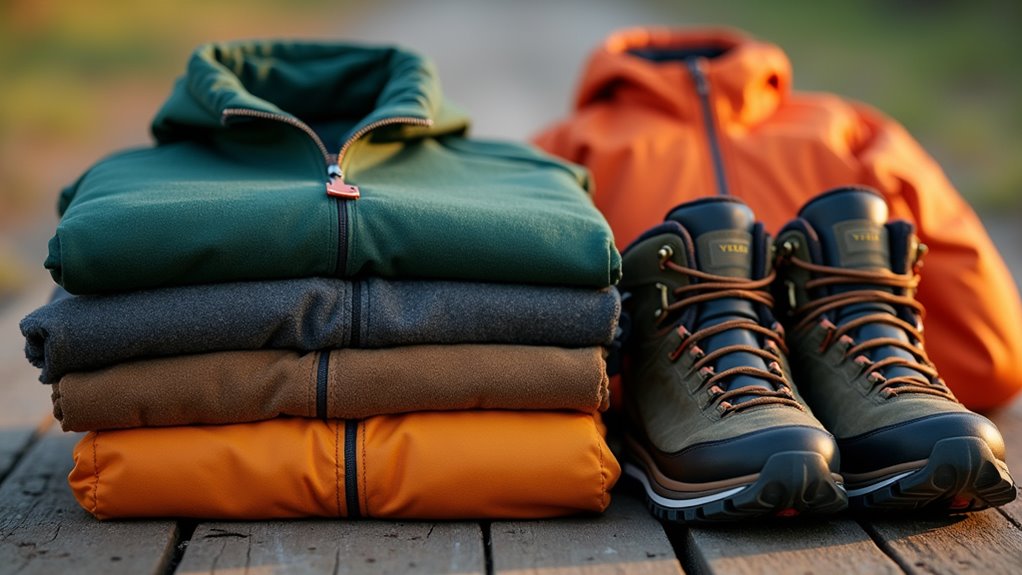
When you’re planning your hiking wardrobe, think in threes: base layer, insulating layer, and outer shell.
Your base layer should wick moisture away from your skin – synthetic materials or merino wool work best, though synthetic options cost less. Skip cotton completely since it retains moisture and loses insulation when wet.
Synthetic materials and merino wool excel at moisture-wicking for base layers, while cotton should be avoided entirely due to poor wet-weather performance.
Your insulating layer traps warm air close to your body. Fleece jackets or down vests are popular choices, but a simple wool sweater from a thrift store works too.
The outer shell protects you from wind and rain. You don’t need expensive gear – a basic waterproof jacket will do.
This system lets you adjust your temperature by adding or removing layers as conditions change throughout your hike. Remember that proper camping clothes are essential for staying comfortable and safe during outdoor adventures.
Since every ounce counts on the trail, you’ll want gear that pulls double duty. Smart hikers choose items that serve multiple functions without breaking the bank.
Your trekking poles can double as tent poles for ultralight shelters. A bandana works as a towel, first-aid wrap, or pot holder. Pack a lightweight spork instead of separate utensils. Choose a headlamp with red light mode for preserving night vision and reading maps.
Your smartphone replaces a camera, GPS, flashlight, and entertainment system. A sturdy water bottle can store hot drinks or serve as a makeshift rolling pin. Duct tape wrapped around your poles fixes gear and prevents blisters.
A quality air mattress can serve as both your sleeping pad and a comfortable seat around camp during rest breaks. Before buying specialized gear, ask yourself: “What else can this do?” Multi-purpose items save weight, space, and money.

Smart gear choices matter, but how you pack them makes the difference between a comfortable hike and a painful slog. Proper weight distribution transforms your backpack from a burden into a balanced extension of your body.
Follow this proven packing strategy:
You’ll notice the difference immediately. Your back won’t ache, you’ll maintain better posture, and those uphill climbs become manageable instead of miserable.
When planning overnight trips in winter conditions, ensure your snow camping gear is packed with extra attention to weight distribution since cold weather equipment tends to be bulkier and heavier.
While a well-packed bag keeps you comfortable, the right safety gear keeps you alive. Don’t skimp on essentials even if you’re watching your budget – your life’s worth more than saving a few dollars.
Pack a first aid kit with bandages, antiseptic, pain relievers, and any personal medications. A whistle costs under five bucks but can save your life if you’re lost. Bring a headlamp plus backup batteries – phone flashlights die when you need them most.
Include a map and compass, even if you’re using GPS. Technology fails, but these don’t need batteries. Pack emergency shelter like a space blanket or bivy sack.
Finally, tell someone your route and expected return time before you leave. Remember that family camping requires similar safety preparation principles whether you’re car camping or backpacking overnight.

When you’re hauling every ounce on your back, food choices make or break your energy levels and pack weight. Smart meal planning prevents you from carrying unnecessary bulk while keeping you properly fueled.
Focus on calorie-dense options that won’t weigh you down. Nuts, dried fruits, and energy bars pack serious nutrition per ounce. Skip fresh produce for longer trips—it’s heavy and spoils quickly.
Here’s your food game plan:
Calculate roughly 2,500-3,000 calories per day for moderate hiking.
Remember that proper food storage techniques will protect your supplies from wildlife and prevent spoilage during your outdoor adventure.
After sorting out your meals, you’ll need somewhere to sleep that won’t leave you soaked, frozen, or broke. Your shelter choice depends on weather conditions and terrain.
For fair weather, a lightweight tarp or bivy sack saves money and pack weight. Three-season tents handle most conditions hikers encounter – they’re versatile and reasonably priced. Four-season tents cost more but you’ll need them for winter camping or extreme weather.
Check the tent’s footprint size against your typical camping spots. Freestanding tents work on rocky ground where you can’t stake down guy-lines. Ultralight options cut weight but sacrifice durability and space.
Consider your camping terrain when choosing tent size and style – freestanding designs excel on rocky surfaces where traditional staking fails.
Don’t forget a sleeping pad – it’s essential for insulation from cold ground. Closed-cell foam pads are cheap and bulletproof, while inflatable pads offer better comfort. Pack camping showers to maintain hygiene during your overnight adventure.
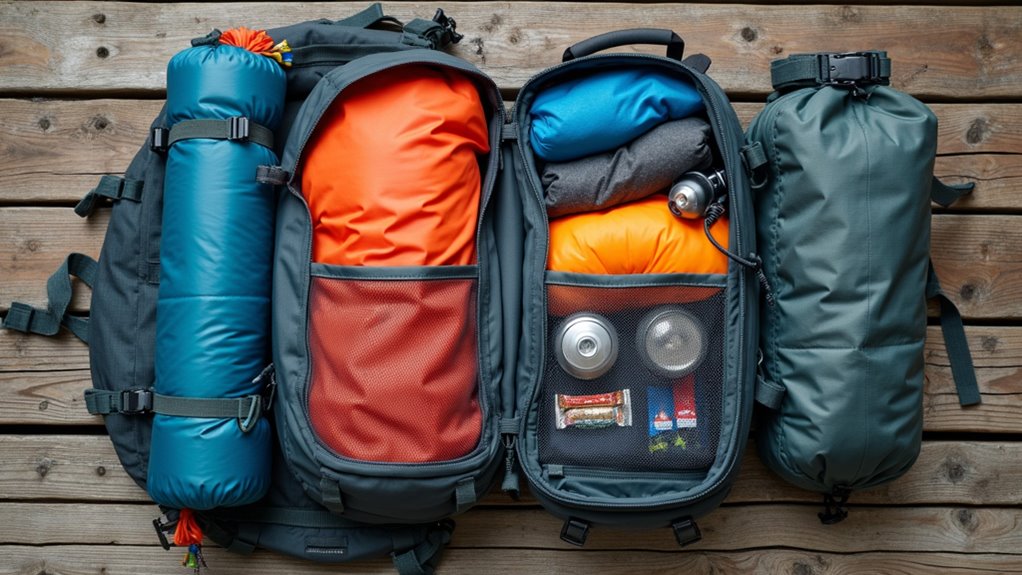
Since you’ve got your shelter sorted, it’s time to pack smart so you’re not digging through your entire bag for a granola bar. Strategic compartmentalization saves time, energy, and sanity on the trail.
Pack heavy items close to your back and centered between your shoulder blades. This keeps your balance steady and reduces strain. Use your pack’s built-in pockets and compartments, or invest in affordable packing cubes to create zones.
Here’s your game plan:
You’ll thank yourself when you’re not unpacking everything just to find your headlamp. Just like avoiding common mistakes when purchasing gear, proper packing organization prevents frustrating issues that can derail your outdoor adventure.
Before you hit the trail, load up your fully packed backpack and take it for a spin around your neighborhood or local park. This test run reveals weight distribution issues, uncomfortable pressure points, and gear accessibility problems you won’t want to discover miles into the wilderness.
Walk for at least 30 minutes with your full load. Pay attention to how the pack sits on your shoulders and hips. Does anything dig in or rub? Can you easily reach your water bottle and snacks without removing the pack?
Use this opportunity to practice your packing system. Time how quickly you can access essential items like your first-aid kit, headlamp, or rain gear. Make adjustments based on what feels awkward or inefficient during your trial run.
This testing phase also helps you determine what camping style works best for your comfort level and experience, whether you prefer minimalist backpacking or a more supported approach to overnight trips.
You’ve now got the ultimate hiking arsenal that’ll transform you from a stumbling pack mule into a wilderness wizard! These eight game-changing tips won’t just save your back—they’ll save your entire trip from disaster. Don’t you dare hit the trail without testing every single piece of gear first. Your future self will either thank you profusely or curse you eternally. Make the smart choice and pack like your life depends on it.