Physical Address
304 North Cardinal St.
Dorchester Center, MA 02124
Physical Address
304 North Cardinal St.
Dorchester Center, MA 02124

Conquer humid hiking conditions with these essential strategies that will transform your sweaty, miserable trail experiences into comfortable adventures.
You’ve probably experienced that suffocating wall of humidity that hits during summer hikes – where sweat won’t evaporate and every step feels like you’re breathing through a wet towel. While many hikers avoid humid conditions altogether, you don’t have to cancel your outdoor plans or break the bank on expensive gear. With the right strategies and a few smart adjustments to your usual routine, you can tackle those muggy trails safely and still enjoy the experience.
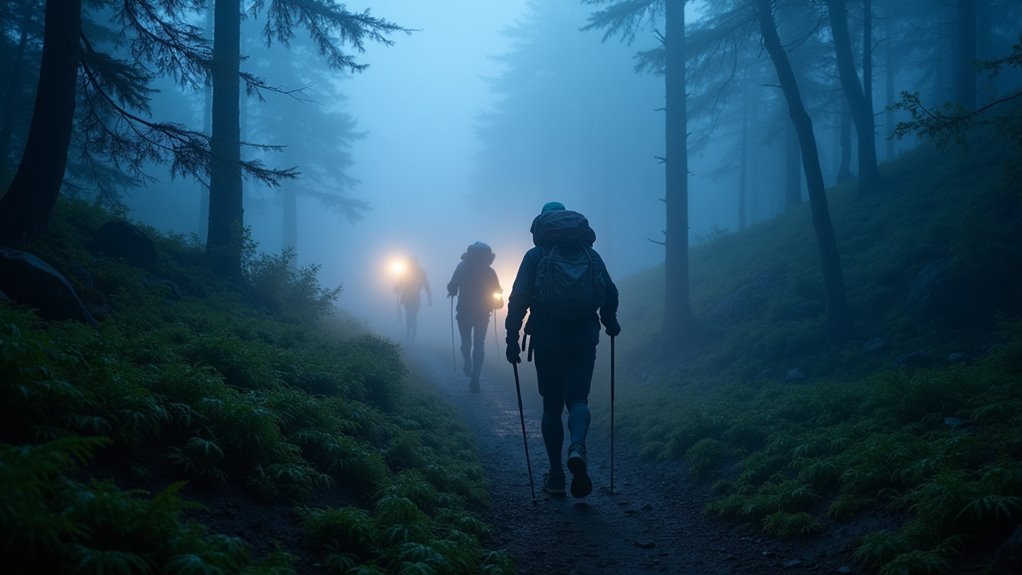
When you’re planning a hike in humid conditions, timing becomes your most powerful ally against exhausting heat and oppressive moisture. Start your trek before sunrise—ideally between 5:30 and 6:30 AM—when temperatures are coolest and humidity hasn’t peaked yet.
You’ll cover more ground with less effort during these early hours. Pack your gear the night before to avoid rushed morning preparations. Set multiple alarms since early starts can be tough initially.
Early preparation eliminates morning stress—pack gear beforehand and use multiple alarms to ensure your pre-dawn hiking adventure starts smoothly.
Don’t worry about expensive gear for dawn hikes; a basic headlamp and lightweight layers work perfectly. The payoff is substantial: you’ll experience cooler air, encounter fewer crowds, and finish before afternoon heat becomes unbearable.
Plus, early morning wildlife sightings make those pre-dawn wake-ups worthwhile. Many senior hikers find that early morning starts align perfectly with their natural sleep patterns and energy levels.
Since sweat becomes your biggest enemy in humid conditions, your clothing choices can make or break your hiking experience. Skip cotton completely—it traps moisture and stays wet, creating a breeding ground for chafing and discomfort. Instead, choose synthetic fabrics like polyester or nylon that wick sweat away from your skin.
You don’t need expensive gear to stay comfortable. Many budget retailers offer moisture-wicking shirts for under $15. Look for loose-fitting clothes that allow air circulation around your body. Light colors reflect heat better than dark ones, keeping you cooler.
Consider merino wool for longer hikes—it’s naturally odor-resistant and performs well when wet. Mesh panels in shirts and shorts boost ventilation.
Your underwear matters too; moisture-wicking briefs prevent painful chafing in humid conditions. These same moisture-wicking principles apply year-round, making your clothing choices equally important for fall camping adventures when temperatures fluctuate.
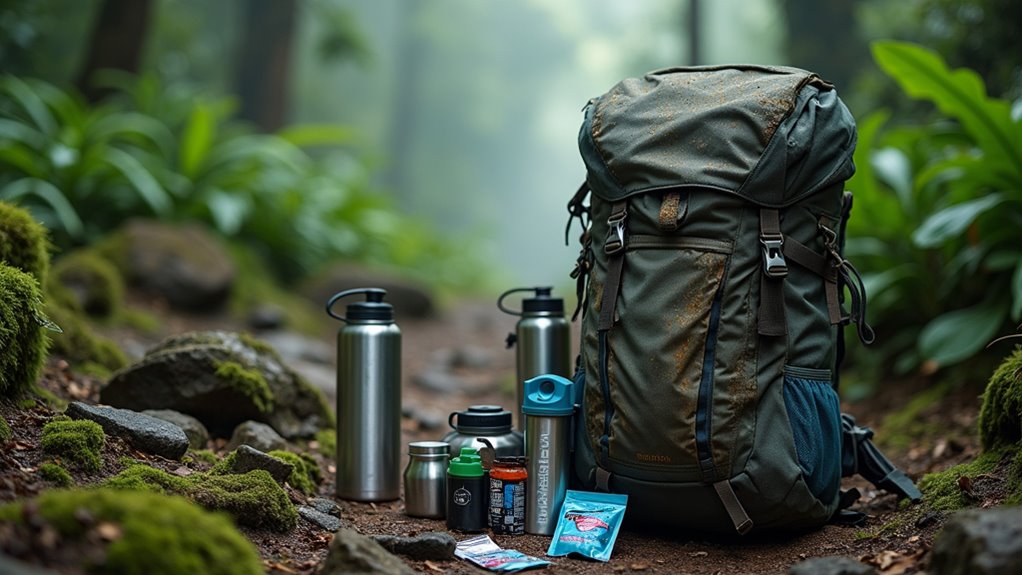
Even the best moisture-wicking clothes won’t help if you’re dehydrated. In humid conditions, you’ll sweat more than usual, losing both water and essential minerals. Pack at least 50% more water than you’d normally carry – humidity makes dehydration sneaky since sweat doesn’t evaporate quickly.
Don’t splurge on expensive electrolyte drinks. Instead, bring affordable electrolyte powder packets or tablets that you can mix with your water. They’re lightweight and cost-effective. You can even make your own by mixing a pinch of salt and sugar into your water bottle.
Watch for early dehydration signs: headache, dizziness, or reduced sweating. Start drinking before you feel thirsty, and sip regularly throughout your hike. Your body needs consistent hydration to handle humid heat effectively. While humid hiking presents unique challenges, even extreme conditions like glacier climbing require similar attention to hydration and electrolyte balance.
While your body works overtime to cool itself in humid conditions, regular shade breaks become your best defense against overheating. You’ll need to rest more frequently than you’d in dry climates, so don’t push through fatigue.
Your body battles harder against humid heat than dry conditions, making frequent rest stops essential rather than optional for safe hiking.
Here’s how to maximize your shade breaks:
These same principles apply whether you’re day hiking or planning multi-day camping adventures where proper rest and recovery become even more critical for your safety and enjoyment.

Though heat exhaustion can sneak up quickly in humid conditions, you’ll have a fighting chance if you know what warning signs to watch for. Pay attention to excessive sweating or suddenly stopping sweating altogether – both signal trouble.
Heavy breathing, dizziness, nausea, and muscle cramps are red flags that demand immediate action.
Check your mental state regularly. If you’re feeling confused, irritable, or having trouble concentrating, your body’s overheating. Headaches and weakness are equally serious warnings.
Don’t ignore these symptoms or push through them – that’s how emergencies happen. Stop hiking immediately, find shade, remove excess clothing, and sip water slowly.
If symptoms worsen or don’t improve within 30 minutes, seek help. Your safety trumps any hiking goal.
Just like deciding whether to rent or buy watercraft for fishing adventures, choosing the right approach to heat management can make or break your outdoor experience.
Beyond recognizing heat exhaustion symptoms, you can prevent overheating by choosing smarter trail routes. In humid conditions, natural airflow becomes your best friend for staying cool without spending extra money on gear.
Look for these trail features that promote better ventilation:
You’ll stay more comfortable and reduce heat stress by prioritizing these naturally ventilated areas over enclosed, sheltered pathways. Consider your camping style when planning these trail routes, as different approaches to outdoor recreation will influence which ventilation strategies work best for your hiking experience.
How fast should you hike when the air feels thick as soup? Slow down considerably – your body’s working overtime to cool itself in humid conditions. Start at 60-70% of your normal pace and listen to your body’s signals.
Take frequent micro-breaks every 10-15 minutes instead of pushing through until you’re exhausted.
Watch for early warning signs like excessive sweating, dizziness, or nausea. If you’re breathing hard or feeling overheated, stop immediately. Find shade and hydrate before continuing.
Plan shorter distances than usual – humidity taxes your energy reserves faster than dry heat. You’ll save money on emergency supplies and potential rescue costs by being conservative. Remember, completing a shorter hike safely beats turning back halfway through a longer one.
Consider your backpack choice carefully for humid conditions, as internal frame packs typically offer better ventilation and weight distribution than external frame options, helping reduce heat buildup against your back.
When humidity makes every step feel like you’re walking through a sauna, the right cooling gear can make or break your hike. You don’t need expensive gadgets to stay comfortable—simple, affordable accessories work wonders.
Here are three budget-friendly cooling essentials:
These simple tools help regulate your body temperature without breaking the bank or adding significant weight to your pack. Remember that even with proper cooling gear, knowing how to handle camping mishaps can be crucial when extreme heat leads to unexpected situations on the trail.

Since humid conditions drain your energy faster than dry climates, you’ll need to cut your usual hiking distances by at least 25-30%. Your body works overtime to cool itself through sweating, leaving less energy for forward movement.
Start with half your normal distance when first adapting to humid hiking. If you typically hike 8 miles, aim for 4 miles initially. You can gradually increase as your body acclimates over several trips.
Plan multiple shorter hikes instead of one long adventure. This approach saves money on accommodations while reducing heat exhaustion risks. Choose trails with frequent shade, water sources, or bailout points.
Always have an exit strategy if conditions become overwhelming. Remember, it’s better to finish strong on a shorter hike than struggle through a longer one.
Consider utilizing the share economy for camping gear rentals, which allows you to access specialized humid-weather equipment without the upfront investment of purchasing items you might only use occasionally.
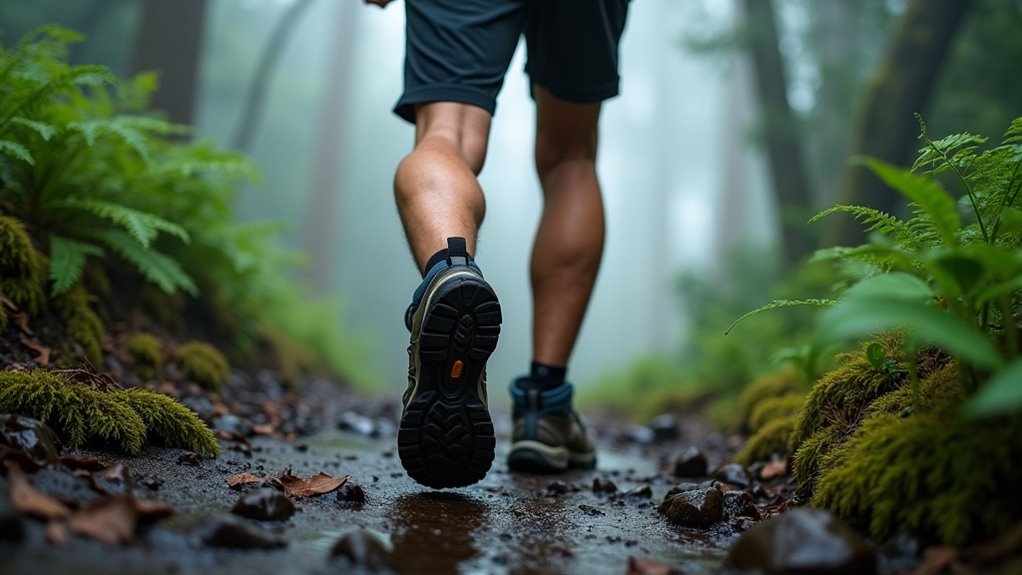
While your feet endure constant moisture in humid conditions, they’re also fighting against increased friction that leads to painful blisters. Smart foot care prevents these issues without breaking your budget.
These simple steps keep your feet comfortable and blister-free.
Beyond caring for your feet, humid hiking conditions create friction problems across your entire body that require smart preparation. Pack anti-chafing products like petroleum jelly, body glide, or even deodorant sticks—they’re cheaper alternatives that work just as vital. Focus on high-friction areas: inner thighs, underarms, waistband, and bra line.
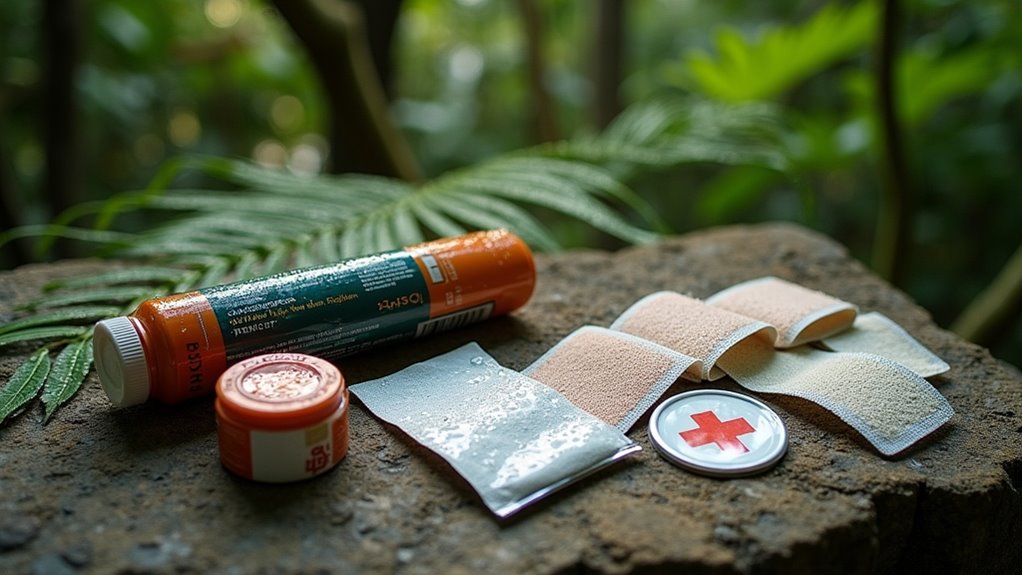
Your first aid kit needs humidity-specific additions. Include extra bandages since sweat makes them lose adhesion quickly. Pack antifungal powder for treating hot spots before they become infections. Moleskin patches are essential for immediate blister protection. Add antiseptic wipes—they’re lightweight and indispensable when minor cuts won’t stay clean in sweaty conditions.
Don’t forget electrolyte tablets or packets. They’re compact, affordable, and help prevent cramping when you’re losing excessive salt through perspiration. When planning your gear, consider that camping cookware should be lightweight and multi-functional to reduce the overall weight of your pack in humid conditions where every ounce matters.
Even experienced hikers can find themselves overwhelmed by humid conditions that escalate faster than expected. Recognizing warning signs and making smart decisions can prevent dangerous situations without breaking your budget on emergency rescues.
Trust your instincts when conditions worsen. Here are three key indicators it’s time to change plans:
Your gut feelings about dangerous conditions often prove more reliable than weather forecasts or trail apps when hiking safety is at stake.
Don’t let pride override safety. Turning back early costs nothing but saves everything.
Natural shelters like rock overhangs or dense tree canopies provide free protection while you reassess conditions. Plus, humid environments create ideal conditions for ticks, so checking for tick bites should be part of your safety routine when taking shelter or setting up camp.
You’ll sweat up to four times more in humid conditions than dry climates, so don’t underestimate these preparation steps. Following these budget-friendly tips—from starting early to packing DIY electrolyte solutions—can make the difference between a memorable adventure and a dangerous situation. Remember, it’s better to cut your hike short and return safely than push through warning signs your body’s sending. Pack smart, stay hydrated, and you’ll conquer even the stickiest trails ahead.