Physical Address
304 North Cardinal St.
Dorchester Center, MA 02124
Physical Address
304 North Cardinal St.
Dorchester Center, MA 02124

Transform your hiking experience by discovering the secret to finding lightweight boots that won't leave you hobbling home in agony.
While heavy, clunky boots might seem sturdy, they’ll turn your scenic hike into a leg-dragging ordeal that kills the joy of being outdoors. You don’t need to spend a fortune on lightweight hiking boots, but you can’t just grab the cheapest pair either. The right boots balance comfort, weight, and durability without breaking your budget. Here’s how to find that sweet spot and avoid the painful mistakes that’ll have you limping back to the trailhead.

Before you start browsing through countless boot options online, you’ll need to honestly assess what kind of hiking you actually do. Are you tackling rocky mountain trails or strolling through well-maintained park paths? Day hikes require different support than multi-day backpacking trips where you’re carrying extra weight.
Consider your typical terrain: muddy trails need aggressive tread patterns, while smooth paths don’t require heavy-duty soles that’ll just add unnecessary weight and cost. Think about weather conditions too – if you’re hiking in consistently dry climates, you can skip expensive waterproof features.
Your ankle stability matters as well. Wobbly ankles benefit from higher-cut boots, while sure-footed hikers can choose lighter low-cut options. Match your boot’s capabilities to your actual needs, not your hiking fantasies.
When selecting hiking boots for your adventures, remember that the perfect pair balances protection, comfort, and weight based on your specific trail requirements.
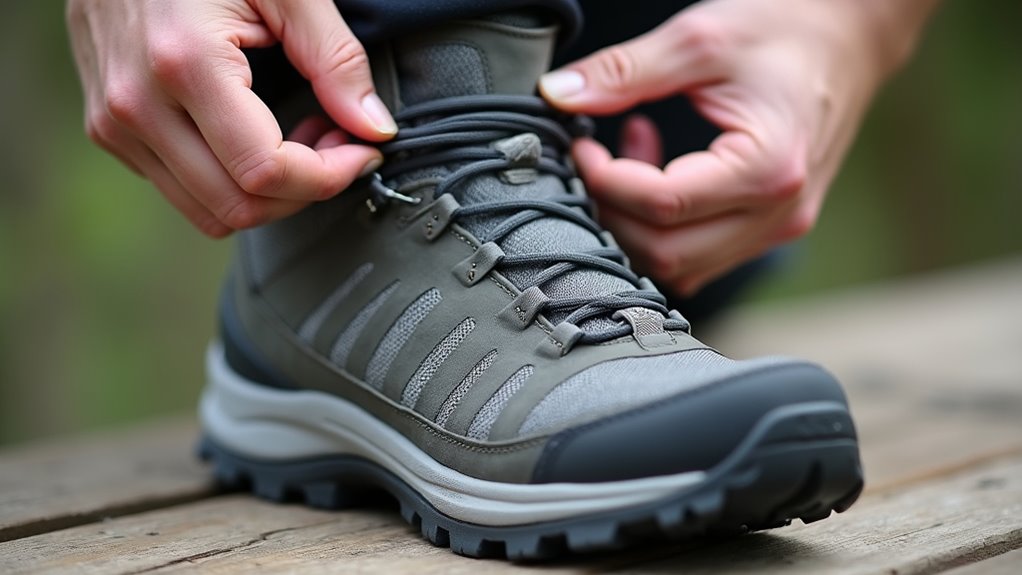
Once you’ve figured out your hiking requirements, you’ll face the classic boot dilemma: heavier boots often mean more comfort, but they’ll slow you down and tire out your legs faster. Look for boots with synthetic materials instead of full leather—they’re lighter without sacrificing durability. EVA midsoles offer excellent cushioning while weighing less than traditional rubber.
Choose boots with strategic padding around the ankle and heel, but skip unnecessary bulk elsewhere.
Smart padding placement maximizes comfort where you need it most while eliminating excess weight that slows you down.
Consider low-cut or mid-cut designs over high-tops unless you need serious ankle support. Modern lightweight boots use advanced foam technologies that compress less over time, giving you long-lasting comfort.
Don’t forget about breathable mesh panels—they reduce weight and keep your feet cooler. Quality lightweight boots cost more upfront but save energy on every mile. Remember that proper footwear is just one aspect of outdoor preparation—mastering tent camping basics will ensure your entire hiking adventure goes smoothly.

Even the best hiking boots become useless if they don’t fit properly, so getting the sizing right is essential for preventing blisters, hot spots, and foot pain on the trail.
Shop for boots in the afternoon when your feet are naturally swollen, mimicking trail conditions. You’ll want about a thumb’s width of space between your longest toe and the boot’s front to prevent downhill jamming. Your heel shouldn’t slip when walking, and there shouldn’t be pressure points across the width.
Always try boots with your hiking socks – thick cushioned socks require more room than thin ones. Walk around the store, test them on inclined surfaces if possible, and don’t assume your usual shoe size applies. Different brands fit differently, so focus on comfort over the number on the label.
Well-fitted boots will serve you well whether you’re planning day hikes or extended family camping trips where comfort becomes even more critical.
After securing the right fit, you’ll want to understand what your boots are actually made of since material choices directly impact both weight and longevity.
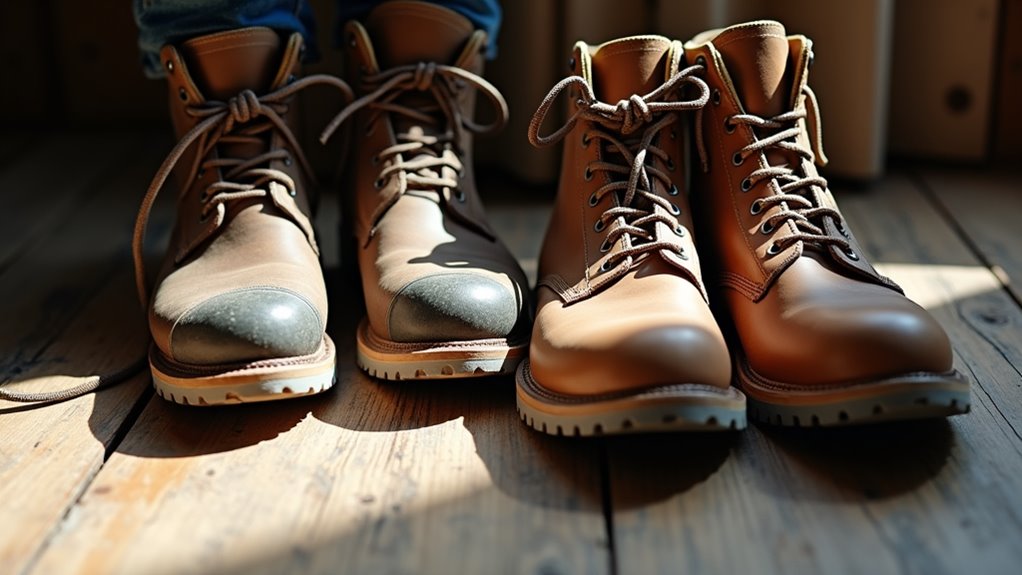
Full-grain leather offers excellent durability but adds significant weight and cost. Synthetic materials like nylon and polyester blends provide lighter alternatives while maintaining decent durability at budget-friendly prices.
Modern hiking boots often combine both materials strategically. You’ll find leather in high-wear areas like the toe and heel, with breathable synthetics covering the rest. This hybrid approach balances protection with weight savings.
Gore-Tex and similar waterproof membranes add functionality but increase cost and weight. Consider whether you actually need waterproofing based on your typical hiking conditions. Sometimes a lighter, non-waterproof boot that dries quickly makes more sense for your adventures.
For specialized activities like glacier climbing, you’ll need boots with enhanced insulation and crampon compatibility, which typically means accepting additional weight for the necessary technical features.

Before you hit the trails, you’ll need to properly test and break in your new boots to avoid painful blisters and hot spots during actual hikes. Start by wearing them indoors for short periods with your hiking socks. This lets you identify pressure points without commitment.
Next, take short walks around your neighborhood, gradually increasing distance. Pay attention to how your feet feel – any rubbing or discomfort will worsen on longer hikes. If you notice hot spots, try adjusting lacing techniques or adding moleskin padding.
Once comfortable during hour-long walks, test them on easy local trails with a light pack. This mimics actual hiking conditions without the risk of being stuck miles from your car with painful feet. Just like deciding whether to rent or buy equipment for other outdoor activities, breaking in boots properly requires weighing immediate comfort against long-term investment in your hiking experience.
You’ve got the roadmap to find your perfect trail companions without breaking the bank. Remember, the best boots are like a trusty friend—they’ll support you through thick and thin while keeping your wallet happy. Don’t rush the process; take time to test different options and listen to your feet. When you find that sweet spot between featherlight comfort and rock-solid durability, you’ll know you’ve struck hiking gold.