Physical Address
304 North Cardinal St.
Dorchester Center, MA 02124
Physical Address
304 North Cardinal St.
Dorchester Center, MA 02124
Confident cyclists master these 12 essential bike maintenance skills to prevent mid-ride disasters and costly repairs—discover what separates them from worried riders.
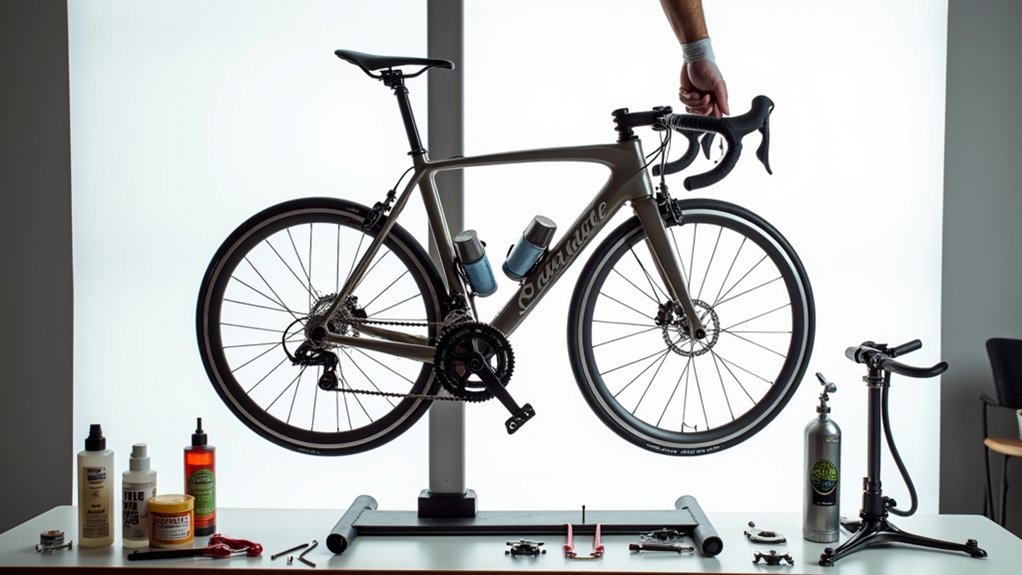
You’ve probably experienced that sinking feeling when your bike chain snaps mid-ride or your brakes fail just when you need them most. Here’s the reality: most cycling disasters aren’t accidents—they’re preventable maintenance oversights. Whether you’re a weekend warrior or daily commuter, mastering these 12 fundamental maintenance skills will transform you from someone who hopes their bike works to someone who knows it will. Let’s start with what separates confident cyclists from the constantly worried ones.
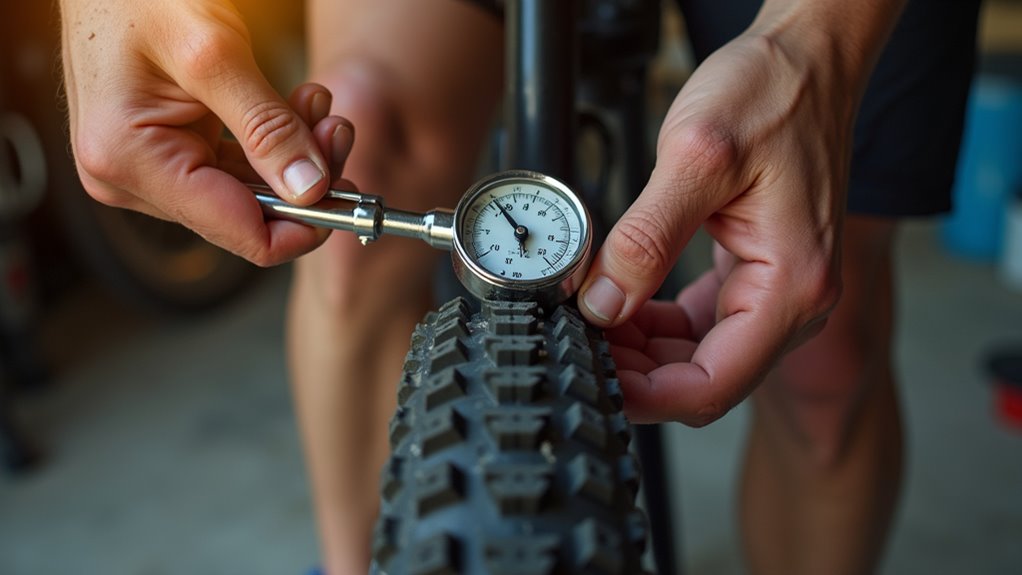
Since proper tire pressure affects everything from your bike’s handling to how much energy you’ll expend pedaling, it’s the foundation of good bike maintenance. You’ll find the recommended pressure range printed on your tire’s sidewall, typically shown in PSI or bar.
Check your tires weekly using a reliable pressure gauge – smartphone apps won’t cut it. Press the gauge firmly onto the valve stem for an accurate reading.
Under-inflated tires create rolling resistance and increase puncture risk, while over-inflated tires reduce traction and comfort.
Road bikes typically need 80-130 PSI, while mountain bikes require 25-50 PSI. Heavier riders need higher pressure.
Always check before long rides, as temperature changes affect pressure profoundly. Just as desert camping requires special preparation for extreme conditions, cycling in hot climates demands extra attention to tire pressure monitoring since heat can cause significant pressure increases.
While tire pressure keeps you rolling efficiently, your brake pads keep you alive – making their regular inspection non-negotiable. Check your brake pads monthly by looking through the brake caliper or removing the wheel.
Your brake pads literally keep you alive, so monthly inspections aren’t optional – they’re essential for your safety.
You’ll see a thin pad pressed against the rotor or rim. If there’s less than 2mm of pad material remaining, or you notice deep grooves and uneven wear, it’s replacement time.
Don’t wait until you hear that dreaded metal-on-metal grinding sound. When installing new pads, you’ll need to “bed them in” by gradually applying the brakes during your first few rides.
This process transfers a thin layer of pad material onto the rotor, ensuring ideal stopping power and preventing squealing. Just as camping history shows how outdoor activities evolved with better equipment, modern brake pad technology has dramatically improved cyclist safety compared to early bicycle braking systems.
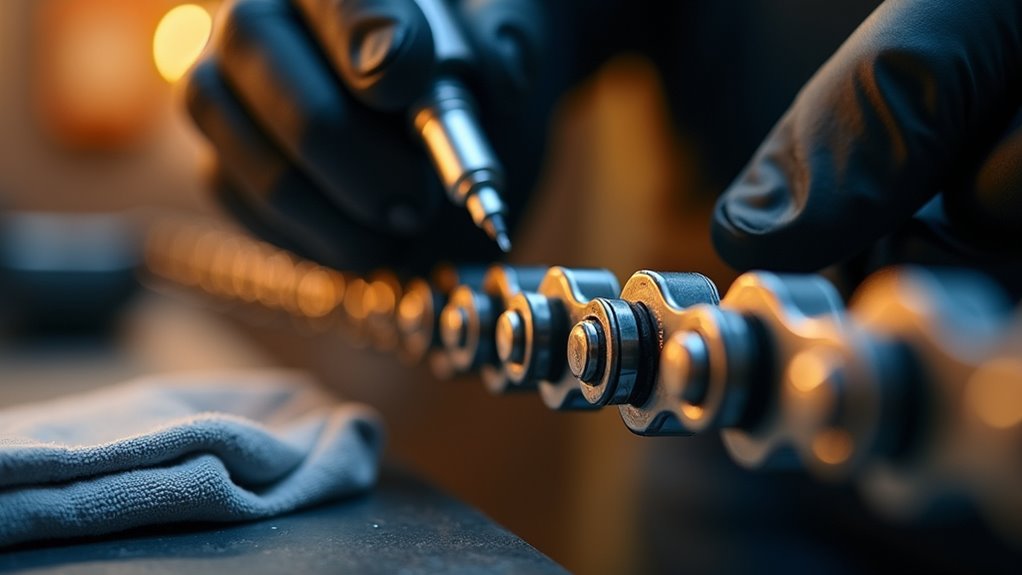
Just as brake pads protect your safety, a well-maintained chain protects your wallet from costly drivetrain replacements. A dirty chain wears out quickly and damages your cassette and chainrings.
Clean your chain every 200-300 miles or when it looks grimy. Use a degreaser and chain cleaning tool, or simply wipe it down with a rag soaked in degreaser. Work the degreaser into each link by backpedaling slowly.
Rinse thoroughly and dry completely.
Apply chain lubricant drop by drop to each link while slowly backpedaling. Use wet lube for rainy conditions or dry lube for dusty environments. After lubing, wipe excess oil from the chain’s exterior—it attracts dirt. Your chain should look clean but feel slightly slick.
After keeping your chain running smoothly, you’ll want to guarantee your brakes respond properly when you squeeze the levers.
Start by checking if your brake levers pull too close to the handlebars or feel spongy. If so, you’ll need to adjust the cable tension.
Locate the barrel adjuster on your brake lever or caliper. Turn it counterclockwise to increase tension and tighten the brakes, or clockwise to decrease tension and loosen them.
Make small quarter-turn adjustments and test the lever pull each time.
Your brake pads should engage when you’ve pulled the lever about halfway. If the cable’s too stretched or damaged, you’ll need to replace it entirely.
Properly adjusted brakes can mean the difference between a safe ride and a dangerous situation. Just like having reliable water filters on camping trips, functioning brakes are essential safety equipment you can’t afford to overlook.

When your bike wobbles or you notice the rim rubbing against the brake pads, it’s time to true your wheels and inspect spoke tension.
Start by spinning the wheel and watching for side-to-side movement. Mark problem spots with chalk.
You’ll need a spoke wrench that fits your nipples. To pull the rim toward one side, tighten spokes on that side by turning clockwise. To push it away, loosen spokes by turning counterclockwise. Make small quarter-turn adjustments and check your progress frequently.
Small adjustments are key – make quarter-turns with your spoke wrench and check progress frequently to avoid over-correction.
Test spoke tension by squeezing pairs together – they should feel similar. Loose spokes sound dull when plucked, while tight ones ping.
Replace broken spokes immediately, as they compromise wheel integrity and put extra stress on remaining spokes.
Just like deciding whether to rent or buy a boat for occasional fishing trips, consider your cycling frequency when weighing the cost of professional wheel truing versus doing it yourself.
Your tires are the only contact point between you and the road, so regular inspection guarantees you safe and prevents unexpected blowouts. Check your tires weekly for cuts, embedded glass, or excessive wear patterns. Look for the wear indicators—small raised bars that appear when tread depth becomes dangerously low.
Press your tire’s sidewall to check for cracks or bulges that signal replacement time. If you can see the tire’s fabric underneath or notice flat spots from skidding, it’s time for new rubber.
When installing new tires, ensure the directional arrows point forward and the tire sits evenly in the rim. Inflate to manufacturer specifications—underinflated tires wear faster and increase puncture risk.
Just as outdoor enthusiasts rely on essential camping gear for their adventures, cyclists need quality tires as their fundamental equipment for safe riding.
Since smooth shifting transforms your riding experience from frustrating to fluid, mastering derailleur adjustments becomes essential for any cyclist.
Start by checking your rear derailleur’s limit screws – they prevent your chain from falling off the cassette. The “H” screw controls the high gear position, while the “L” screw manages the low gear.
Limit screws act as essential safety guards, preventing costly chain drops by controlling your derailleur’s maximum travel range.
Next, adjust cable tension using the barrel adjuster. If shifting feels sluggish going to larger cogs, increase tension by turning counterclockwise. For hesitant shifts to smaller cogs, decrease tension by turning clockwise.
Fine-tune your B-tension screw to position the upper jockey wheel approximately 5-6mm from the largest cassette cog. This ensures proper chain wrap and prevents skipping.
Test each gear thoroughly, making micro-adjustments until you achieve crisp, reliable shifting across your entire range.
Just like fly fishing enthusiasts need properly maintained equipment for successful casting, cyclists require well-adjusted derailleurs for optimal performance on every ride.
Loose bolts can turn a perfect ride into a dangerous situation, so developing a systematic inspection routine protects both you and your bike. Start with critical components like stem bolts, seat post clamps, and brake lever mounts. Use a torque wrench when possible – most bike bolts require 4-8 Nm for small components and 5-15 Nm for larger ones.
Check your wheels by spinning them and listening for unusual sounds. Inspect brake and derailleur cable anchor bolts, chainring bolts, and pedal threads. Don’t forget bottle cage screws and accessory mounts.
Work methodically from front to back, giving each bolt a quarter-turn test. If it moves, tighten it gradually. Replace any stripped or damaged bolts immediately.
This monthly check prevents roadside failures and expensive repairs. Consider packing a basic tool kit when heading out for camping activities with your partner, as proper bike maintenance becomes even more crucial when you’re far from home.
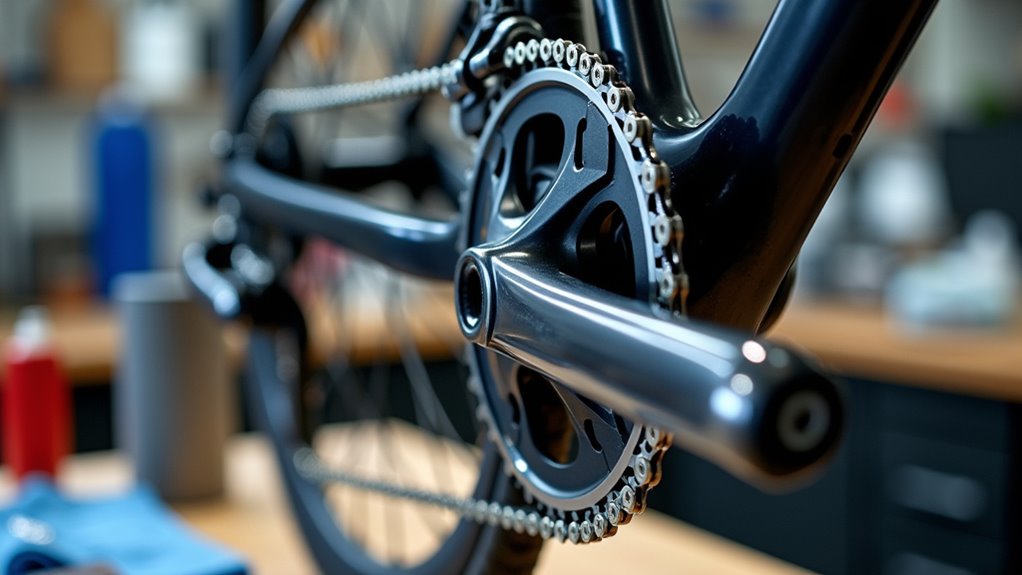
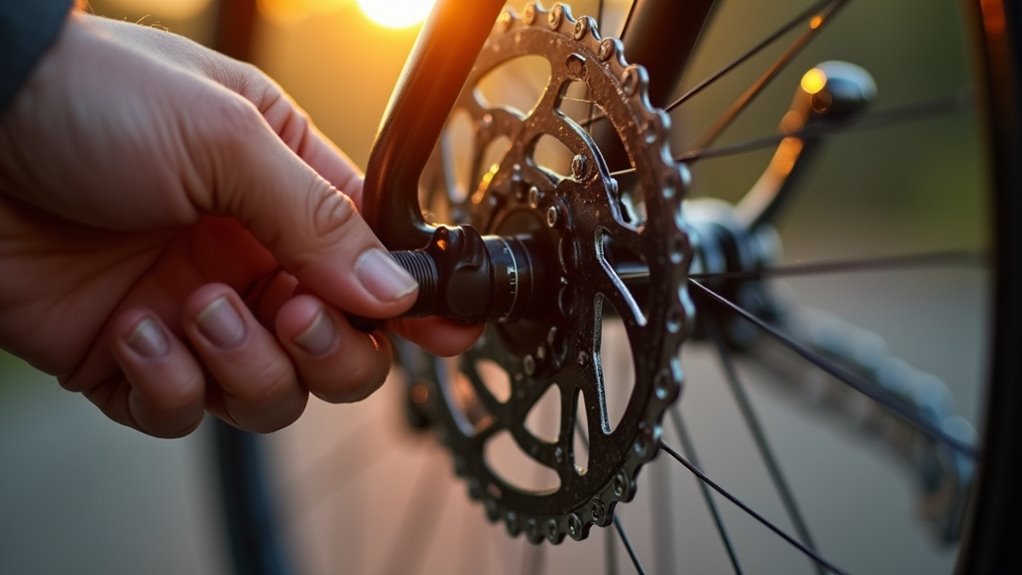
When your chain starts squeaking or shifting feels sluggish, it’s time to give your drivetrain some attention. Start by cleaning your chain with a degreaser and old rag, working through each link thoroughly. Don’t forget the cassette and chainrings—they collect grime too. Use a brush to scrub stubborn dirt from the derailleur pulleys and jockey wheels.
Once everything’s clean and dry, apply fresh chain lubricant sparingly. Too much attracts more dirt. Run the lube onto each chain link while pedaling backward, then wipe excess with a clean rag.
Check your derailleur alignment and cable tension while you’re at it. Properly maintained drivetrains shift smoothly and last markedly longer than neglected ones. After working up a sweat during maintenance, you’ll appreciate having access to campground showers for a refreshing cleanup before your next ride.
While you’re checking your derailleur alignment, take a close look at your shift and brake cables. Frayed, kinked, or corroded cables compromise your bike’s performance and safety. Run your fingers along each cable, feeling for broken strands or rough spots. Check where cables enter and exit housing for wear patterns.
If you spot damage, don’t wait—replace the cable immediately. Pull the old cable through the housing and measure it against your new one. Thread the new cable carefully, ensuring it sits properly in all stops and guides. Apply a light coating of grease to reduce friction.
Test your shifting and braking after installation. Properly maintained cables provide crisp, responsive performance and prevent you from getting stranded mid-ride. Just like understanding overwhelming amounts of camping equipment options, bike maintenance involves learning to identify which components truly need attention versus those that are still functioning adequately.
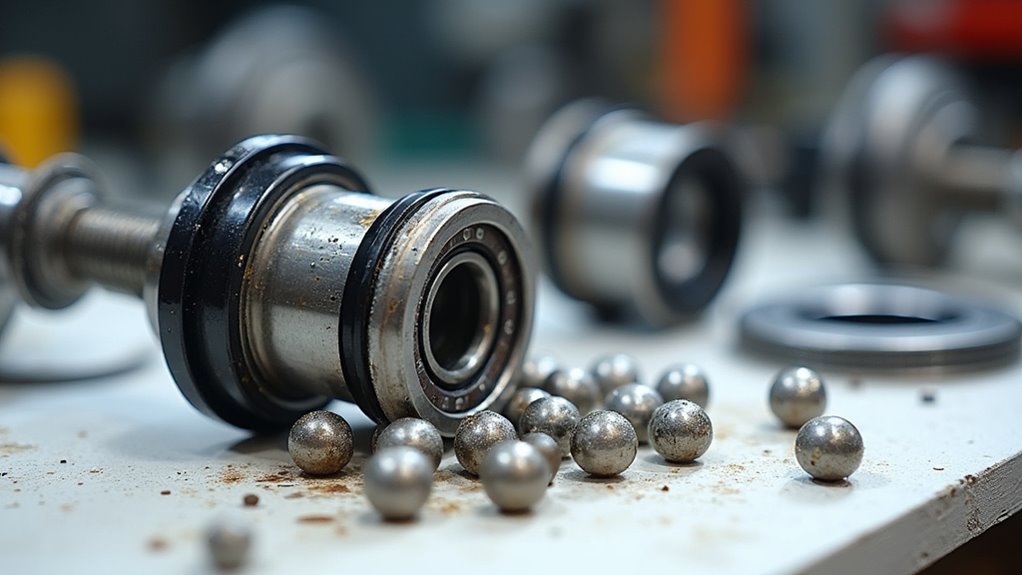
After you’ve sorted your cables, turn your attention to two critical bearing systems that keep your bike running smoothly: the headset and bottom bracket.
Check your headset by grabbing the front brake and gently rocking the bike forward and backward. You shouldn’t feel any knocking or looseness in the handlebars.
Next, lift the front wheel and turn the handlebars—they should move freely without grinding or catching.
For the bottom bracket, grab the crank arms and wiggle them side to side. There shouldn’t be any play or movement.
Spin the cranks by hand; they should rotate smoothly without resistance or grinding sounds.
If you notice problems with either system, it’s time to visit your local bike shop for professional service.
Just like preparing for creative camping adventures, maintaining your bike regularly ensures you’re ready for any outdoor excursion without mechanical surprises.
Beyond checking your bike’s moving parts, you’ll want to regularly inspect the frame and components for signs of wear, damage, or potential failure. Look for cracks, dents, or rust on the frame, especially around weld joints and stress points like the head tube and bottom bracket.
Check your handlebars, stem, and seatpost for any looseness or damage.
Examine cables and housing for fraying, kinks, or corrosion that could affect shifting and braking performance.
Inspect your wheels for broken spokes, rim wear, or wobbles. Don’t forget to check quick-release levers and through-axles are properly tightened.
Make this inspection part of your pre-ride routine. Catching problems early prevents dangerous failures and expensive repairs down the road.
When preparing for bike camping adventures, remember there are certain items to leave at home to keep your setup lightweight and functional.
You’ve now got the roadmap to keeping your bike purring like a well-oiled machine. These twelve maintenance basics aren’t just suggestions—they’re your ticket to safer rides and fewer roadside repairs. Don’t let small issues snowball into expensive problems. Set aside time monthly for these checks, and you’ll catch problems before they catch you. Remember, a well-maintained bike isn’t just reliable transportation; it’s your faithful companion on every adventure ahead.