Physical Address
304 North Cardinal St.
Dorchester Center, MA 02124
Physical Address
304 North Cardinal St.
Dorchester Center, MA 02124
Perfect your campfire skills with seven proven techniques that go beyond basic methods—discover which approach works best for your specific situation.
When you’re sitting around a sputtering campfire that barely produces heat or keeps going out, you’ll quickly realize there’s more to fire-building than throwing logs together and lighting a match. The difference between a frustrating evening of constant fire maintenance and hours of steady warmth comes down to technique. You’ve probably mastered the basic teepee method, but there are actually seven distinct approaches that’ll transform how you think about campfires—and when to use each one.
Before you strike your first match, you’ll need to gather the right materials and have essential tools within arm’s reach. Start collecting three types of fuel: tinder, kindling, and firewood. Tinder includes dry grass, birch bark, or paper that catches fire instantly. Kindling consists of pencil-thin to thumb-thick dry twigs and branches. Firewood should be wrist-thick to forearm-thick pieces of seasoned wood.
You’ll also need matches or a lighter stored in waterproof containers. Pack a small folding saw or hatchet for cutting wood. A multi-tool with pliers helps adjust burning logs safely. Don’t forget a bucket or water source for extinguishing your fire.
Finally, bring newspaper or fire starters as backup tinder if natural materials are damp or scarce. Whether you’re planning adventure camping in scenic locations like Alpine, Wyoming or other wilderness areas, having these fire-building essentials will ensure you’re prepared for any outdoor experience.
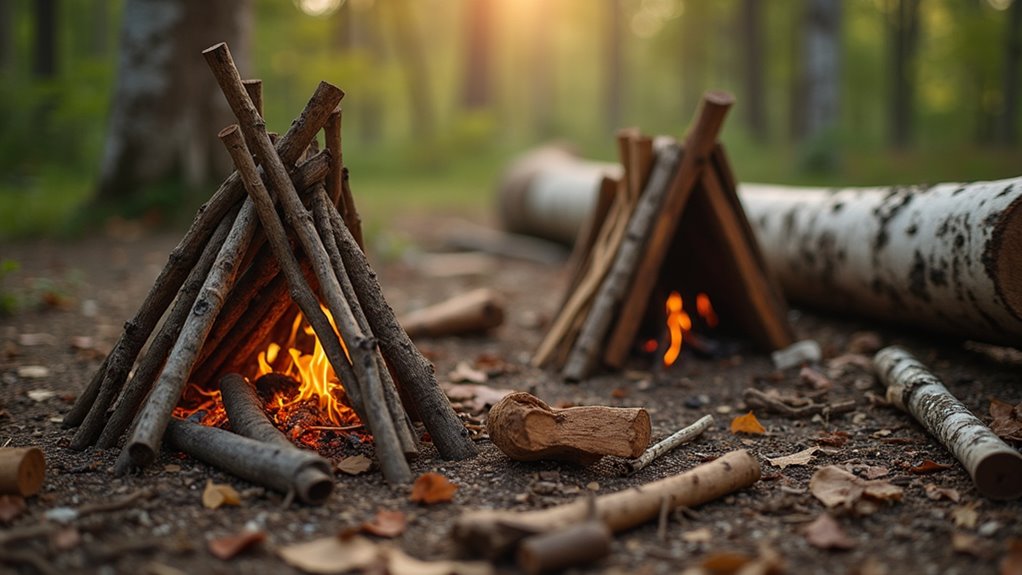
Why is the teepee structure considered the gold standard for campfire building? It’s simple, reliable, and creates excellent airflow that feeds your flames naturally.
Start by placing your tinder bundle in the center of your fire ring. Arrange kindling sticks around it in a cone shape, leaving gaps between each piece. You’ll want these sticks leaning against each other at the top, creating that classic teepee appearance.
Build your teepee foundation by centering tinder, then lean kindling sticks in a cone with gaps for airflow.
Next, add progressively larger fuel wood around your kindling teepee, maintaining the same cone structure. Keep those air gaps consistent – they’re vital for proper ventilation.
Light your tinder from multiple sides. As the structure burns and collapses inward, it’ll naturally feed the flames. The teepee’s design ensures maximum oxygen flow while keeping fuel properly positioned.
Mastering this fundamental fire-building technique opens up countless possibilities for outdoor adventures, from camping in remote wilderness areas to exploring Greenland’s vast frozen landscapes where reliable fire skills become essential for survival.

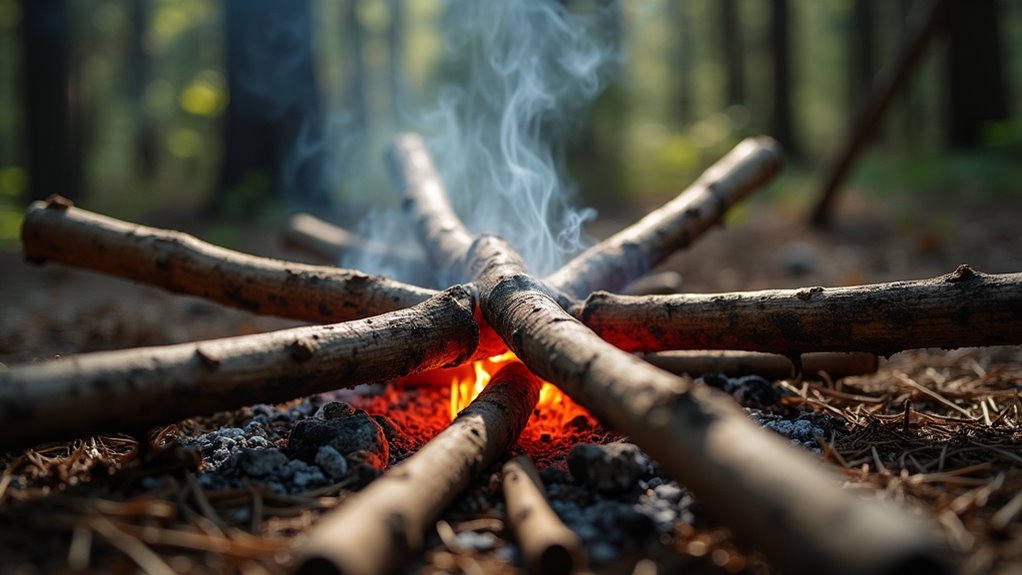
When you need a fire that burns steadily for hours with minimal maintenance, the log cabin structure delivers exactly what you’re looking for.
Start by laying two parallel logs as your foundation, leaving space between them for airflow.
Place two more logs perpendicular on top, creating a square frame.
Continue stacking alternating layers, building upward like Lincoln Logs.
Fill the center hollow with tinder and kindling before lighting.
The logs burn inward toward the center, creating a contained fire that feeds itself consistently.
As outer logs burn down, they collapse inward to fuel the flames.
This design maximizes burn time while minimizing your effort—perfect for cooking meals or warming up during long camping evenings when you can’t constantly tend the fire.
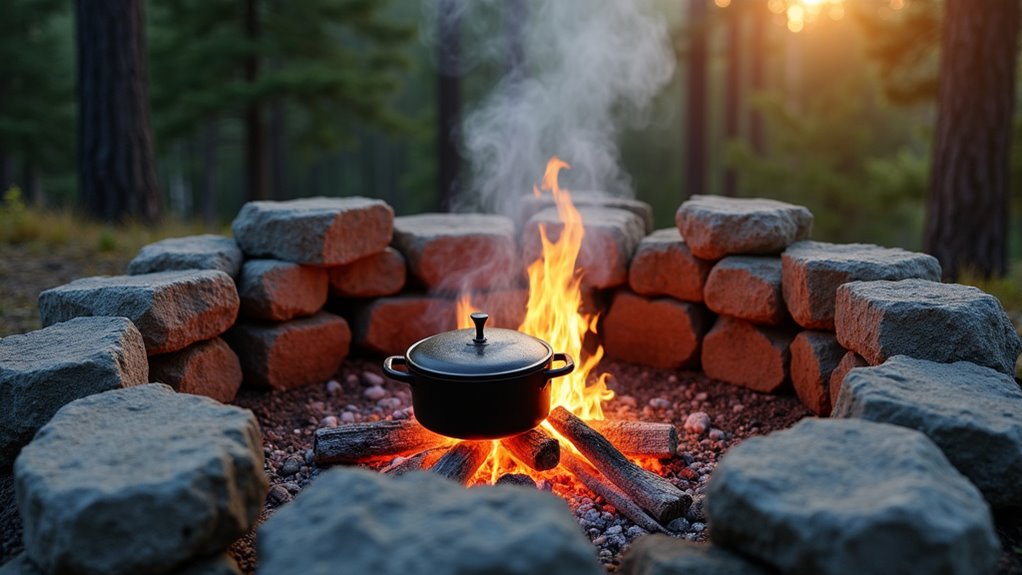
Once your log cabin fire is established and burning steadily, you can place your camping cookware directly over the consistent flames for reliable meal preparation.
While the log cabin method works well in calm weather, strong winds can quickly scatter your flames and make fire-building frustrating. That’s when you’ll want to switch to the lean-to technique, which creates a natural windbreak for your fire.
Start by placing a large log or rock on the windward side of your fire pit. This becomes your backstop.
Lean smaller pieces of kindling and tinder against this barrier at a 45-degree angle, creating a shelter that faces away from the wind.
Light your tinder from the downwind side, allowing the flames to work their way up the angled fuel.
The lean-to structure protects your initial flames while channeling airflow underneath, feeding oxygen to the fire without extinguishing it.
If you’re camping for several days or working with limited firewood, the star fire configuration lets you stretch your fuel supply while maintaining steady heat. This method uses five to six logs arranged like spokes radiating from a central point, with only the inner ends feeding the fire.
Start by building a small fire in the center using tinder and kindling.
Place your logs around it like wheel spokes, with tips touching the flames. As the wood burns, push each log inward to maintain the fire.
You’ll control heat output by adjusting how far you push the logs—closer for more heat, farther for less.
This technique burns wood slowly and efficiently, perfect for extended cooking or overnight warmth without constantly gathering fuel. Remember that proper campfire safety practices are essential regardless of which fire-building technique you choose.
Building fires on soggy or snow-covered ground presents a real challenge since moisture will quickly extinguish your flames and make it nearly impossible to get kindling to catch. You’ll need to create a raised platform using dry logs or rocks to insulate your fire from the wet surface below.
Start by laying three to four thick, dry logs parallel to each other, creating a solid foundation. If you can’t find dry logs, use flat rocks instead.
Place smaller sticks perpendicular across this base, building up several layers to create adequate height and airflow underneath.
Now you can build your fire directly on this elevated platform. The insulation prevents moisture from seeping up while the airflow beneath helps maintain consistent burning, even in challenging wet conditions.
Remember that avoiding common mistakes when constructing any campfire will help ensure your platform fire burns safely and effectively.
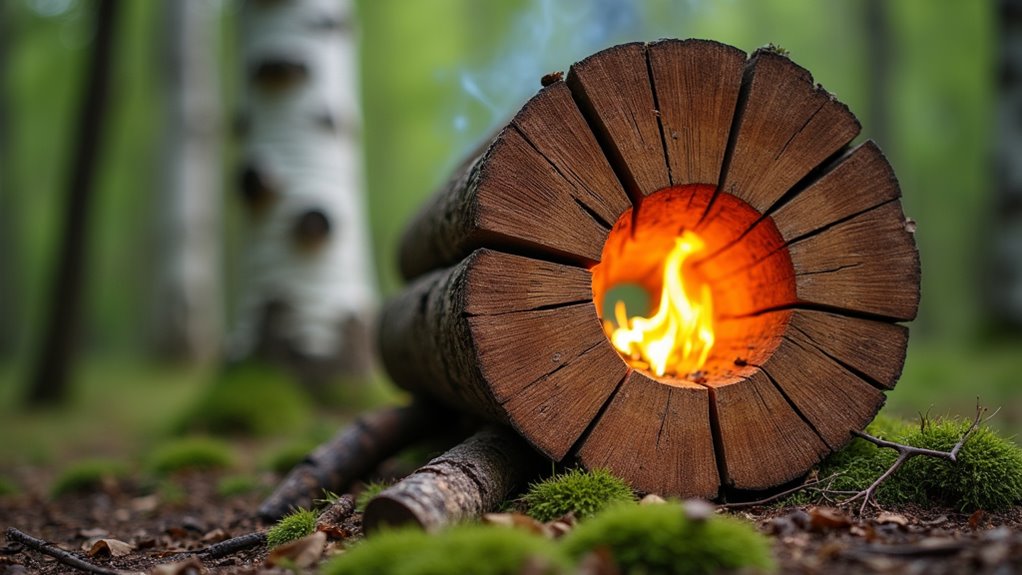
The Swedish fire log transforms a single thick log into a self-feeding campfire that burns efficiently for hours with minimal maintenance. You’ll need a dry hardwood log that’s 12-18 inches in diameter and create deep cuts using a chainsaw or ax.
Make four vertical cuts from the top, stopping about 6 inches from the bottom. The cuts should form a cross pattern, creating four equal sections that remain connected at the base.
Stuff tinder and kindling into the center where the cuts intersect, then light it from the top.
This technique is particularly valuable for beginners since it eliminates the need to constantly gather and feed wood into your fire throughout the evening. When setting up your Swedish fire log, make sure to clear the area around it and have your tent camping gear positioned at a safe distance from the flames.
While the Swedish fire log works brilliantly with a single large log, you’ll often find yourself needing to build a fire with various sizes of wood you’ve gathered.
The upside-down method flips traditional fire-building on its head—literally. You’ll start by placing your largest logs at the bottom as your foundation. Stack progressively smaller pieces on top, creating layers that decrease in size as you build upward.
Your smallest kindling and tinder go on the very top.
Light the fire from above and let it burn downward through each layer. This technique burns longer and more efficiently than conventional methods because larger fuel is already positioned below, ready to catch as upper layers burn down.
You’ll spend less time maintaining it. This makes it perfect for tent camping where you want to enjoy the fire without constantly tending to it throughout the evening.
Why settle for a fire that only serves one purpose when you can create a layout that handles both cooking and warmth simultaneously? The keyhole fire layout gives you exactly that versatility. You’ll build this fire in a keyhole shape – a large circular area connected to a smaller rectangular channel.
Start by creating your keyhole outline with rocks, then build your main fire in the circular section. As coals develop, you’ll rake them into the narrow channel for cooking while maintaining the larger fire for warmth and ambiance.
This layout offers several advantages:
Just as you carefully consider features when selecting your camping tent, choosing the right fire layout ensures your outdoor experience meets all your comfort and cooking needs.
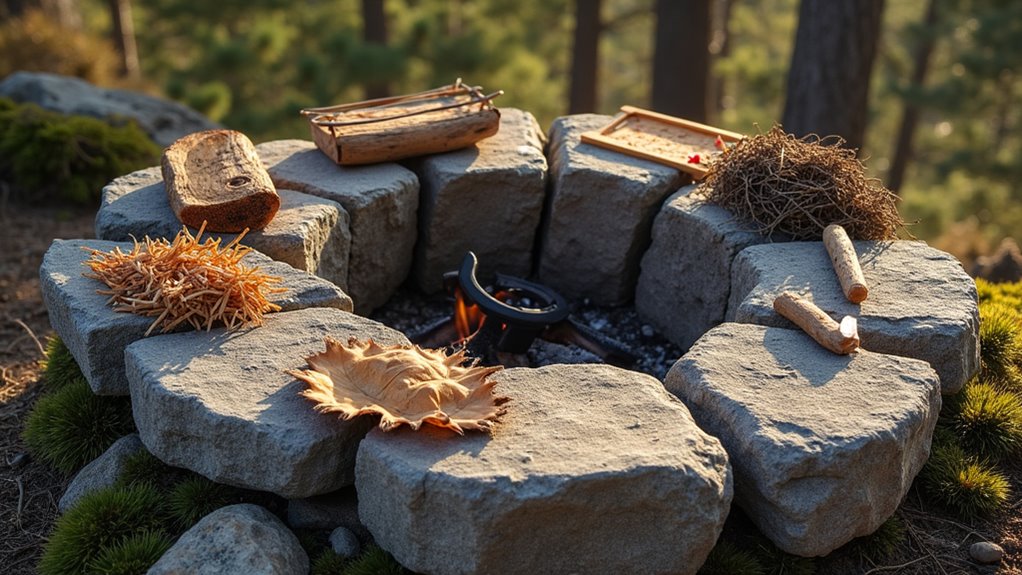
Before you strike that first match, understanding fire safety principles can mean the difference between a memorable camping experience and a dangerous emergency. Always clear a ten-foot radius around your fire pit, removing dry leaves, twigs, and flammable debris.
Understanding fire safety principles before lighting your first match can mean the difference between a memorable camping trip and a dangerous emergency.
Keep water, sand, or dirt nearby for quick extinguishing. Never leave your fire unattended, even briefly.
When it’s time to put out your fire, don’t just douse it with water. Instead, let the wood burn down to ash, then sprinkle water over the entire area while stirring with a shovel.
Add more water and stir again until everything’s cold to the touch. The ashes should be completely cool before you leave your campsite.
Having the right essential items on hand before starting your fire will ensure you’re prepared for both building and safely extinguishing your campfire.
Now that you’ve mastered these diverse campfire techniques, you’re equipped to handle any outdoor situation with confidence. Whether you’re facing windy conditions, need extended heat, or want to conserve fuel, you’ve got the right method in your toolkit. Remember, practice makes perfect—and safety always comes first. So why not head out this weekend and put these skills to the test? Your next camping adventure awaits, and you’re ready for it.