Physical Address
304 North Cardinal St.
Dorchester Center, MA 02124
Physical Address
304 North Cardinal St.
Dorchester Center, MA 02124

Want to stop constantly feeding logs to your dying campfire and finally enjoy hours of steady flames with minimal effort?
You’ve probably found yourself constantly feeding logs to your campfire, only to watch it dwindle to embers within the hour. There’s nothing more frustrating than struggling to keep flames alive when you’re trying to cook dinner or stay warm through the evening. The good news? You don’t need to be a master outdoorsman to maintain a robust fire that burns steadily for hours with minimal effort and babysitting.

When you’re planning a campfire that’ll burn steadily through the evening, your wood selection makes all the difference. Hardwoods like oak, hickory, and maple are your best friends for long burns. They’re dense and contain less moisture, so they’ll smolder slowly and produce consistent heat for hours.
Skip softwoods like pine or fir for your main fuel—they burn fast and hot, then fizzle out quickly. Save these for kindling instead.
You’ll want seasoned wood that’s been dried for at least six months. Fresh or green wood contains too much water and will smoke excessively while producing little heat.
Stack different wood sizes nearby: thin pieces for rekindling, medium splits for building up flames, and thick logs for overnight burning. If you need additional tools like axes or fire starters for proper wood preparation, check out top outdoor retailers for quality camping gear.
Having the right wood is only half the battle—how you arrange those logs determines whether your fire burns strong or sputters out.
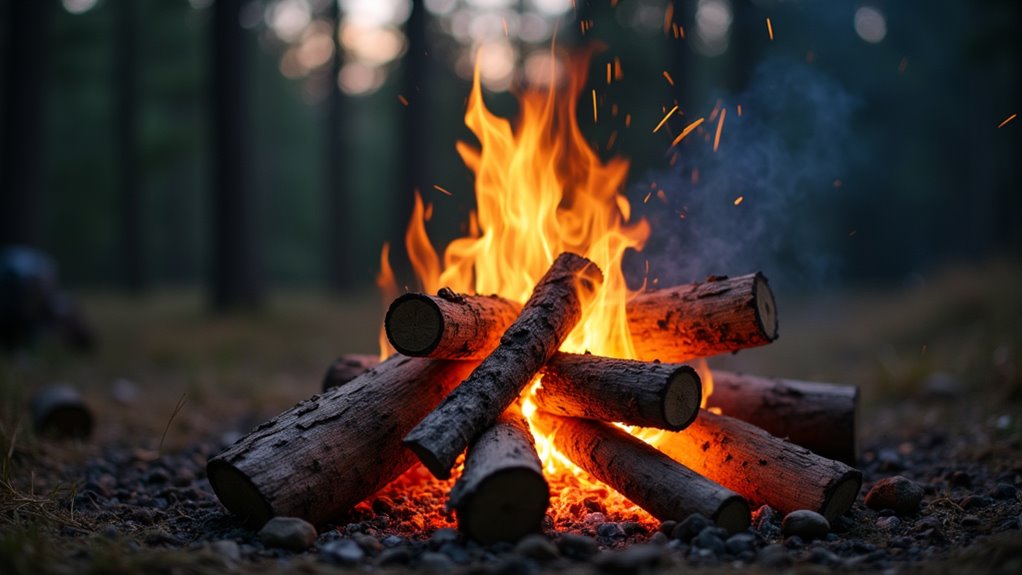
Start with a solid base using two parallel logs about six inches apart. Place smaller kindling perpendicular across these foundation logs, creating gaps for airflow.
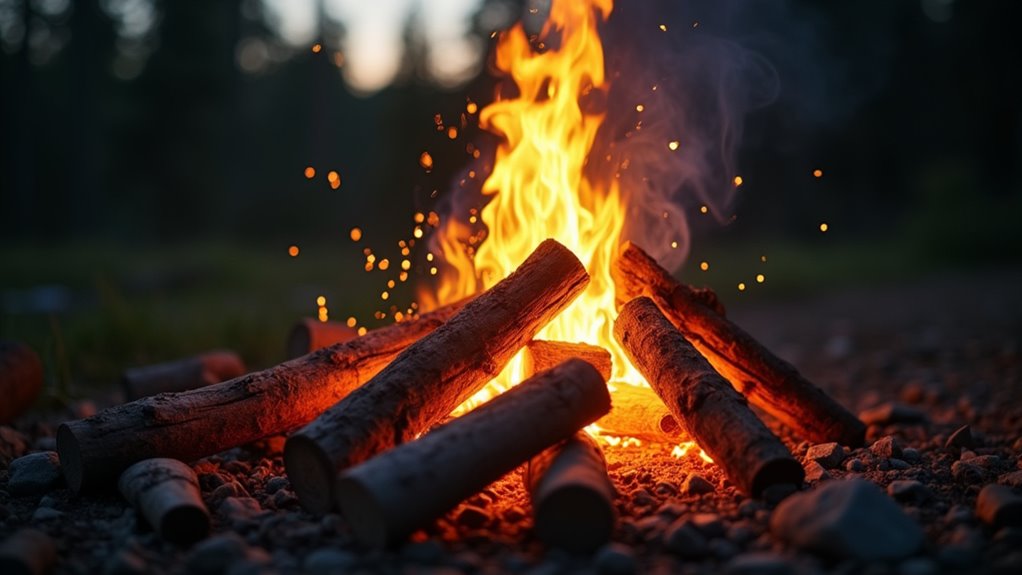
Stack your medium-sized fuel wood in a crisscross pattern, alternating directions with each layer. Don’t pack logs too tightly—fire needs oxygen to breathe. Leave finger-width spaces between pieces.
As your fire establishes, add larger logs gradually. Place them at slight angles rather than perfectly flat to create natural air channels.
This teepee-log cabin hybrid structure ensures steady airflow while providing consistent fuel contact for sustained burning. Having quality fire starters on hand can help ignite your well-structured wood arrangement more efficiently.

Once your logs are properly arranged, you’ll need to become your fire’s personal breathing coach. Fire needs oxygen to survive, and controlling airflow determines whether your flames thrive or die.
Don’t smother your fire by stacking logs too tightly together. Leave gaps between pieces so air can circulate freely underneath and around the wood. Think of these spaces as your fire’s lungs – block them, and you’ll suffocate the flames.
Give your fire room to breathe – tight logs kill flames faster than rain on kindling.
When your fire starts weakening, gently blow at the base where the coals glow brightest. This delivers fresh oxygen directly to the hottest spots, rekindling stronger flames. You can also use a piece of cardboard or your hat as a makeshift fan.
Position yourself upwind and fan steadily rather than frantically. Consistent, gentle airflow works better than aggressive gusts.
Remember that proper airflow management is just one aspect of campfire safety – always maintain awareness of wind conditions and keep your fire under control.
Before your fire even sparks to life, you’ll want to gather and prepare all your wood materials. Smart campers know that scrambling for fuel in the dark kills the mood and your flame.
Stock up on three different wood sizes: kindling (pencil-thick), medium fuel (wrist-thick), and logs (forearm-thick). You’ll need about three times more than you think – fires are hungry beasts.
Here’s what separates successful fire-keepers from disappointed campers:
Prep everything during daylight hours, and you’ll thank yourself later. Just like deciding whether to rent or buy a boat for fishing trips, planning your wood gathering strategy in advance will save you time and ensure a better outdoor experience.

With your wood stockpile ready, you can now set up your fire to burn through the night using a technique that’s kept campers warm for generations. Banking your fire involves arranging hot coals into a tight mound, then covering them with a thin layer of ash and soil.
This creates insulation that slows the burning process while retaining heat.
Start by letting your fire burn down to red-hot coals. Use a shovel or stick to push the coals together in the center of your fire pit. Sprinkle a light coating of ash over the coals, followed by a thin layer of dirt.
Don’t smother them completely—you want just enough coverage to slow oxygen flow.
Come morning, you’ll find glowing embers ready to restart your fire quickly. Having banked coals ready makes preparing breakfast and your morning camp cooking much more efficient.
While banking helps maintain overnight heat, strategically timing your wood additions during active burning hours makes the difference between a fire that fizzles out and one that burns strong for hours.
Don’t wait until flames die down completely – you’ll waste energy rebuilding from scratch. Instead, add fresh logs when your current wood has burned down to about one-third of its original size. This maintains consistent heat while giving new wood the energy it needs to catch quickly.
Follow this timing sequence for maximum efficiency:
This method keeps heat levels steady. Plus, a well-maintained fire can serve dual purposes, as you can use the smoke to signal for help if you find yourself in an emergency situation.

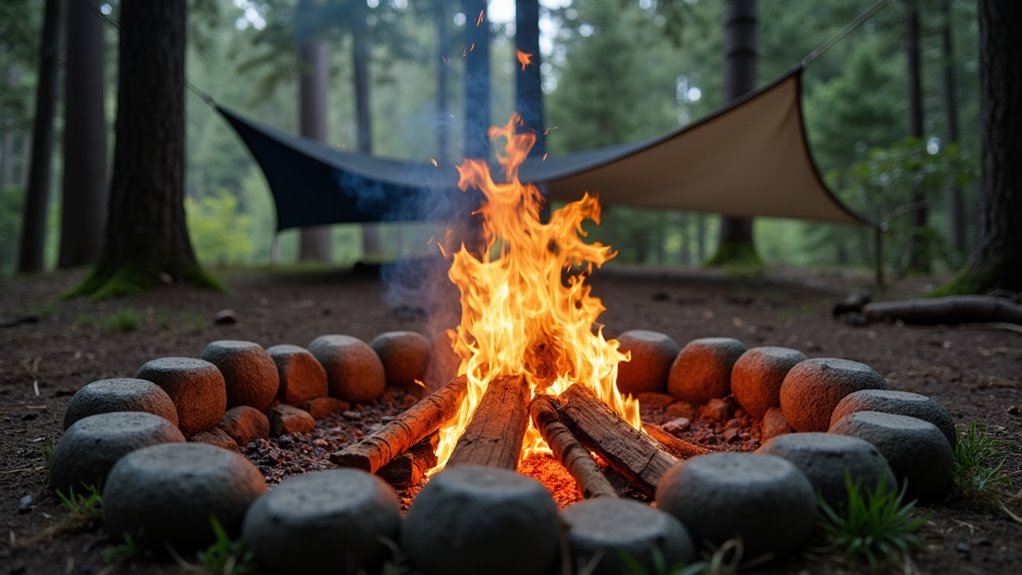
Even well-timed wood additions won’t help if Mother Nature’s working against you. Wind’s your biggest enemy—it’ll steal heat and scatter embers faster than you can feed the flames. Position yourself upwind when building, then create windbreaks using large rocks, logs, or even your camping gear.
Rain poses another challenge. Always keep a dry wood stash under tarps or in your vehicle. If precipitation threatens, build a simple lean-to shelter over your fire using branches and a tarp, leaving enough airflow to prevent smoke buildup.
Snow and cold temperatures make fires harder to start and maintain. Clear snow down to bare ground before building, and lay down a platform of green logs to prevent your fire from melting into the snow and extinguishing itself. Master these weather protection techniques along with proper fire-building fundamentals to ensure your campfire burns strong regardless of conditions.
You’ll master these techniques with practice, and it’s worth the effort—studies show that properly managed campfires burn 60% longer than poorly constructed ones. Remember, you’re not just keeping flames alive; you’re creating lasting memories around that warm glow. Keep your wood dry, maintain good airflow, and don’t rush the process. With these seven strategies in your toolkit, you’ll become the campfire expert your group relies on for cozy evenings outdoors.