Physical Address
304 North Cardinal St.
Dorchester Center, MA 02124
Physical Address
304 North Cardinal St.
Dorchester Center, MA 02124
Proper backpack packing transforms grueling hikes into comfortable adventures—discover the weight distribution secrets that separate struggling hikers from confident trail masters.
You’ve probably experienced that moment when your backpack feels like it’s pulling you backward down a steep trail, making every step a struggle. The difference between a miserable hiking experience and an enjoyable adventure often comes down to how you’ve arranged your gear inside that pack. When you understand the science behind proper weight distribution and strategic packing, you’ll transform your backpack from a burden into a well-balanced extension of your body that’ll keep you comfortable for miles.

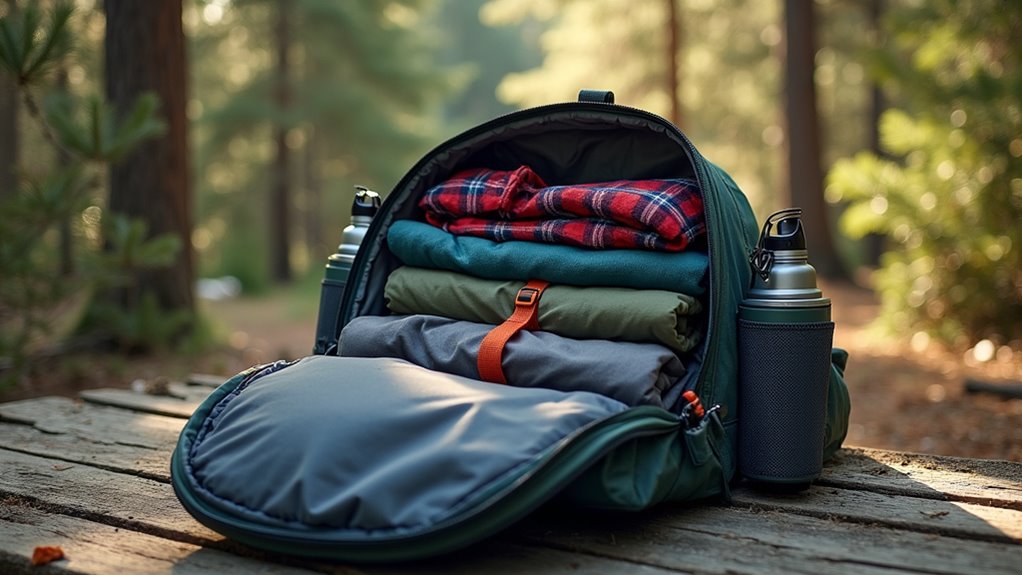
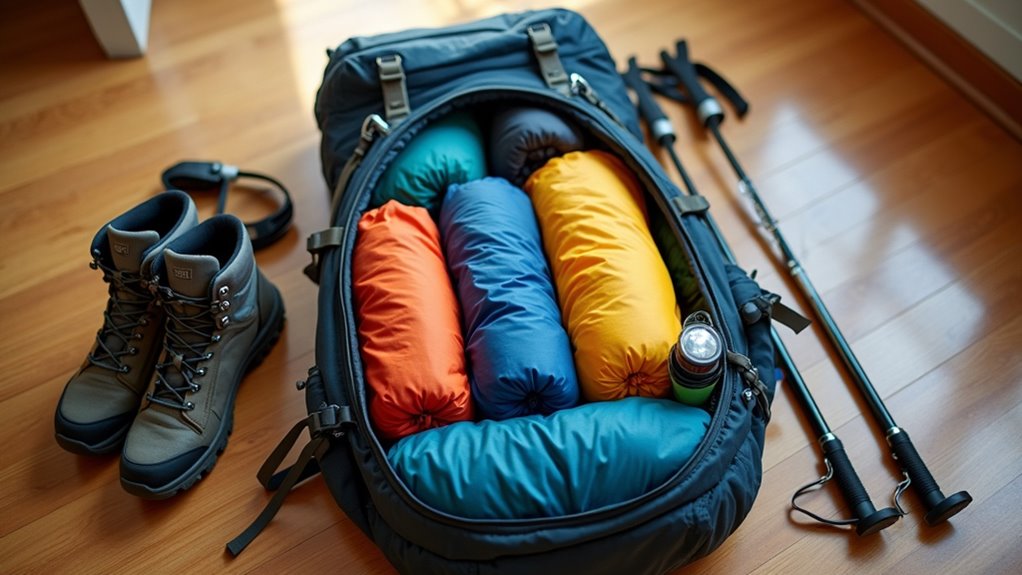
When you’re loading your backpack, the placement of each item directly affects your balance, energy expenditure, and overall comfort on the trail. Think of your pack as having three zones: bottom, middle, and top.
Heavy items like your water reservoir and cooking gear belong in the middle section, close to your back. This keeps the weight centered near your body’s natural pivot point.
Light, bulky items such as your sleeping bag go at the bottom, while frequently accessed gear like snacks and maps stay in top pockets.
Keep heavy items away from the pack’s outer edges—they’ll pull you backward and strain your shoulders. Your camping lantern should also be easily accessible since you’ll likely need it for evening tasks around camp. This strategic approach transforms your backpack from a burden into a balanced extension of your body.
Building on proper weight placement, you’ll want to categorize your gear into three distinct weight classes before you even touch your pack. This systematic approach prevents you from randomly stuffing items and later struggling with balance issues on the trail.
Start by sorting everything into heavy, medium, and light categories:
Heavy gear goes close to your back in the pack’s center. Medium-weight items fill the remaining core space, while light gear occupies the top, bottom, and outer pockets.
This creates a stable load that won’t shift during your hike. Just like RV dealers are adapting their purchasing strategies based on economic conditions, smart campers should time their gear purchases when prices are most favorable for their budget.
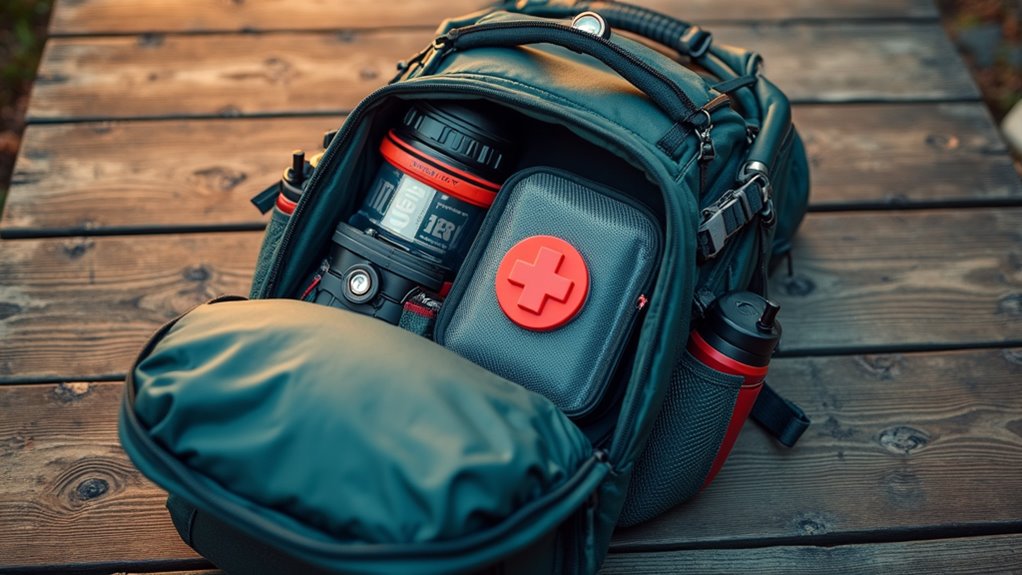
While proper weight distribution keeps you balanced, strategic placement of frequently used items determines whether you’ll enjoy your hike or constantly wrestle with your pack. Your water bottle and snacks belong in side pockets or hip belt pockets—never buried inside your main compartment. Keep your rain gear in the top lid or an external pocket since weather changes quickly on trails.
Place your headlamp, first aid kit, and toilet paper in easily accessible spots you can reach without unpacking everything. Your phone, map, and compass should stay in chest or hip belt pockets.
Store items you’ll need at camp—like your stove and cookware—in the middle section where you can grab them without disturbing your sleeping system below. Just like choosing between renting or buying a boat for your water adventures, consider borrowing or renting specialized gear before purchasing expensive equipment you might only use occasionally.
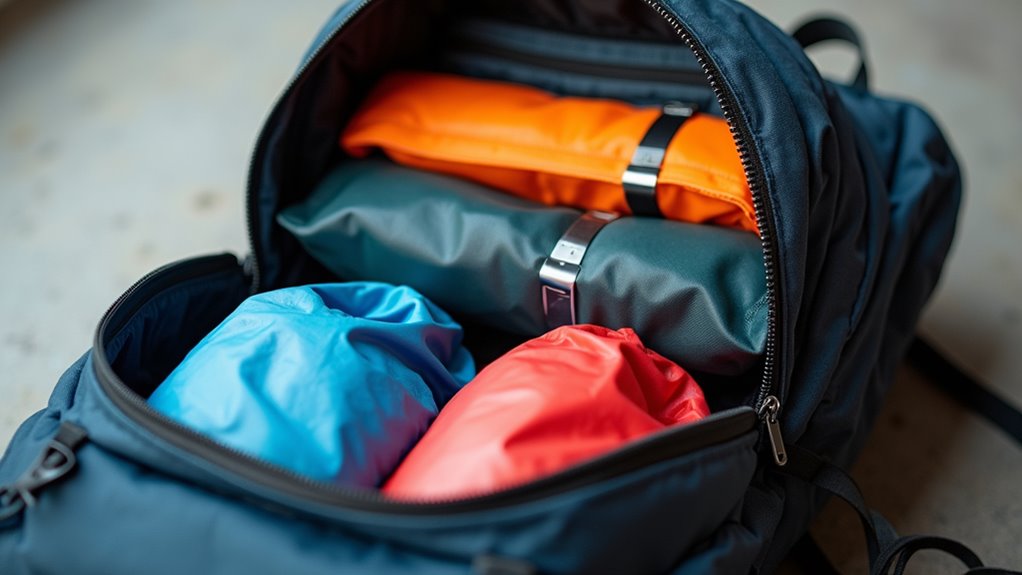
Smart gear placement gets you organized, but compression techniques help you fit everything into your pack in the first place. You’ll gain precious space by squeezing air out of bulky items before packing them.
Compression sacks work wonders for sleeping bags and clothing. Roll your clothes tightly instead of folding them – this eliminates air pockets that waste space. Stuff sacks help compress smaller items like extra socks and underwear.
Consider these space-saving strategies:
Don’t over-compress gear that needs loft, like down jackets. Strategic compression gives you room for essentials without sacrificing comfort. Remember that having extra space in your pack means you can bring along supplies for camping activities that will keep your children entertained during the trip.
Once you’ve mastered compression, you’ll want to arrange your gear based on when you’ll actually need it during your trip. Keep frequently used items like snacks, water, sunscreen, and maps in your pack’s outer pockets or top compartment for quick access without unpacking everything.
Place camp setup essentials—tent, sleeping bag, and cooking gear—in easily accessible spots since you’ll need them immediately upon arrival. Bury items you won’t use until later, like extra clothes or toiletries, deeper in your pack.
Create a mental map of where everything sits. Pack rain gear where you can grab it quickly if weather changes. Store your first-aid kit in a consistent, memorable location.
This system prevents frantic searching and keeps your campsite organized from day one. When selecting your pack, focus on finding one with multiple compartments and pockets to support this organizational strategy effectively.
When you’re hiking steep mountain trails, the way you distribute weight in your pack can make the difference between a comfortable trek and a grueling ordeal. Different terrains demand different weight distribution strategies to maintain your balance and reduce fatigue.
For uphill climbs, keep heavy items close to your back and positioned high in the pack. This prevents the weight from pulling you backward.
On downhill sections, shift heavier gear slightly lower to avoid forward momentum that could throw off your balance.
Flat terrain allows for more flexible weight distribution:
Rocky or uneven terrain requires a lower center of gravity, so pack dense items closer to your waist level for better stability.
After you’ve organized your pack’s weight distribution, protecting your gear from moisture becomes your next priority. Start with a pack rain cover as your first line of defense against heavy downpours. However, don’t rely solely on external protection—stuff sacks and dry bags provide vital backup security for your essentials.
Pack your sleeping bag and spare clothes in waterproof compression sacks. Electronics, maps, and fire-starting materials need individual dry bags or ziplock pouches. Place these critical items in your pack’s center, away from seams where water typically penetrates.
Consider pack liners—large trash compactor bags work excellently and cost less than specialized versions. Double-bag items you absolutely can’t afford to lose. Test your waterproofing system before heading out by spraying your packed gear with a hose.
If you’re planning an RV camping adventure instead, you’ll have the luxury of built-in storage compartments that naturally protect your gear from the elements.
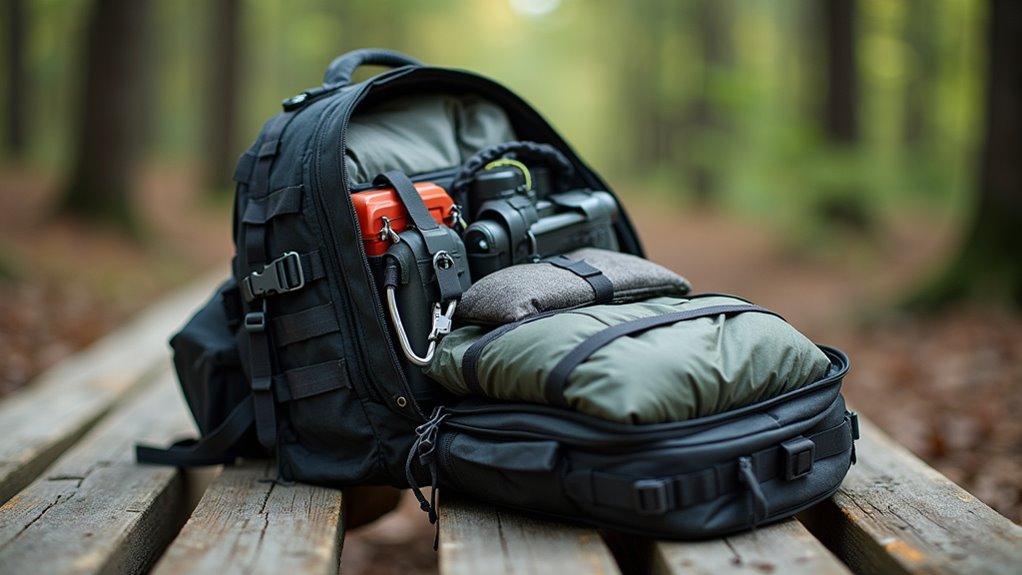
Why carry items inside your pack when strategic external attachments can free up valuable interior space? Your backpack’s external loops, straps, and clips aren’t just decorative—they’re functional real estate for smart campers.
Attach your sleeping pad to the bottom using compression straps. It’s easily accessible and won’t compress your other gear. Side mesh pockets hold water bottles, keeping hydration within arm’s reach while hiking. Carabiners on shoulder straps are perfect for quick-grab items like headlamps or GPS devices.
Consider these external attachment priorities:
Smart packing techniques like these become even more valuable when you’re planning family camping adventures where multiple backpacks need to work together efficiently.
Mastering external attachments becomes second nature once you’ve practiced the complete packing process at home. Set aside an afternoon to do a full dress rehearsal before your trip. Lay out all your gear and pack everything exactly as you’d for camping.
Practice makes perfect when it comes to external attachments—do a complete dress rehearsal at home before hitting the trail.
Wear your loaded backpack around the house for thirty minutes, noting pressure points or balance issues.
Time yourself during this rehearsal—you’ll want efficient packing skills at the campsite. Practice accessing frequently needed items without unpacking everything.
Test your external attachment points with actual gear, ensuring straps hold securely and items don’t shift when you move.
Make adjustments and repack until everything feels right. This rehearsal prevents frustrating surprises on the trail and builds confidence in your packing system. If you’re planning to stay at established campgrounds, research RV parks in your destination area to understand available amenities and space constraints that might influence your packing decisions.
Even experienced campers fall into packing traps that transform their outdoor adventure into an endurance test. You’ll sabotage your comfort by cramming heavy items at the bottom, creating an unbalanced load that strains your back and throws off your center of gravity.
Another killer mistake? Overpacking “just in case” items that you’ll never use. That extra jacket, backup flashlight, and third pair of socks add unnecessary weight without adding value.
The most painful error involves neglecting your pack’s organizational system:
These oversights force you to dump everything out repeatedly, waste precious time, and create frustration when you need gear quickly. Following proper packing techniques will help you avoid these common pitfalls and ensure your backpack remains comfortable and well-organized throughout your camping trip.
You’ve mastered the art of packing like a pro, yet you’ll still find yourself digging frantically through your bag at 2 AM searching for that one essential item you swore you’d remember. But here’s the twist – even when your “perfect” system fails, you’ll appreciate how much worse it could’ve been. Your back won’t ache, your gear stays dry, and you’ll only curse yourself for five minutes instead of the entire trip.