Physical Address
304 North Cardinal St.
Dorchester Center, MA 02124
Physical Address
304 North Cardinal St.
Dorchester Center, MA 02124
Master these 8 essential fire-lighting techniques to ensure you're never left shivering in the wilderness when matches fail.
You’ve gathered your kindling and arranged your fire pit, but now comes the moment of truth—actually getting that flame started. Whether you’re dealing with unexpected rain, howling wind, or simply forgot to pack your usual fire-starting gear, having multiple ignition techniques in your arsenal can mean the difference between a cozy evening and a cold, frustrating night. These eight proven methods will guarantee you’re never left in the dark.
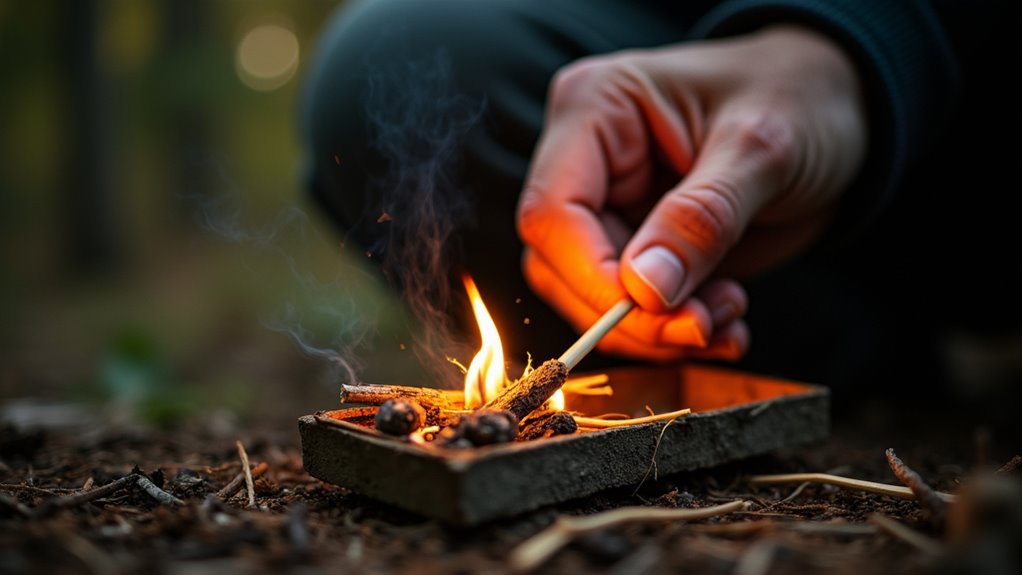
When you’re starting your first camping fire, matches remain the most straightforward and reliable ignition method. You’ll want waterproof matches or keep regular ones in a sealed container.
Before striking, gather your tinder, kindling, and fuel wood in separate piles.
Build your fire structure first—create a small nest of dry tinder like birch bark, dry grass, or paper. Arrange pencil-thin kindling around it, then add progressively thicker sticks.
Strike your match close to the tinder, shielding it from wind with your body or hands. Light the tinder at its base where it’s driest.
Gently blow on the ember once it catches, gradually feeding larger kindling as flames grow. Don’t rush—patience guarantees success with this time-tested method.
While matches work well in calm conditions, lighters offer distinct advantages when you’re battling wind and weather. Their flame burns hotter and stays lit longer than matches, giving you more time to ignite your tinder.
Hold your lighter close to the tinder bundle, creating a windbreak with your free hand or body. Cup your hands around the flame without blocking airflow to your fire materials.
If wind keeps extinguishing the flame, try lighting from the downwind side of your fire lay.
Butane lighters work best at sea level but struggle at high altitudes. Pack a backup lighter since cold temperatures can affect fuel flow.
For extreme conditions, consider windproof lighters with protective flame guards that maintain consistent ignition even in gusty weather.
When camping in areas like Rattlesnake Canyon, where coastal winds can pick up unexpectedly, having reliable fire-starting equipment becomes even more crucial for a successful outdoor experience.

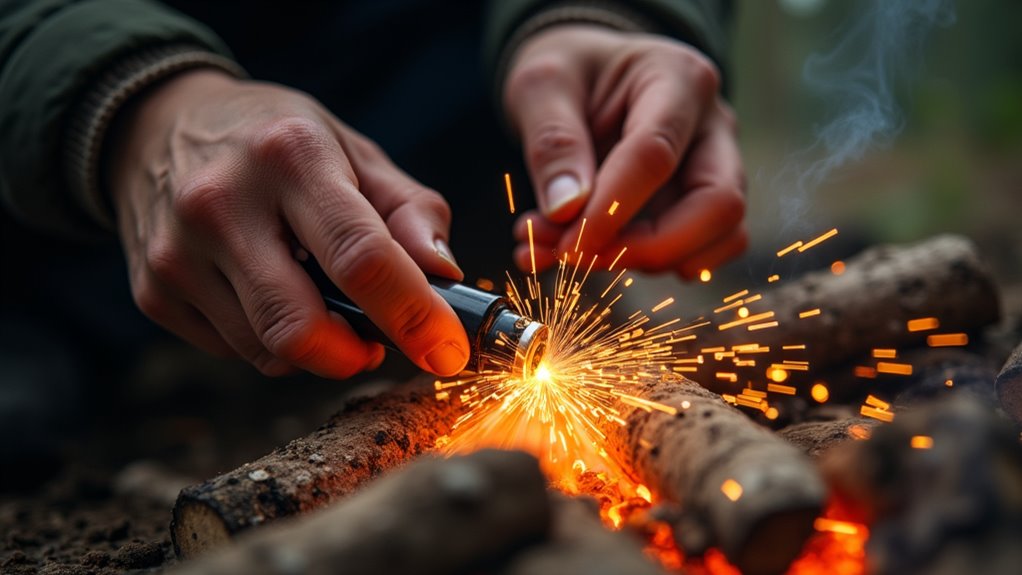
Why do experienced campers swear by fire steel and striker combinations? They’re incredibly reliable in harsh conditions where matches fail and lighters won’t spark. You’ll generate sparks that reach temperatures of 3,000°F – hot enough to ignite tinder even when wet.
Fire steel delivers 3,000°F sparks that ignite wet tinder when matches and lighters fail in brutal weather conditions.
Here’s what makes them essential:
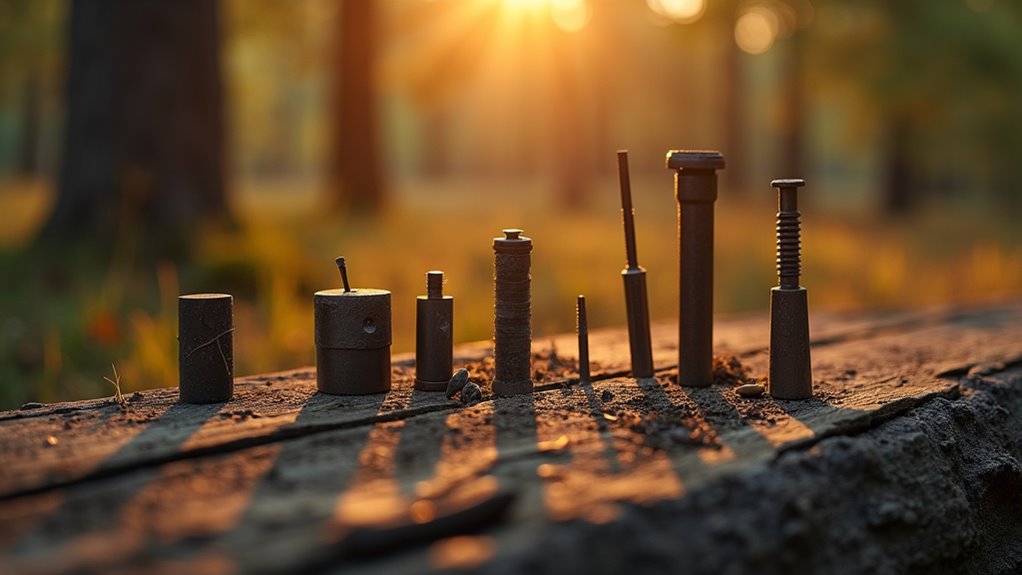
You’ll need proper tinder like char cloth, birch bark, or petroleum jelly-soaked cotton balls. Strike downward at a 45-degree angle, aiming sparks directly into your tinder bundle. Practice this technique at home first – it’s trickier than it looks. Plus, fire steel can be especially valuable when dealing with bug-free camping situations where you need reliable flame for smoke to deter insects.
Although mastering the bow drill requires patience and practice, it’s one of the most satisfying primitive fire-starting methods you can learn.
You’ll need four components: a fireboard, spindle, bow, and tinder bundle.
Cut a notch in your fireboard where the spindle will rotate.
Wrap the bowstring around the spindle, then place downward pressure while moving the bow back and forth.
This creates friction that generates heat and wood dust.
As you maintain steady rhythm, the dust will begin smoking and eventually form an ember.
Carefully transfer this glowing ember to your prepared tinder bundle and gently blow until flames appear.
Start with softer woods like cedar or cottonwood for easier success.
When camping in dense forest environments, having reliable fire-starting skills becomes even more critical since staying elevated in a jungle hammock keeps you safer from ground-level hazards while your fire provides warmth and protection below.
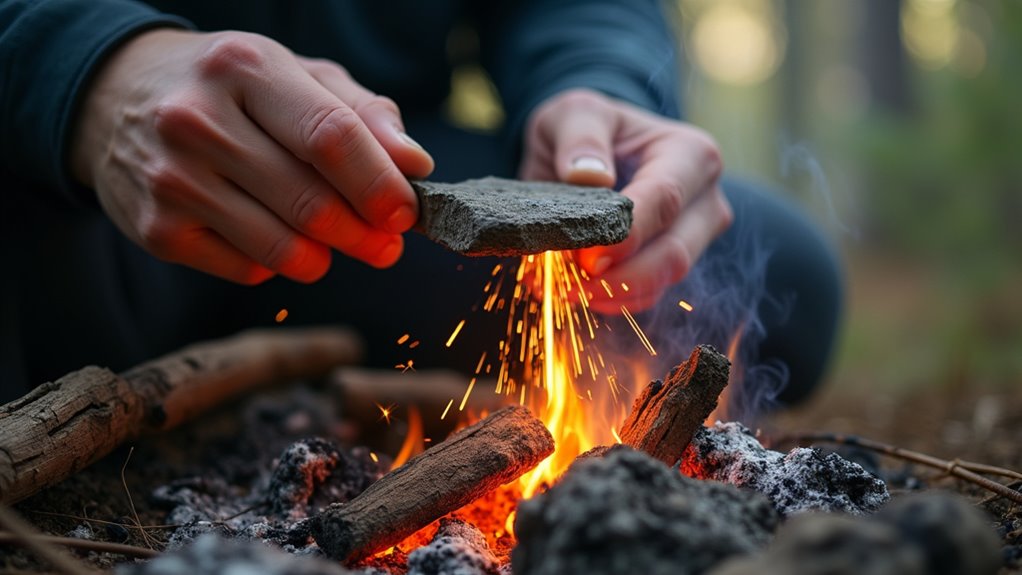
Moving from wood-on-wood friction to metal and stone, the flint and steel method has helped countless generations start fires before matches existed.
You’ll need genuine flint (or chert) and a piece of high-carbon steel like an old file.
The technique requires these essential components:
Strike the steel against the flint’s edge with a downward scraping motion. You’re shaving off microscopic steel particles that ignite from friction heat.
Catch these sparks in your char cloth, then transfer the glowing ember to your tinder bundle and blow gently.
Once your fire is established, you can focus on other camping essentials like setting up refrigeration to keep your food fresh throughout your outdoor adventure.
When sunlight becomes your ally, the magnifying glass method transforms solar energy into fire through focused light concentration. You’ll need a magnifying glass, dry tinder, and bright sunlight to succeed.
Position your tinder bundle on a stable surface, then hold the magnifying glass between the sun and tinder. Adjust the distance until you create the smallest, brightest light spot possible. This concentrated beam generates intense heat that’ll ignite your tinder within seconds.
Keep the focal point steady—any movement disrupts the process. Once smoke appears, gently blow on the ember to encourage flame development.
This method won’t work on cloudy days or during low-light conditions, so save it for clear, sunny weather when traditional fire-starting tools aren’t available. Mastering this technique becomes one of the essential camping tips that can enhance your overall outdoor experience and self-reliance skills.
While solar power works great in bright conditions, you’ll often find yourself needing fire when the sun isn’t cooperating. The battery and steel wool method is your emergency backup when other techniques fail. This approach works because steel wool contains thin iron fibers that heat up rapidly when electricity passes through them.
Here’s how to execute this technique:
This method works reliably in wet conditions when matches won’t light. The battery and steel wool technique is just one of 9 ways to create a reliable campfire when you’re outdoors.
How can you guarantee a roaring campfire even when you’re dealing with damp wood or challenging weather? Fire starter cubes and accelerants are your reliable backup plan. These commercial products ignite quickly and burn hot enough to dry out wet kindling while establishing a solid flame base.
Fire starter cubes are compact, waterproof blocks that’ll burn for several minutes. Simply place one under your tinder and light it with a match or lighter. They’re mess-free and store easily in your camping gear.
Fire starter cubes burn reliably for minutes, light easily with matches, and pack conveniently in your camping gear without mess.
Liquid accelerants like camping fuel or fire-starting gel work similarly but require more caution. Apply sparingly to your tinder, then light immediately. Never add accelerants to an existing fire – that’s dangerous.
Both options give you consistent results when natural fire-starting methods fail. Once your fire is established, having a well-organized Basecamp Kitchen setup nearby makes cooking over your flames much more efficient and enjoyable.
You might think mastering all eight techniques is overkill, but you’ll thank yourself when your go-to method fails in wet conditions or you’re missing gear. Don’t try perfecting every technique at once—pick two or three that suit your camping style and practice them at home first. Whether you’re using traditional flint and steel or modern fire cubes, having backup methods means you’ll never spend a cold night without warmth and hot food.