Physical Address
304 North Cardinal St.
Dorchester Center, MA 02124
Physical Address
304 North Cardinal St.
Dorchester Center, MA 02124
Get your camping stove running like new with these essential maintenance secrets that prevent frustrating failures in the wilderness.
Like a trusty compass that guides you through uncharted wilderness, your camping stove becomes an essential lifeline when you’re miles from civilization—but only if it’s properly maintained. You’ve probably experienced that sinking feeling when your stove sputters to life with a weak flame or refuses to ignite altogether, leaving you staring at a cold can of beans. The difference between a reliable cooking companion and a frustrating paperweight often comes down to simple maintenance habits that most campers overlook completely.
Before you can properly maintain your camping stove, you’ll need to identify what type you’re working with and understand its key parts. The three main types are canister stoves, liquid fuel stoves, and alcohol stoves. Each has distinct components and maintenance needs.
Canister stoves feature a threaded fuel canister, burner head, and control valve. They’re simple but require checking the threading and valve regularly.
Canister stoves are beautifully simple—just threaded canister, burner head, and control valve—but demand regular threading and valve inspections.
Liquid fuel stoves include a fuel bottle, pump, fuel line, and burner assembly. These need more attention due to their complexity.
Alcohol stoves are the simplest, typically just a burner pot with air holes.
Key components across all types include the burner jets, control mechanisms, and fuel connections. Understanding these parts helps you spot potential issues early and perform targeted maintenance that keeps your stove running efficiently. When shopping for replacement parts or a new stove altogether, consider exploring affordable camping gear options to keep your outdoor cooking setup both functional and budget-friendly.
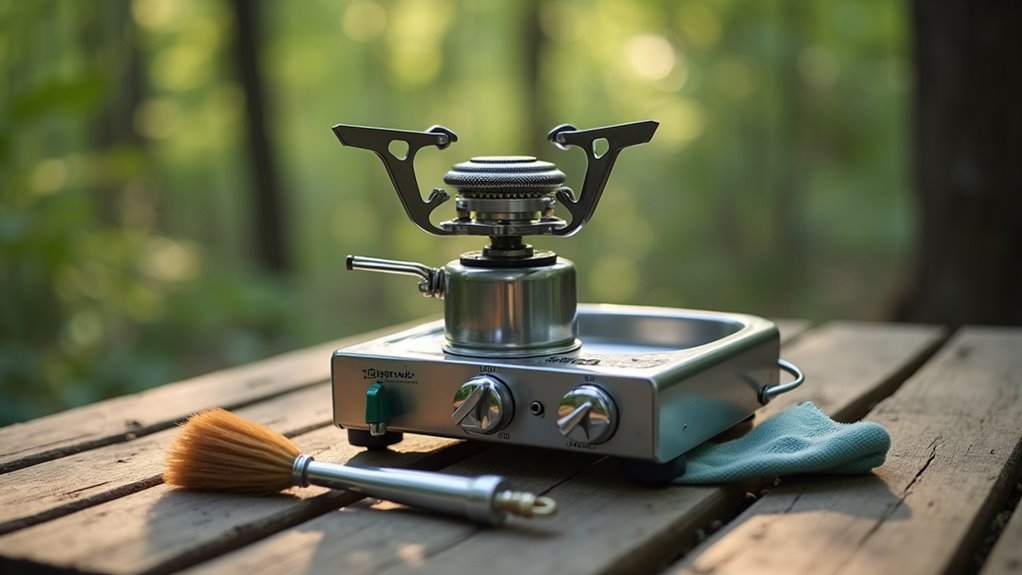
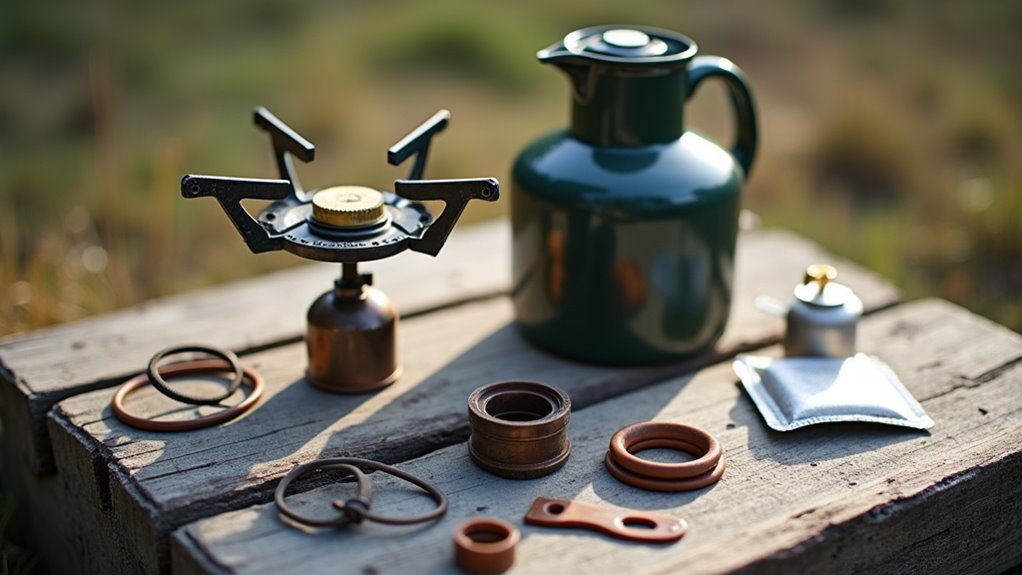
Once you’ve identified your stove type, you’ll need to gather the right cleaning supplies and tools to maintain it properly. Start with basic items: soft-bristled brushes, cotton swabs, and lint-free cloths for gentle cleaning.
You’ll also need isopropyl alcohol or specialized stove cleaner to dissolve grease and fuel residue.
For deeper maintenance, collect needle-nose pliers, small screwdrivers, and a pocket knife for disassembly and debris removal. Keep replacement parts handy—O-rings, seals, and fuel line components wear out over time.
A small funnel prevents spills during fuel transfers.
Don’t forget compressed air for blowing out clogged jets and passages. Store everything in a dedicated maintenance kit so you’re prepared whether you’re at home or in the field. Regular stove maintenance is particularly important for bushwalking adventures in Australia where reliable cooking equipment can make the difference between an enjoyable outdoor experience and a challenging situation.
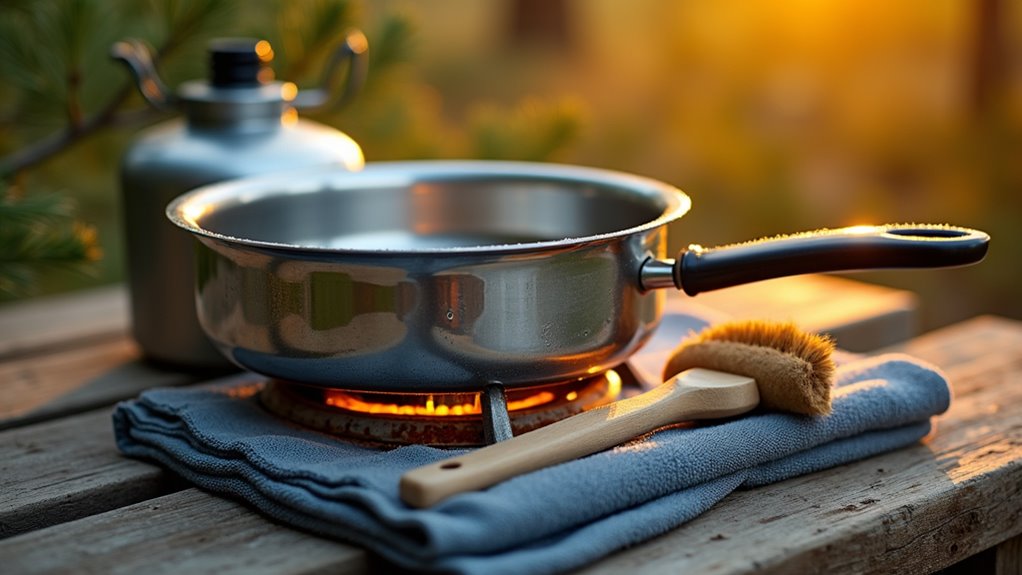
With your maintenance kit assembled, you’ll want to establish a simple cleaning routine that keeps your stove running smoothly trip after trip. After each cooking session, let your stove cool completely before starting any cleaning.
Remove the pot supports and wipe down all surfaces with a damp cloth to eliminate grease and food residue. Check the burner ports for clogs—use a thin wire or needle to clear any blockages you find.
Clean the fuel line connections and inspect them for leaks or damage. Wipe down the control knobs and ensure they turn freely.
Finally, check that all components fit together properly when reassembling. This five-minute routine prevents major problems and extends your stove’s lifespan considerably.
Make sure your stove is completely dry before storing it, as moisture can lead to mildew growth on various components during storage periods.
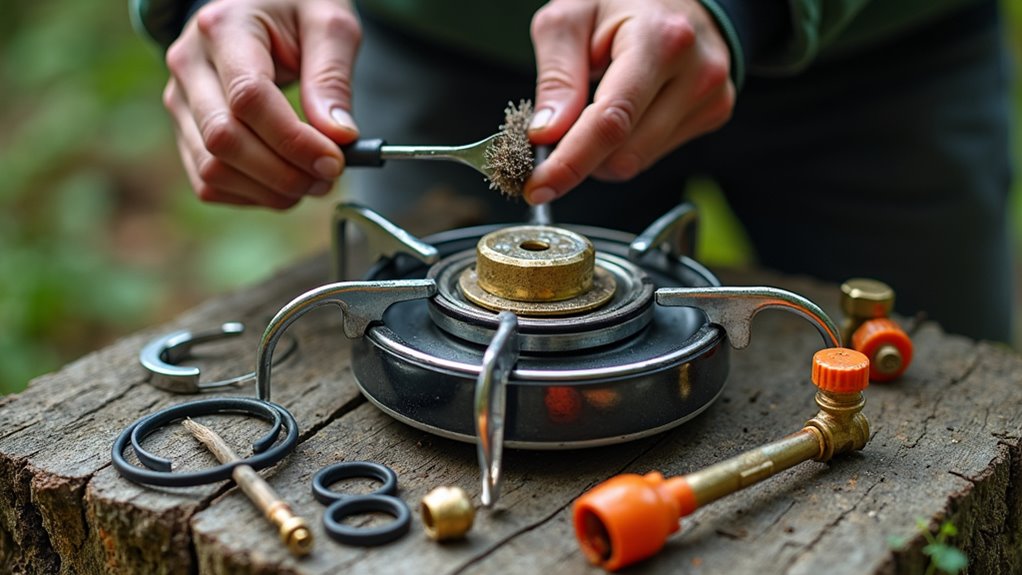
While daily cleaning keeps your stove functional in the field, thorough deep cleaning at home tackles the buildup that regular maintenance can’t address. You’ll need to disassemble your stove completely and give each component proper attention.
Start by removing all detachable parts and soaking them in warm, soapy water.
Focus on these key areas:
After cleaning, dry everything completely before reassembling.
Test your stove’s ignition and flame pattern to ensure everything’s working properly.
This deep cleaning routine extends your stove’s lifespan considerably. For jungle camping adventures where humidity and dense vegetation create particularly challenging conditions, a well-maintained stove becomes even more critical for reliable meal preparation.
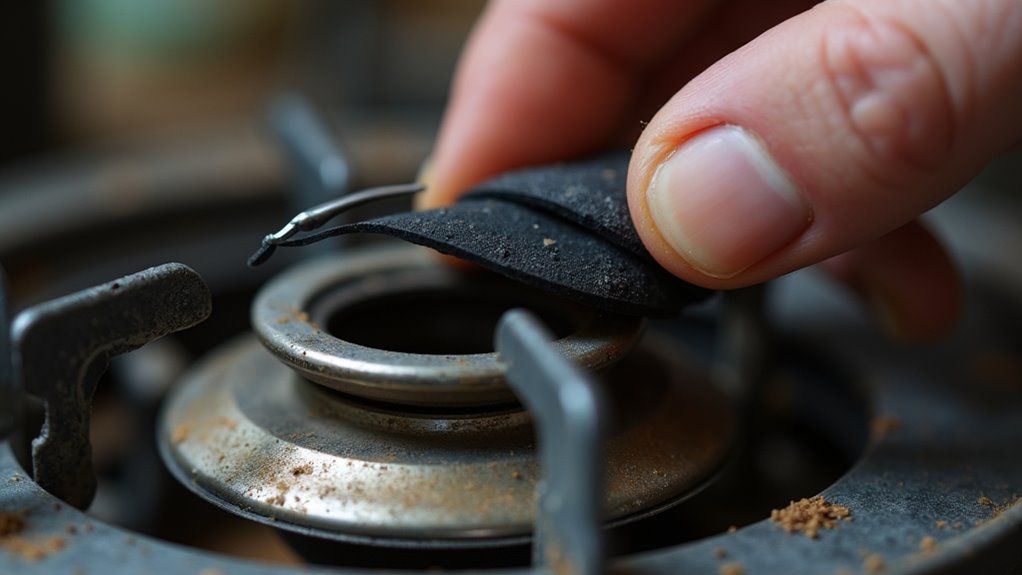
Even after thorough cleaning, your stove won’t function safely if its gaskets and seals have deteriorated. You’ll need to inspect these critical components regularly to prevent gas leaks and maintain proper pressure.
Start by removing the fuel canister and examining all visible rubber seals around connections. Look for cracks, hardening, or deformation. Gently press each seal – it should feel pliable, not brittle.
Always test seal flexibility with gentle pressure – pliable rubber means safe operation, while brittle seals signal immediate replacement needs.
Check the O-ring inside your stove’s fuel connection point using a flashlight.
If you discover damaged seals, replace them immediately. Most manufacturers sell replacement gasket kits specific to your stove model. Don’t substitute generic seals, as improper fit creates dangerous leaks.
Apply a thin layer of silicone grease to new seals during installation to extend their lifespan and ensure proper seating.
A well-maintained stove enhances your camping adventure by providing reliable cooking performance throughout your outdoor journey.
Clogged burner ports and fuel lines will sabotage your stove’s performance just as quickly as faulty seals compromise its safety. When your flame burns unevenly, produces weak heat, or won’t light at all, blocked passages are likely culprits.
Start by disconnecting your fuel source and letting the stove cool completely.
Here’s how to clear those stubborn blockages:
Reassemble everything carefully, ensuring proper alignment. Test your stove’s performance before your next camping trip.
A well-maintained camping stove is essential for successful caravan camping adventures where reliable cooking equipment can make or break your outdoor experience.
After you’ve cleaned and maintained your camping stove, how you store it determines whether it’ll serve you reliably for years or become a costly replacement.
Store your stove in a dry, temperature-stable location. Moisture causes rust and corrosion, while extreme temperature swings can damage seals and gaskets. Remove the fuel canister before storage—even empty canisters can leak residual fuel that attracts dirt and creates fire hazards.
Keep all components together in a protective case or padded bag. This prevents scratches, dents, and lost parts. Store the stove upright when possible to prevent fuel residue from pooling in unwanted areas.
Check on your stored stove seasonally. Look for signs of moisture, pest damage, or component deterioration. This simple habit catches problems early, saving you from discovering a broken stove on your next camping trip.
Implementing these adventurous camping tricks will help maximize your stove’s lifespan and ensure peak performance on every outdoor expedition.
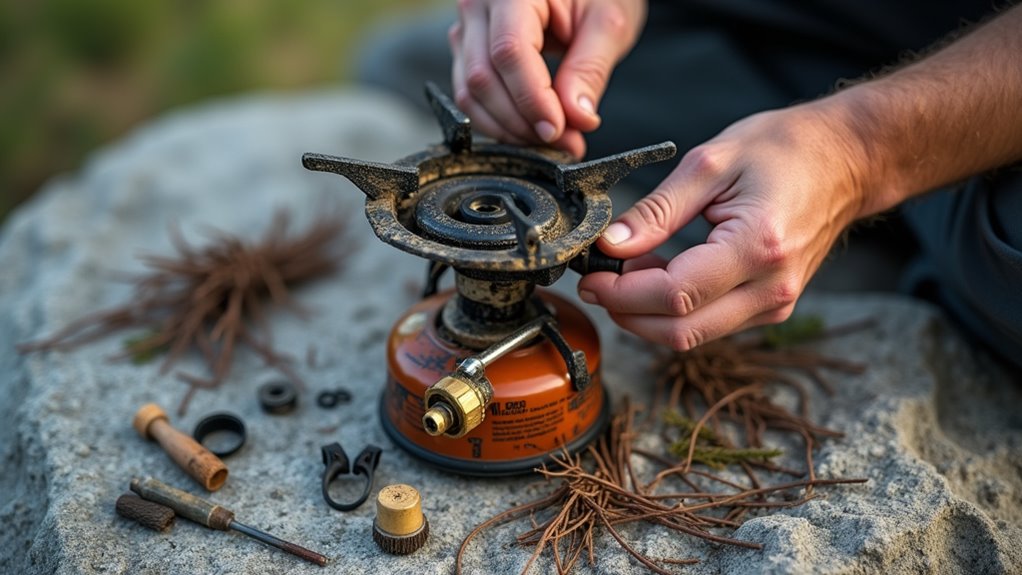
When you’re miles from civilization with days left on your expedition, proper field maintenance becomes critical to your stove’s performance and your safety. Don’t wait for problems to develop—establish a daily routine that’ll keep your stove running smoothly.
Essential field maintenance tasks include:
Pack a small maintenance kit with spare O-rings, cleaning wire, and basic tools. Address minor issues immediately rather than letting them compound into expedition-ending failures. Just as you carefully select your camping tent for weather protection and durability, your stove maintenance routine should be equally systematic and thorough.
Even with diligent field maintenance, you’ll occasionally face performance problems that can disrupt your cooking plans. When your flame burns yellow or orange instead of blue, you’re likely dealing with dirty burner ports or poor fuel quality. Clean the ports with a thin wire or needle, and switch to fresh fuel if possible.
If your stove won’t light, check for clogs in the fuel line or jet. Use compressed air or a cleaning wire to clear blockages.
Low flame output often indicates fuel pressure issues—pump your stove more frequently or replace worn seals.
Sputtering flames usually mean water contamination in your fuel. Let the stove burn briefly to evaporate moisture, or drain and refill with dry fuel for persistent problems.
Having the right camping equipment ensures you can handle these maintenance tasks effectively in the field.
You’ve mastered the meticulous maintenance methods that make your camping stove shine. By consistently cleaning components, carefully checking connections, and properly protecting your precious portable partner, you’ll prevent problems and preserve peak performance. Remember to regularly replace worn parts, store smartly, and stay vigilant during ventures. Your dedication to diligent upkeep means countless cozy campfire meals ahead. Keep that flame burning bright—your well-maintained stove won’t let you down when adventure calls.