Physical Address
304 North Cardinal St.
Dorchester Center, MA 02124
Physical Address
304 North Cardinal St.
Dorchester Center, MA 02124
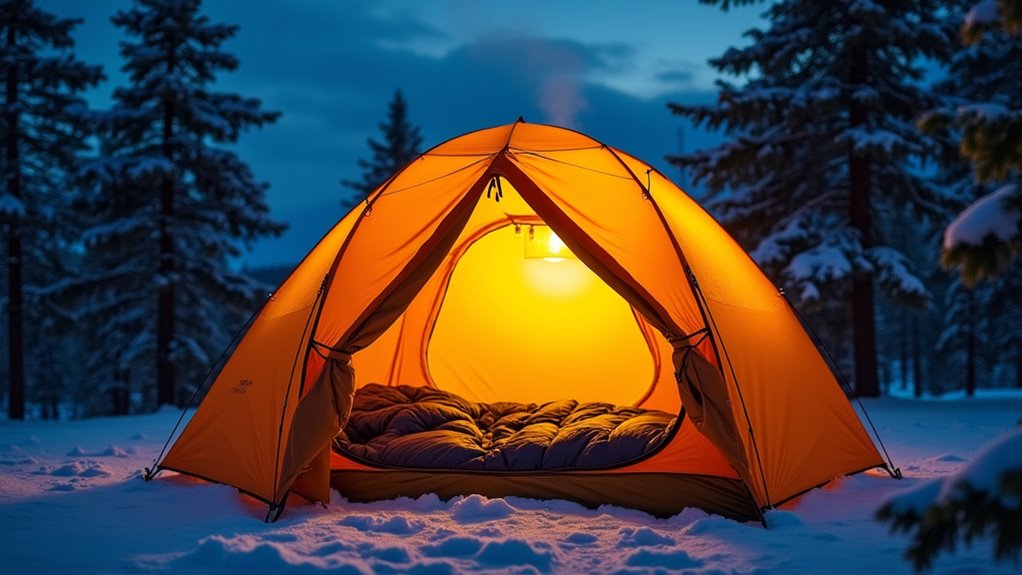
Transform your freezing tent into a warm sanctuary with these 9 budget-friendly heating methods that most campers never discover.
Your body temperature can drop by up to 25% during sleep in cold conditions, turning what should be a restful night into a miserable ordeal. You don’t need expensive gear to stay warm while camping – most effective tent heating solutions cost under $20 and use items you probably already own. These nine proven methods will transform your chilly shelter into a cozy refuge, but the first technique alone can raise your tent’s temperature by 15 degrees.
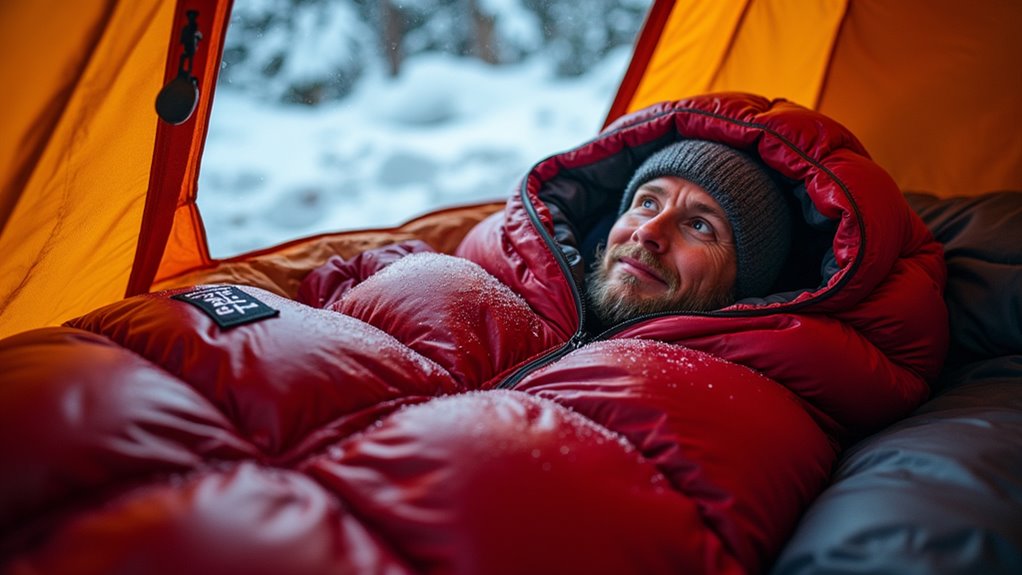
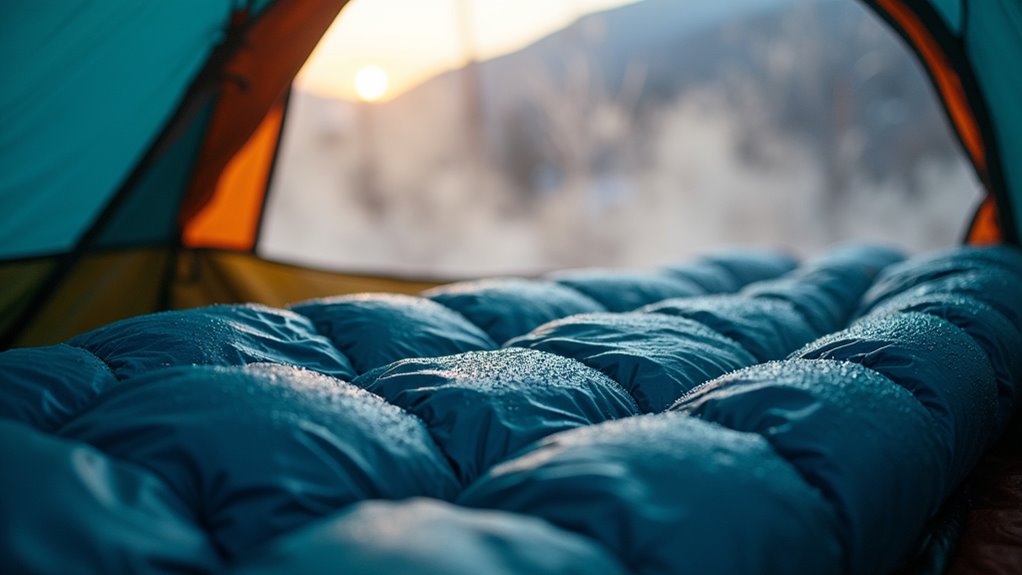
When temperatures drop below freezing, your regular sleeping bag won’t cut it – you’ll need one rated for the specific conditions you’re facing. Look for bags with temperature ratings at least 10-15 degrees lower than expected nighttime lows.
Choose a sleeping bag rated 10-15 degrees below expected lows when winter camping in freezing temperatures.
Down insulation offers the best warmth-to-weight ratio but loses effectiveness when wet, while synthetic fills maintain insulation even if damp.
Mummy-style bags retain heat better than rectangular ones since they eliminate dead air space around your body. You’ll also want a bag with a draft collar and hood to prevent heat loss from your head and neck.
Don’t overspend on expedition-grade bags unless you’re tackling extreme conditions. Quality mid-range options from brands like Kelty or REI Co-op provide excellent value for most winter camping scenarios.
For those planning backpacking adventures across regions like the UK, investing in proper cold-weather gear becomes even more crucial given the unpredictable weather conditions.
While your sleeping bag keeps your body warm, cold from the ground below can still seep through your tent floor and steal your heat all night long. You’ll want to create a barrier between yourself and the frozen earth beneath.
Start with a quality sleeping pad – closed-cell foam pads work great and won’t break the bank. They’re lightweight, durable, and provide excellent insulation. For extra warmth, layer an inflatable pad on top for cushioning and additional R-value.
Don’t overlook free options like pine needles, dry leaves, or newspapers as makeshift insulation. You can also use your backpack, extra clothes, or even a tarp underneath your sleeping area.
The key is creating multiple layers that trap air and block ground cold from reaching your body. If you’re camping with pets, consider that they’ll also need proper insulation from the cold ground to stay comfortable throughout the night.
Your body generates heat constantly, but trapping and directing that warmth effectively can make the difference between a miserable night and comfortable sleep. Layer your clothing strategically—base layers wick moisture, insulating layers trap air, and outer shells block wind.
Your body is a natural heater—the key is trapping and directing that warmth strategically for maximum comfort.
Don’t wear too many clothes to bed; you’ll overheat and sweat, which makes you colder later.
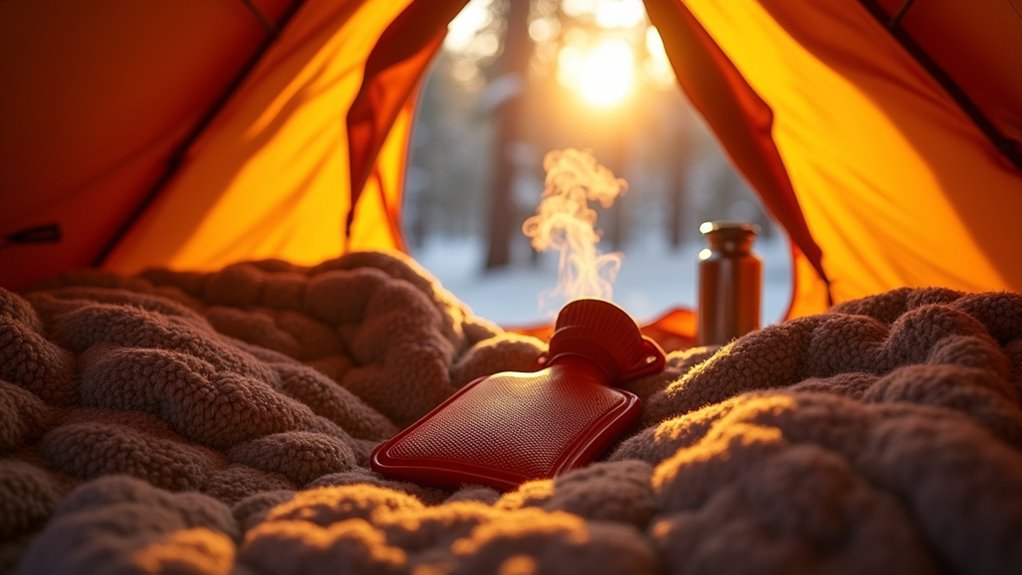
Share body heat by sleeping close together if you’re camping with others. Place a water bottle filled with warm water near your core or feet before bed. Keep tomorrow’s clothes inside your sleeping bag overnight—they’ll stay warm and you won’t face frozen fabric in the morning.
Remove damp socks and replace them with dry ones before sleeping.
Remember that your campsite selection plays a crucial role in temperature control, as sheltered locations naturally provide better insulation from wind and cold air currents.
Although wind might seem like a minor concern during the day, it becomes your biggest enemy once temperatures drop and you’re trying to stay warm inside your tent. Wind strips away heat faster than cold air alone, making proper tent placement vital for staying cozy.
Scout your campsite before dark and look for natural windbreaks like dense trees, large rocks, or hillsides. Position your tent’s narrow end facing the prevailing wind direction to minimize surface area exposure. Avoid valleys where cold air settles, and don’t camp on ridgetops where wind’s strongest.
If natural shelter isn’t available, create your own using tarps, your vehicle, or even other campers’ tents. Remember, you’re not just blocking wind—you’re creating a microclimate that’ll keep you considerably warmer throughout the night. Keeping your tent properly positioned away from wind exposure also prevents moisture buildup that can make your shelter uncomfortably damp.
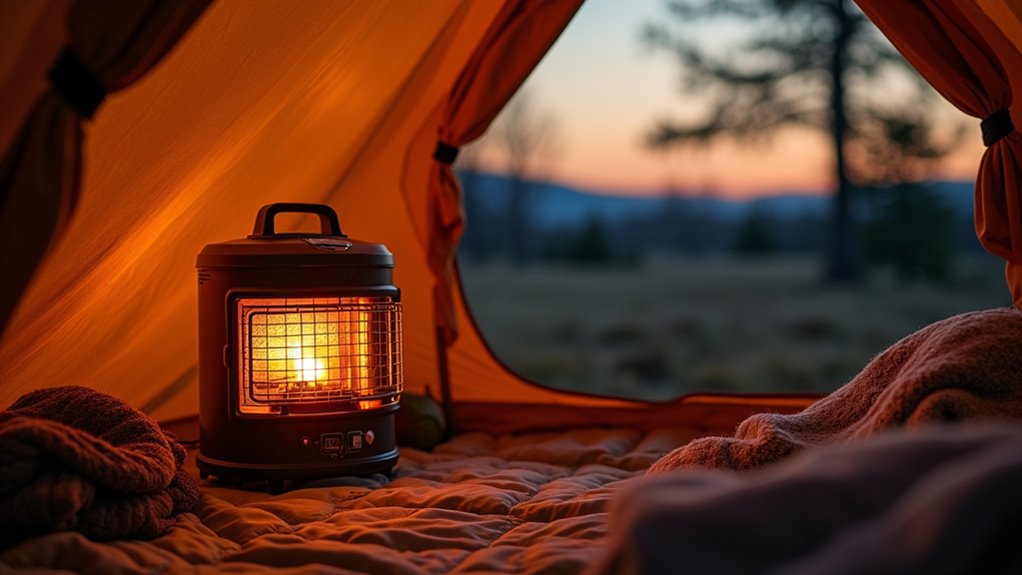
Beyond protecting yourself from wind, you’ll need to generate actual heat inside your tent to stay comfortable when temperatures really plummet. Battery-powered tent heaters offer safe, reliable warmth without carbon monoxide risks. You can also use rechargeable hand warmers placed in your sleeping bag or pockets for targeted heat.
Body heat’s your cheapest option – share a tent with others and huddle together. Fill a water bottle with hot water before bed and tuck it into your sleeping bag as a natural warmer. Portable camping candles designed for tents provide gentle ambient heat, but keep them away from fabric walls.
Never use propane heaters, charcoal, or open flames inside your tent. These create deadly carbon monoxide and fire hazards that aren’t worth the risk. Planning your family camping adventure with proper heating strategies ensures everyone stays warm and enjoys the outdoor experience together.
Even with heat sources running, cold air sneaking through gaps will sabotage your warming efforts and leave you shivering all night. Start by checking your tent’s zipper seams, especially where the rainfly meets the tent body. Use duct tape or seam sealer to patch small holes and reinforce weak spots.
Don’t forget the tent floor’s edges where it connects to the walls – cold ground air loves creeping through these gaps. Roll up towels or extra clothing to block drafts around the tent’s perimeter.
Inspect guy-line attachment points and vestibule openings too. Even tiny gaps let precious warm air escape while inviting frigid air inside.
A thorough seal-up takes fifteen minutes but makes the difference between comfortable sleep and a miserable night. For jungle environments where ground moisture and airflow create unique challenges, consider using a hammock setup as an alternative that naturally eliminates ground-level drafts.
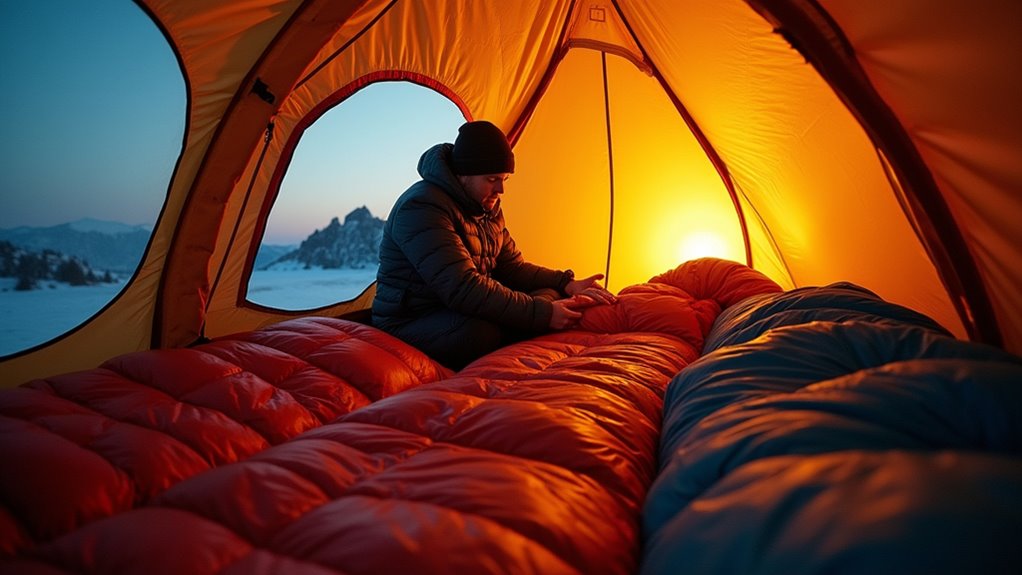
Once you’ve sealed those pesky air leaks, it’s time to get ahead of the cold by warming your sleeping area before you actually need it. Don’t wait until you’re shivering in your sleeping bag – that’s a losing battle.
About thirty minutes before bedtime, toss a hot water bottle or heated rice sock into your sleeping bag. You can heat water on your camp stove or use body-safe hand warmers as cheaper alternatives. Some campers even warm their sleeping bag by sitting in it while having dinner.
Another smart move is laying out your sleeping pad and bag in the warmest part of your tent during the day. This captures any available heat from sunlight.
Pre-warming creates a cozy cocoon that’ll keep you comfortable all night. Just like considering whether to rent or buy when planning your next adventure, think about whether investing in portable heating gear makes sense for your camping frequency and budget.
While pre-warming helps tremendously, you’ll need the right gear to maintain that warmth throughout the night. Start with a sleeping bag rated 10-15 degrees below expected temperatures. Down bags offer excellent warmth-to-weight ratios but lose insulation when wet, while synthetic bags perform better in damp conditions and cost less.
Add a closed-cell foam pad or insulated sleeping mat beneath your bag—ground insulation prevents significant heat loss. Consider a sleeping bag liner for extra warmth without buying expensive gear.
Wear moisture-wicking base layers and wool socks to bed. Keep a warm hat nearby since you lose considerable heat through your head. Pack extra batteries for headlamps and devices, as cold drains power quickly.
For group camping, spacious options like the Pegasus Tent accommodate up to four people, allowing shared body heat to help maintain interior warmth.
These strategic gear choices create a comfortable sleep system without breaking your budget.
Moisture becomes your worst enemy when camping in cold weather, turning a cozy night into a miserable ordeal. Wet clothing and gear lose their insulating properties, making you colder faster and longer.
Pack extra base layers and socks in waterproof bags – they’re your backup when things get damp. Change out of sweaty clothes immediately after setting up camp or hiking. Your body heat will dry wet items overnight if you sleep with them in your sleeping bag.
Ventilate your tent properly to prevent condensation buildup from your breath and body heat. Crack a window or vent even in freezing temperatures. Wipe down tent walls each morning to remove moisture before it refreezes. Keep a small towel handy for quick cleanup and body drying.
A well-organized hiking bag ensures you can quickly access dry gear and emergency supplies when weather conditions deteriorate unexpectedly.
Your tent becomes a fortress against winter’s bite when you’ve mastered these nine techniques. Like wrapping yourself in nature’s own cocoon, you’ll transform that thin fabric shell into a warm sanctuary. Don’t let cold nights drain your wallet or dampen your spirit—these practical strategies cost little but deliver big comfort. You’re now armed with the knowledge to turn even the chilliest camping trip into a cozy adventure that’ll leave you dreaming of your next outdoor escape.