Physical Address
304 North Cardinal St.
Dorchester Center, MA 02124
Physical Address
304 North Cardinal St.
Dorchester Center, MA 02124

Perfect your campfire skills with these 7 essential fire-building techniques that could mean the difference between comfort and catastrophe outdoors.
When Sarah’s weekend camping trip turned into a soggy nightmare, she realized her single teepee fire technique wasn’t enough to handle wet conditions or her group’s varied needs. You’ll face similar challenges if you only know one fire-building method. Different outdoor situations demand specific fire structures—some excel in wind, others conserve fuel, and certain designs work best for cooking versus heating. Master these seven essential campfire types, and you’ll handle whatever nature throws your way.

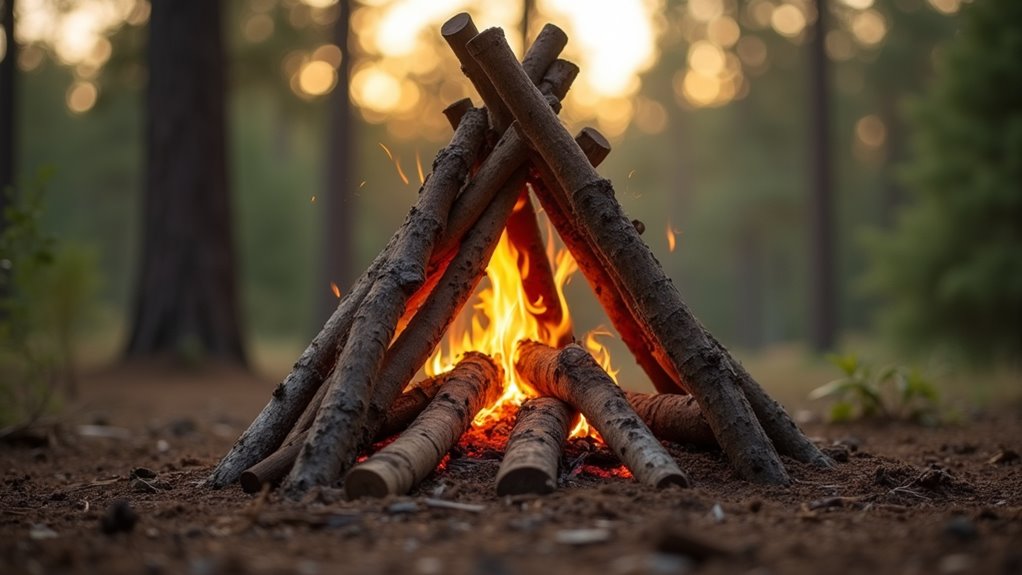
When you’re looking to get a fire started quickly, the teepee formation stands as the most reliable method for beginners and experienced campers alike. This structure mimics a cone shape, allowing air to flow freely through the base while flames climb naturally upward.
Start by placing your tinder bundle in the center. Arrange thin kindling around it like tent poles, leaving gaps for airflow. Add progressively thicker sticks in the same triangular pattern, maintaining those essential air spaces. Light the tinder from multiple sides if possible.
As the fire grows, the teepee will collapse inward, creating a solid bed of coals. You’ll have flames within minutes, making this technique perfect for cooking fires or when you need warmth fast.
While the teepee fire excels at quick ignition, you’ll want something more substantial for extended warmth or serious cooking sessions. The log cabin fire delivers exactly that – a sturdy, predictable burn that maintains consistent heat for hours.
Start by laying two parallel logs about six inches apart. Place two more logs perpendicular on top, creating a square foundation. Continue stacking logs in alternating directions, building upward like Lincoln Logs.
Build your foundation with two parallel logs, then stack perpendicular layers like Lincoln Logs for maximum stability and airflow.
Keep gaps between logs for airflow – oxygen feeds your fire.
Fill the center square with tinder and kindling, then light it. As the inner materials catch, they’ll ignite the surrounding logs from the inside out.
This design burns slowly and evenly, making it perfect for cooking meals or warming your campsite through chilly evenings. Remember that proper fire safety practices are essential when building and maintaining any campfire structure.

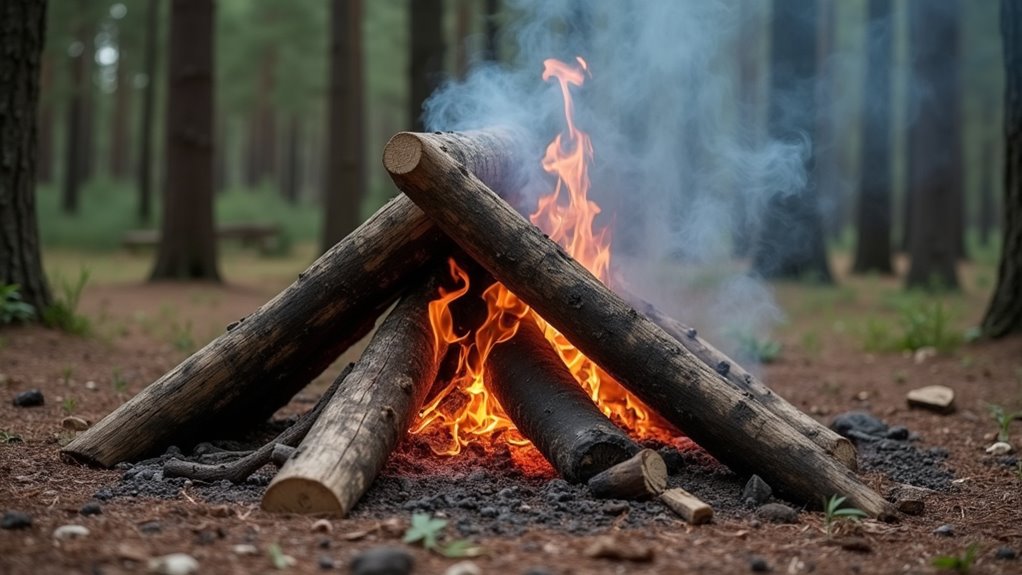
Strong winds can turn a peaceful campfire into a frustrating battle against scattered embers and dying flames. The lean-to fire offers a brilliant solution by creating a natural windbreak that protects your flame while maintaining proper airflow.
Start by placing a large log as your backstop against the wind direction. Build your tinder nest and kindling directly in front of this log, creating a sheltered pocket.
Lean progressively larger sticks against the main log at a 45-degree angle, forming a slanted roof over your fire.
This design excels in three key scenarios:
The angled structure channels wind upward while your flames stay protected below. If windy conditions prove too challenging for traditional camping methods, consider RV camping as an alternative that provides built-in shelter and wind protection.
Conserving firewood becomes critical during multi-day camping trips or when fuel sources are scarce. The star fire design maximizes fuel efficiency by using only the wood you need when you need it.
Arrange five to eight logs like spokes of a wheel, with one end of each log pointing toward the center. Build your initial fire in the middle using tinder and kindling.
As the logs burn inward, you’ll push them toward the center to maintain the flame.
This method burns slowly and steadily, giving you precise control over heat output. You’ll use less wood overall since you’re only feeding what’s actively burning.
The star fire works exceptionally well for cooking and provides consistent warmth throughout long evenings without constant wood gathering. When you’re ready to rest for the night, consider stringing up a camping hammock nearby to enjoy the fire’s warmth while staying elevated off the cold ground.

How do you keep a fire burning when rain has soaked the ground or snow covers your campsite? Build a platform fire. This elevated design lifts your flames above wet conditions, creating a stable foundation that won’t extinguish from ground moisture.
Start by laying green logs parallel to each other, spacing them about six inches apart. These form your platform’s base.
Next, place smaller dry logs perpendicular across the green foundation, creating a grid pattern. Build your fire directly on top of this elevated surface.
Picture these three key advantages:
This method works brilliantly in marshes, snow-covered terrain, or after heavy rainfall.
When you need both a cooking surface and heat source from a single piece of wood, the Swedish fire log delivers exactly that.
You’ll start with a large log, ideally 12-18 inches in diameter. Using a chainsaw or axe, cut vertical slits from the top down, leaving 4-6 inches uncut at the bottom. Make 4-6 cuts to create wedge-shaped sections that remain attached at the base.
Cut vertical slits from top down in a large log, leaving the bottom sections connected to create the fire base.
Stuff tinder and kindling into the center where your cuts meet, then light it from the top. The fire burns down through the center while the outer sections act as both fuel and wind shield.
The flat top surface becomes your cooking platform, perfect for pots and pans. This design burns for hours with minimal maintenance.
This reliable fire method makes it an excellent choice for tent camping where you need consistent heat and cooking capability without constantly tending the flames.

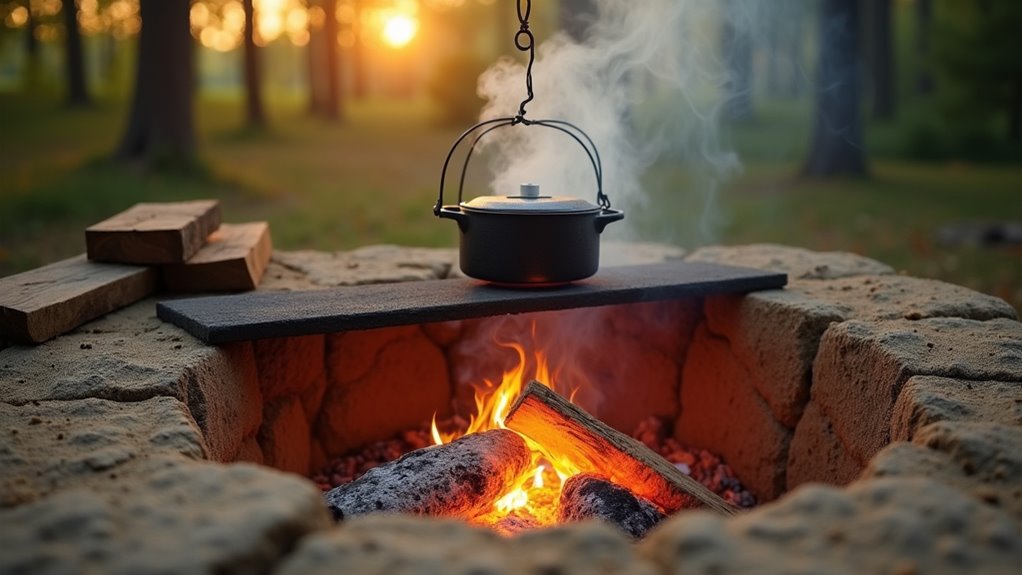
While most campfires force you to choose between cooking and gathering around for warmth, the keyhole fire gives you both in one clever design. This layout resembles a keyhole from above – a round fire pit connected to a narrow channel lined with rocks.
Start by digging your round fire pit, then extend a narrow trench from one side. Line this cooking channel with flat stones to create a stable surface for pots and pans. The main fire provides warmth and ambiance while coals get raked into the channel for controlled cooking.
Picture this setup in action:
You’ll have consistent heat for cooking without disrupting the social fire. This dual-zone approach makes camping cooking much more manageable when you’re preparing meals for a group while maintaining the campfire atmosphere everyone loves.
You’ve mastered seven fire-building techniques, yet here’s the irony—the real skill isn’t in perfecting each method, but in knowing when they’ll fail you. That teepee fire won’t catch in driving rain, your log cabin structure will collapse without proper wood selection, and even the mighty Swedish fire log becomes useless if it’s waterlogged. True campfire mastery comes from embracing failure, adapting quickly, and always having a backup plan when Mother Nature laughs at your expertise.