Physical Address
304 North Cardinal St.
Dorchester Center, MA 02124
Physical Address
304 North Cardinal St.
Dorchester Center, MA 02124
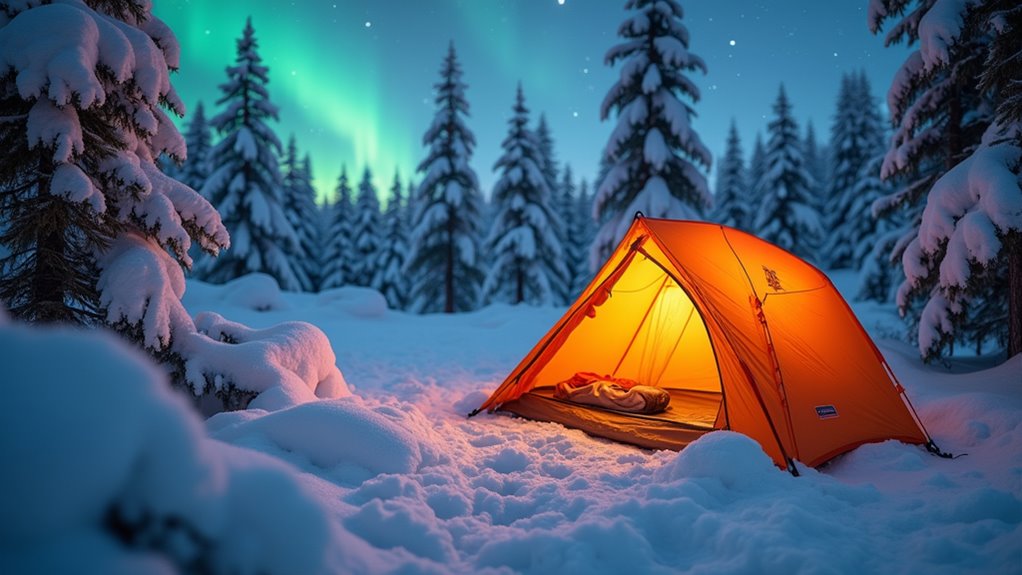
Freezing nights demand proper tent strategies that most winter campers overlook, leading to dangerous situations that could easily be avoided.
When you’re planning your first winter camping trip, you’ll quickly discover that your three-season tent won’t cut it against howling winds and heavy snow loads. The difference between a miserable night shivering in a collapsed shelter and waking up refreshed in sub-zero temperatures comes down to making smart choices about your gear and setup techniques. Here’s what separates experienced winter campers from those who pack up early and head home.
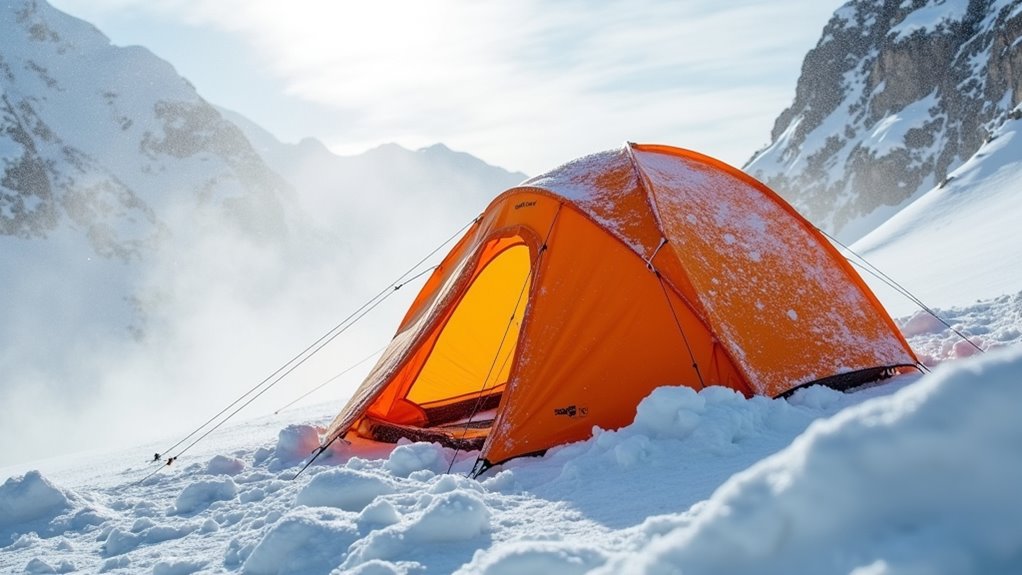
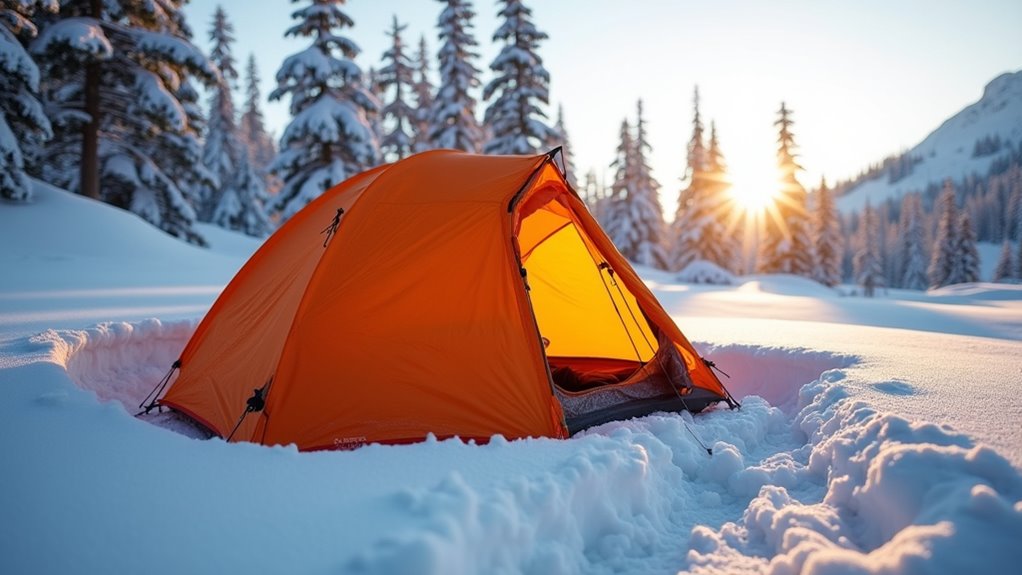
When winter camping beckons, you’ll need a tent that can handle nature’s harshest conditions. Four-season tents are specifically engineered for snow, ice, and fierce winds that’d destroy regular camping gear.
Look for a tent with a sturdy aluminum frame that won’t snap under heavy snow loads. The fabric should be ripstop nylon or similar material that resists tearing when branches scrape against it.
Your tent’s backbone matters—choose aluminum frames and ripstop fabric that won’t fail when winter throws its worst at you.
You’ll want fewer mesh panels than summer tents—solid fabric walls provide better insulation and wind protection.
Check the tent’s snow load rating and wind resistance specifications. Geodesic dome designs offer superior strength by distributing stress across multiple poles.
Don’t forget guy-lines and stakes designed for frozen ground. Your tent’s vestibule should accommodate gear storage since you can’t leave equipment outside overnight.
If you’re planning to explore high-altitude destinations, the Andes mountains offer some of the world’s most challenging winter camping conditions that will truly test your four-season tent’s capabilities.
Since winter gear takes up considerably more space than summer equipment, you’ll need a tent that’s at least one size larger than what you’d normally choose for three-season camping.
Your bulky sleeping bag, insulated pad, extra clothing layers, and winter boots require significant interior space. Don’t forget about wet gear storage – you can’t leave damp items outside to freeze.
Here’s what to contemplate when sizing your winter tent:
Planning these space considerations carefully will help ensure your family camping experience remains comfortable even in harsh winter conditions.
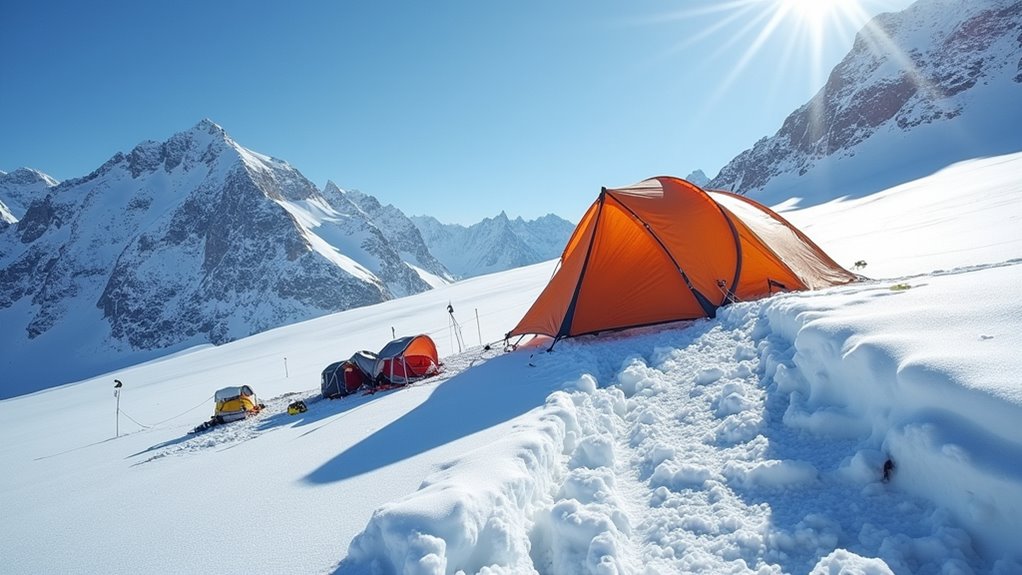
Before you even unpack your tent, you’ll need to scout and prepare your campsite carefully – poor site selection can turn a winter adventure into a survival situation.
Look for flat, protected areas away from avalanche zones, ridgelines, and dead trees that could fall. Avoid depressions where cold air settles and wind-exposed ridges that’ll buffet your tent all night.
Once you’ve found your spot, stomp down the snow in a rectangular area larger than your tent’s footprint. Pack it firm – loose snow will compress under your weight, creating uncomfortable dips. If snow’s deep, use snowshoes or skis to create a solid platform.
Clear any branches or debris that could puncture your tent floor. This preparation takes extra time, but it’s essential for warmth, comfort, and safety.
Winter camping preparation mirrors the meticulous planning required for adventure racing, where proper gear setup can mean the difference between success and failure in challenging conditions.
After stomping down your initial area, you’ll need to build a proper snow platform that creates insulation and prevents your tent from sinking overnight.
Building an effective platform requires patience and technique. You can’t rush this process, as your comfort and safety depend on getting it right.
Just like when deciding whether to rent or buy equipment for seasonal outdoor activities, consider how often you’ll winter camp before investing in specialized gear for platform construction.
Once you’ve established your snow platform, securing your tent becomes critical because winter winds can reach devastating speeds that’ll turn an unsecured shelter into a dangerous projectile. Traditional tent stakes won’t work in snow, so you’ll need alternative anchoring methods.
Use snow anchors like aluminum pickets or create deadman anchors by burying stuff sacks filled with snow. Tie your guylines to these buried anchors using a trucker’s hitch knot for maximum tension. Space anchors at least three feet from your tent’s perimeter to create proper angles.
Don’t skimp on guylines – use every attachment point your tent offers. Pack extra cordage since winter conditions can snap lines. Consider adding weight inside your tent with gear bags to create additional stability against uplift forces.
While tent camping requires more preparation and skill in winter conditions, many outdoor enthusiasts who’ve tried RV camping find that the convenience and built-in heating systems make it an attractive alternative for cold-weather adventures.
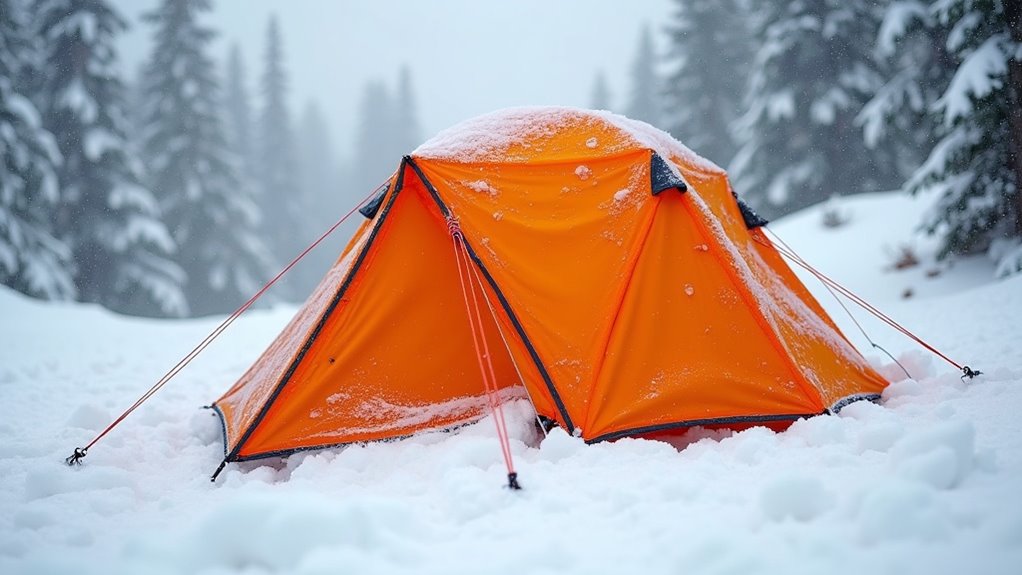
While winter camping might seem like ventilation isn’t necessary, trapped moisture from your breath and body heat will create a condensation nightmare that’ll soak your gear and make you miserable.
You’ll need strategic airflow to keep your tent dry and comfortable. Even in freezing temperatures, proper ventilation prevents ice buildup on tent walls and keeps your sleeping bag from getting damp.
Here’s how to ventilate effectively:
Balance warmth with airflow to stay dry and comfortable throughout the night. Plus, maintaining proper visibility outside your tent can be crucial for safety, especially if you need to signal for help during an emergency situation in harsh winter conditions.
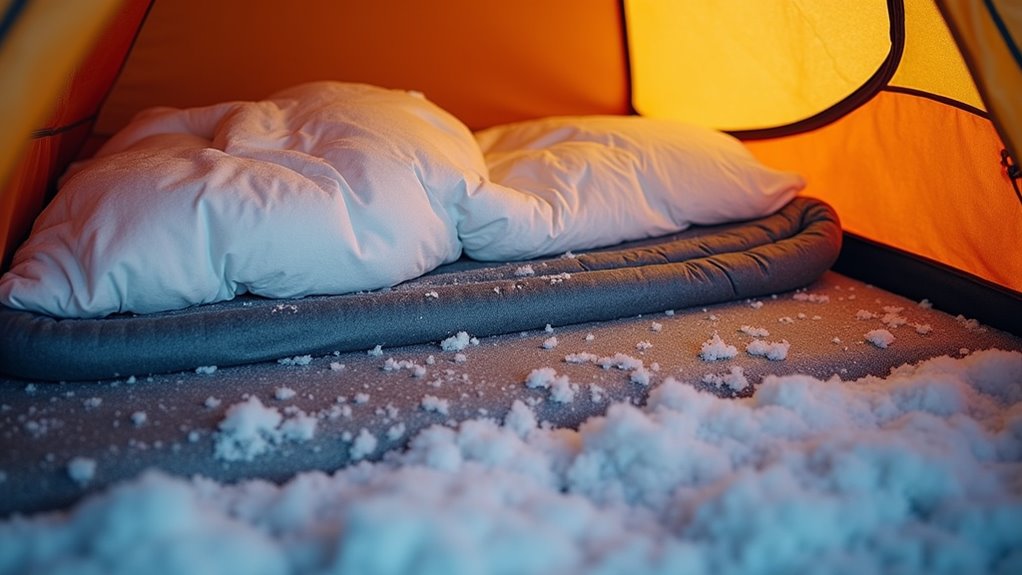
The ground will steal your body heat faster than cold air ever could, turning what should be a restful night into a shivering ordeal. You’ll need serious insulation between your body and the frozen earth beneath your tent.
Start with a closed-cell foam pad as your base layer—it’s your primary barrier against conductive heat loss. Layer an inflatable sleeping pad on top for comfort and additional R-value. Don’t rely on your sleeping bag alone; it compresses under your weight, eliminating its insulating properties where you need them most.
Consider bringing a reflective emergency blanket to place under your foam pad for extra protection. If you’re car camping, thick wool blankets work well as additional ground insulation layers.
For extreme winter conditions where ground insulation becomes critical, consider how a hammock setup eliminates ground contact entirely, providing natural protection from conductive heat loss through the frozen earth.
When your tent fabric tears or a zipper jams in freezing temperatures, you’ll need the right repair materials within arm’s reach to prevent a potentially dangerous situation. Cold weather makes materials brittle and repairs more challenging, so preparation is vital.
Pack these essential repair items in an easily accessible kit:
Keep your repair kit inside your sleeping bag overnight to prevent adhesives from freezing. Test all materials before your trip to ensure they’ll perform when you need them most. Once your shelter is secure, consider planning some campfire games to lift spirits and pass time during the long winter evenings.
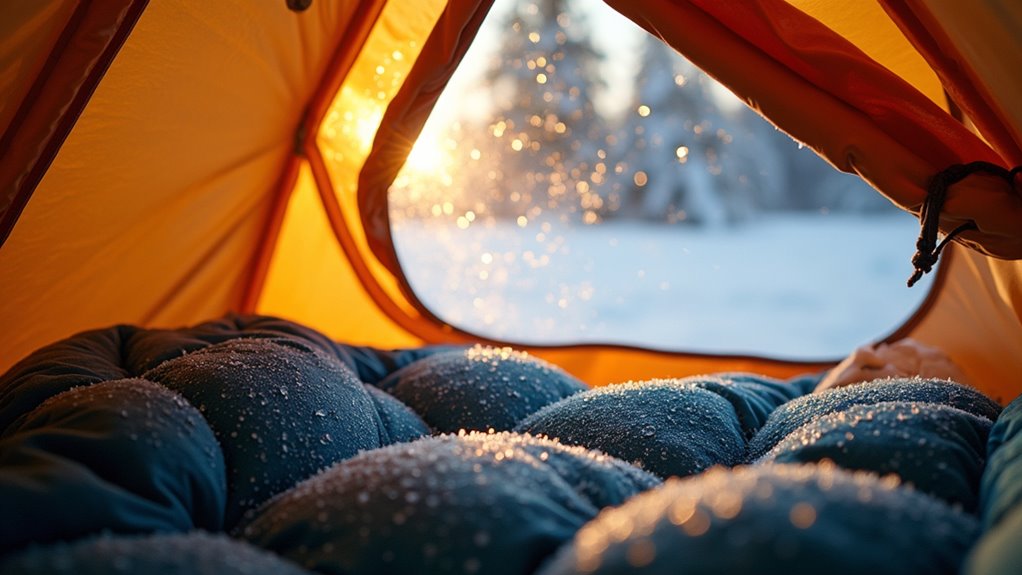
Moisture buildup inside winter tents creates a cascade of problems that can turn your camping trip dangerous. Condensation soaks your gear, reduces insulation effectiveness, and creates ice formations that damage tent fabric.
You’ll need proper ventilation even in freezing temperatures. Keep roof vents partially open and crack your tent door slightly to maintain airflow. Don’t seal yourself in completely—fresh air circulation prevents moisture accumulation.
Store wet clothes and boots in waterproof stuff sacks rather than letting them air-dry inside.
Cook outside your tent when possible, as boiling water creates massive amounts of steam. If you must cook inside, maximize ventilation immediately.
Wipe down tent walls regularly with an absorbent cloth to remove condensation before it freezes.
Choose breathable base layers that wick moisture away from your skin efficiently.
Just as hikers on Scotland’s West Highland Way face moisture management challenges during multi-day treks, winter campers must prioritize keeping their shelter environment dry to ensure safety and comfort throughout their adventure.
Wind becomes your biggest enemy in winter camping, turning a manageable cold night into a hypothermic nightmare. You’ll need to position your tent strategically to minimize wind exposure and retain precious body heat.
Consider investing in a quality 4-person tent like the Pegasus model that provides adequate space for winter gear storage while maintaining structural integrity against harsh weather conditions.
Snow piling up against your tent entrance can trap you inside or force you to struggle with frozen zippers when nature calls at 2 AM. Clear snow away from your tent door regularly throughout the day and before bedtime. Pack it down firmly or shovel it several feet away from the entrance.
Create a small vestibule area by digging out a shallow depression in front of your door. This gives you space to put on boots and gear without letting snow blow directly into your tent. Keep a small shovel or snow brush inside your tent for emergency clearing.
If you’re expecting heavy snowfall overnight, consider partially unzipping your rainfly to prevent it from getting buried and frozen shut by morning. When selecting your initial tent location, follow proper winter campsite selection principles to minimize snow accumulation issues before they start.
Extended winter camping puts your gear through brutal conditions that can lead to equipment failure when you need it most. You’ll need to stay vigilant about maintenance to prevent problems that could turn dangerous in freezing temperatures.
Equipment failure in freezing conditions isn’t just inconvenient—it can become a life-threatening emergency that demands constant vigilance and proactive maintenance.
Daily gear checks become critical during multi-day winter trips. Cold weather stresses materials differently than summer conditions, and small issues can quickly escalate.
Just as important as gear maintenance is maintaining your camp cooking equipment, since preparing hot meals becomes essential for warmth and morale during extended winter expeditions.
You’ve got the blueprint for conquering winter’s bite—now it’s time to put these tent tactics into action. Don’t let Mother Nature catch you off guard; your four-season fortress and smart site selection are your shields against her icy tantrums. Remember, winter camping isn’t about surviving the cold—it’s about dancing with it. Master these techniques, and you’ll transform brutal nights into cozy adventures. Your tent becomes your warm cocoon in winter’s frozen kingdom.