Physical Address
304 North Cardinal St.
Dorchester Center, MA 02124
Physical Address
304 North Cardinal St.
Dorchester Center, MA 02124

Stop making costly tent mistakes that ruin camping trips—discover the insider secrets experienced outdoorsmen use to choose their perfect shelter.
Why do countless campers end up shivering in flimsy shelters or struggling with oversized gear that weighs them down? You’re about to make one of your most vital outdoor investments, and the wrong choice can turn your wilderness escape into a miserable ordeal. The tent you select will determine whether you’ll wake up refreshed or regretful, but there’s a systematic approach that’ll save you both money and frustration. Here’s what experienced campers wish they’d known before buying their first shelter.
Before you get caught up in fancy features and technical specifications, you’ll want to honestly assess how and how often you actually camp.
If you’re a weekend warrior hitting established campgrounds, you don’t need the same heavy-duty gear as someone backpacking remote wilderness trails. Car campers can prioritize comfort and space since weight isn’t essential.
Backpackers must focus on ultralight options despite higher costs.
Consider your camping frequency too. If you camp twice yearly, that $400 premium tent might be overkill – a reliable budget option will serve you better.
However, if you’re out monthly, investing in quality pays off through durability and comfort.
Match your tent investment to your actual usage patterns, not your camping aspirations. Just as there are unique travel backpacks designed for specific adventure styles, your tent choice should align with your particular camping approach and destination preferences.
Once you’ve matched your tent budget to your camping habits, you’ll need to figure out how many people it should actually sleep.
Here’s the reality: tent capacity ratings are overly optimistic. A “4-person” tent comfortably fits two adults with gear.
Manufacturer tent ratings are misleading – always size up for actual comfort and gear storage space.
Count your group, then add one or two to the manufacturer’s rating. If you’re camping with four people, look for a 5-6 person tent. This gives you space for sleeping bags, packs, and moving around without playing human Tetris.
Consider your group’s dynamics too. Kids need less space than adults, but couples might want extra room for comfort.
Solo campers can stick closer to rated capacity since you’re only accommodating yourself and your gear.
Remember that your tent size choice will also impact your campsite selection, as larger tents require more level ground and adequate space away from hazards.
After settling on your tent’s size, you’ll face another essential decision: three-season or four-season construction.
Three-season tents handle spring, summer, and fall conditions perfectly. They’re lighter, more affordable, and offer better ventilation for most camping trips. You’ll save money and carrying weight with this option.
Four-season tents are built for winter camping and extreme weather. They feature stronger poles, heavier fabrics, and reinforced guy-out points to handle heavy snow loads and fierce winds.
However, they’re considerably more expensive and heavier to carry.
Choose three-season unless you’re specifically planning winter expeditions or high-altitude mountaineering. Most campers never need four-season capabilities, making the extra cost and weight unnecessary.
Your wallet and back will thank you for choosing the lighter, more affordable three-season option. Similar to deciding whether to rent or buy a boat for fishing trips, consider how frequently you’ll use your tent before investing in expensive four-season gear.
Beyond the construction type, your tent’s weight becomes a major factor depending on how you’ll reach your campsite. If you’re backpacking, every ounce matters since you’ll carry everything on your back for miles. Look for ultralight tents under three pounds, though they’ll cost more and sacrifice some durability.
Car camping changes everything – weight isn’t a concern when your vehicle does the heavy lifting. You can choose heavier, more spacious tents with better weather protection at budget-friendly prices. These typically weigh 8-15 pounds but offer superior comfort and room for gear.
Canoe camping falls somewhere between – you’ll need moderate weight since portaging is involved, but you’re not hiking long distances. Target tents around 4-6 pounds for the best balance.
Regardless of your camping style, consider that lighter tents may require you to spend more time in areas where tick prevention becomes important, especially when setting up camp in wooded or grassy locations.

While weight matters for portability, the materials that make up your tent determine how well it’ll protect you from the elements and hold up over time.
Your tent’s fabric choice directly impacts both weather protection and longevity—making material selection more critical than weight alone.
You’ll encounter three main fabric types: polyester, nylon, and canvas. Polyester resists UV damage and stretching but weighs more. Nylon’s lighter and stronger but degrades faster in sunlight. Canvas offers excellent durability and breathability at a premium price.
Look for denier ratings—higher numbers mean thicker, more durable fabric. A 75D floor can handle rocky terrain better than 30D.
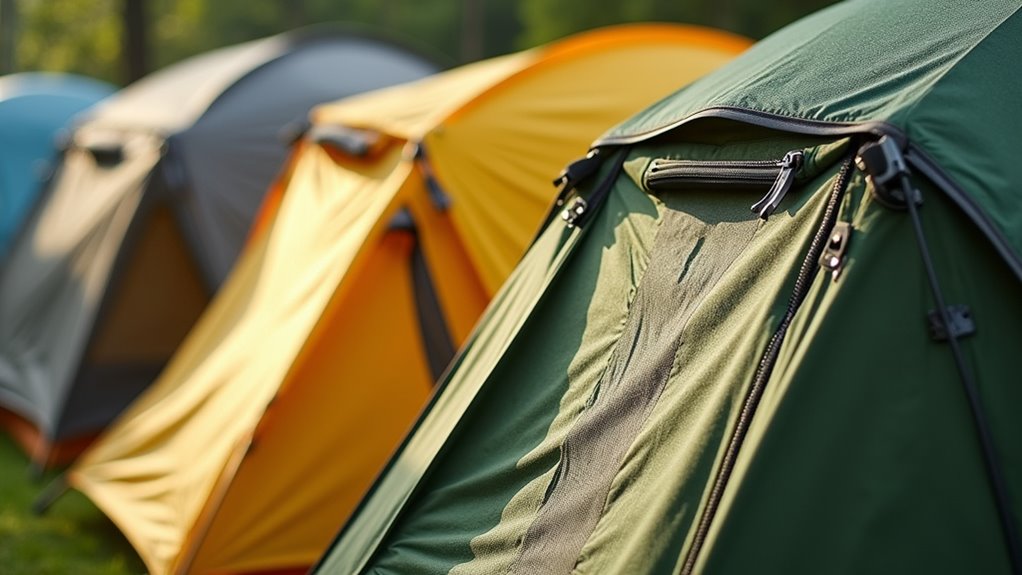
Check seam construction too; sealed or taped seams prevent leaks better than basic stitching.
Don’t overlook zippers—YKK brand consistently outperforms cheaper alternatives.
Quality materials cost more upfront but save money by lasting multiple seasons instead of requiring annual replacements. When assembling your complete gear list, remember that a durable tent is one of the most essential camping supplies for any successful outdoor adventure.
Even the best tent materials won’t help if you can’t get your shelter up quickly when weather turns nasty. You’ll want to contemplate how complex your tent’s setup process is before making your purchase.
Look for color-coded poles and clips that match corresponding tent corners. This simple feature saves precious time when you’re fumbling in dim light or rushing to beat a storm. Hub-style pole systems connect at a central point, making assembly more intuitive than traditional sleeve systems where you thread poles through fabric tunnels.
Test the setup process at home first. If it takes you longer than fifteen minutes on your living room floor, you’ll struggle outdoors.
Freestanding tents offer more flexibility since they don’t require stakes, though you’ll still need guy-lines for wind resistance. Whether you’re planning to camp near Canada’s top fishing locations or venture into remote wilderness areas, having a tent that sets up quickly becomes even more critical when you’re focused on other outdoor activities.
After you’ve mastered tent setup, you’ll need to balance two competing priorities: staying dry and avoiding condensation buildup. Your tent’s weather protection determines whether you’ll sleep comfortably or wake up soaked.
Look for these essential features:
You don’t need expedition-grade materials for casual camping. Mid-range tents often provide excellent weather protection without breaking your budget.
Focus on proven designs with good ventilation systems rather than expensive specialty fabrics. Consider the seasonal rating of your tent to ensure it matches the weather conditions you’ll encounter during your camping trips.
Since tent prices range from $50 budget models to $500+ premium options, you need a clear spending strategy before you start shopping.
Don’t automatically assume expensive means better—you’re paying for brand reputation, specialized features, and materials you mightn’t need.
Set your budget based on camping frequency. If you camp twice yearly, a $100-150 tent offers solid value.
Frequent campers should invest $200-300 for durability and comfort features.
Compare cost-per-use over the tent’s expected lifespan. A $200 tent lasting five years costs $40 annually, while a $80 tent needing replacement after two years costs the same.
Focus on essential features first: waterproofing, size, and weight.
Skip expensive add-ons like color-coded poles or unnecessary vestibules that inflate prices without adding real camping value.
Consider allocating part of your budget for essential hiking items that complement your tent setup and enhance your overall camping experience.
When you’re living in a space smaller than most closets, every square inch counts for comfort and functionality. Smart campers maximize their tent’s potential through strategic organization and clever storage hacks.
Maximize every inch of your tent with strategic organization—transform cramped quarters into efficient, comfortable living space through smart storage solutions.
Here’s how you’ll transform cramped quarters into efficient living space:
You don’t need expensive gear organizers either. Repurpose shoe organizers, ziplock bags, and carabiners to keep everything tidy and accessible without breaking your budget. Just like with RVs, avoiding common mistakes during your tent selection process will save you from storage headaches and ensure your camping setup works efficiently from day one.
Smart organization keeps your tent functional during trips, but proper testing and maintenance guarantees it’ll serve you reliably for years to come. Test your tent’s setup at home before every season – you’ll catch broken zippers, worn guy-lines, or damaged poles before they ruin your camping trip.
After each outing, clean off dirt and debris with mild soap and water. Let everything dry completely before packing to prevent mold and mildew. Store your tent loosely rolled, not compressed, in a cool, dry place.
Inspect seams annually and reapply seam sealer when needed – it’s cheaper than buying a new tent. Replace worn stakes and guy-lines promptly.
With basic care, a quality tent will last decades, making your initial investment worthwhile. If you’re planning extended family adventures, consider that an RV vacation might complement your tent camping by providing additional comfort and storage for longer trips.
You’ve now got the blueprint for finding your ideal tent. Take Sarah, a weekend warrior who upgraded from a $40 bargain tent that leaked during her first rainstorm. She invested in a reliable three-season model for $150, tested it in her backyard, and it’s served her perfectly through dozens of adventures. Don’t rush the decision—your tent’s your home away from home, so choose wisely and it’ll reward you for years.