Physical Address
304 North Cardinal St.
Dorchester Center, MA 02124
Physical Address
304 North Cardinal St.
Dorchester Center, MA 02124
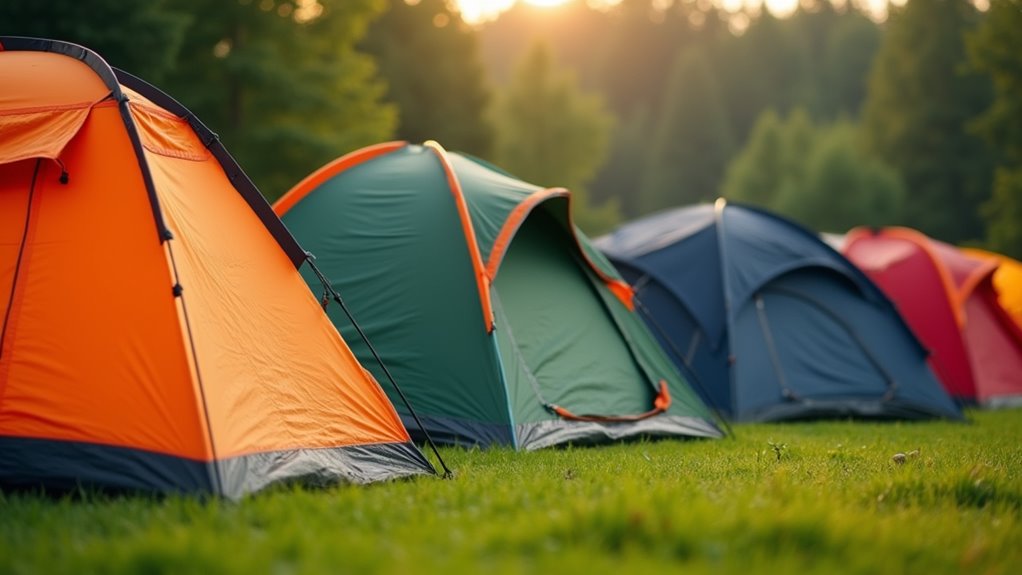
Pick the perfect tent with these 12 expert tips that reveal why expensive doesn't always mean better for your camping adventures.
You’ve probably heard that expensive tents automatically mean better camping experiences, but that’s not always true. The right tent for your adventures depends on matching specific features to your actual needs, not just price tags. Whether you’re weekend car camping or tackling multi-day backpacking trips, you’ll want to weigh factors like capacity, weather resistance, and setup complexity before making your investment. These twelve essential tips will help you avoid costly mistakes and find your perfect shelter.
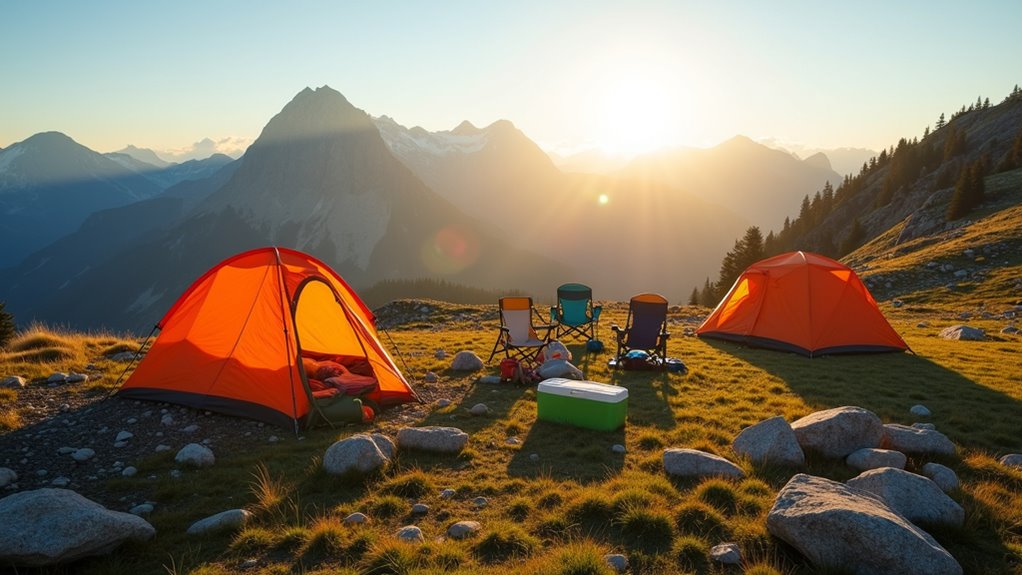
Before you start browsing tent specifications or comparing prices, you’ll need to honestly assess how often you camp and what type of camping you actually do.
Are you a weekend warrior hitting established campgrounds, or do you prefer backcountry adventures? Maybe you’re just getting started and aren’t sure yet.
Identify your camping style first—casual weekend trips to established sites or challenging backcountry expeditions—before choosing gear.
If you camp once or twice a year at car-accessible sites, you don’t need a lightweight, premium tent. A basic, affordable model will serve you well.
However, if you’re planning multi-day backpacking trips, weight and packability become vital factors worth investing in.
Consider your typical group size too. Solo campers have different needs than families.
Be realistic about your camping frequency—there’s no point overspending on features you’ll rarely use.
Remember that the right tent will support your family camping activities, so think about the adventures you want to create together.
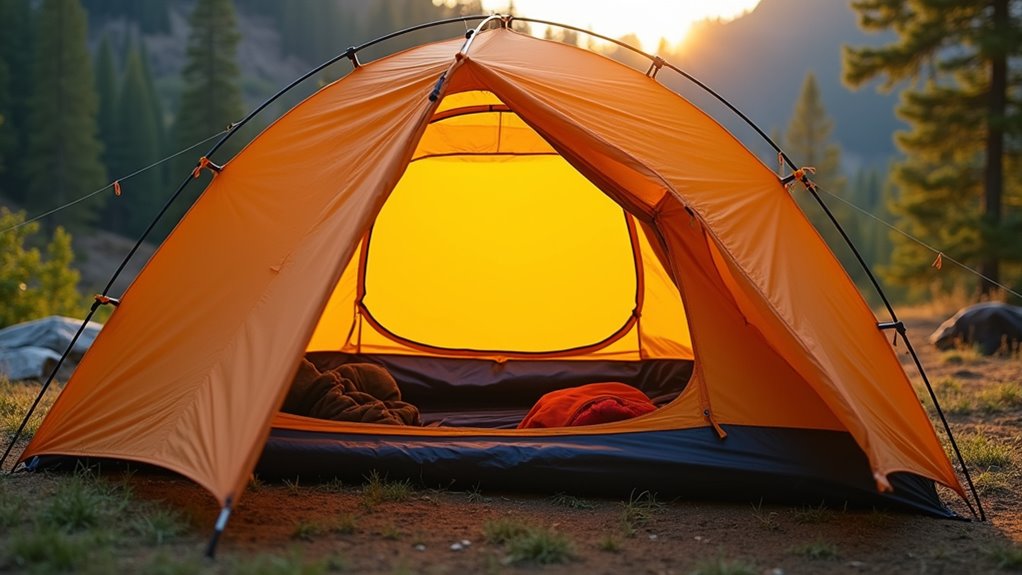
One of the biggest mistakes campers make is buying a tent based purely on its stated capacity without considering real-world comfort and gear storage. A “4-person” tent typically means four people lying shoulder-to-shoulder with zero room for belongings.
You’ll want to size up for comfort. If you’re camping with three people, consider a 5-person tent. This gives everyone breathing room and space for sleeping bags, clothes, and personal items.
Think about your gear storage needs too. Will you store backpacks, cooking equipment, or wet clothes inside? Some tents offer vestibules or gear lofts for extra storage without eating into sleeping space.
For budget-conscious campers, buying one larger tent often costs less than multiple smaller ones while providing better overall comfort. Just like with boats, the decision between renting or buying camping gear depends on how frequently you’ll use it and your long-term outdoor recreation plans.
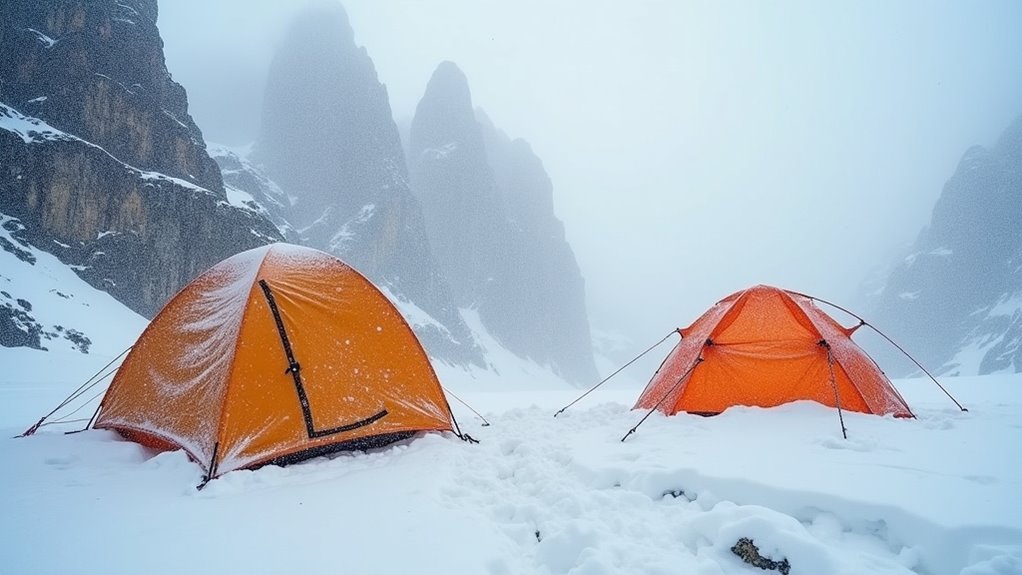
Weather can make or break your camping trip, so you’ll need a tent that matches the conditions you’ll face. Don’t overspend on features you won’t use, but don’t skimp on protection either.
Here’s what to weigh:
Check your destination’s typical weather patterns and pack accordingly. A lightweight three-season tent works for most casual campers, while serious winter adventurers need heavy-duty four-season protection. Proper maintenance after each trip will help extend your tent’s lifespan, and keeping your tent spotlessly clean prevents fabric degradation from dirt and moisture buildup.
After you’ve matched your tent to the weather conditions, you’ll face another key decision that affects both your wallet and camping experience: whether to buy a freestanding or non-freestanding tent.
Freestanding tents use poles to create their structure without requiring stakes or guy lines. You can set them up anywhere, move them easily, and they’re perfect for rocky terrain where staking is difficult.
However, they’re typically heavier and cost more.
Non-freestanding tents need stakes and guy lines for support. They’re lighter, pack smaller, and cost less – great for backpacking budgets.
The downside? You’ll need suitable ground for staking, and setup takes more time and skill.
Consider your camping style: car camping favors freestanding convenience, while backpacking often benefits from non-freestanding efficiency.
For budget-conscious campers, there are many resources available to find cheap camping gear without sacrificing quality.
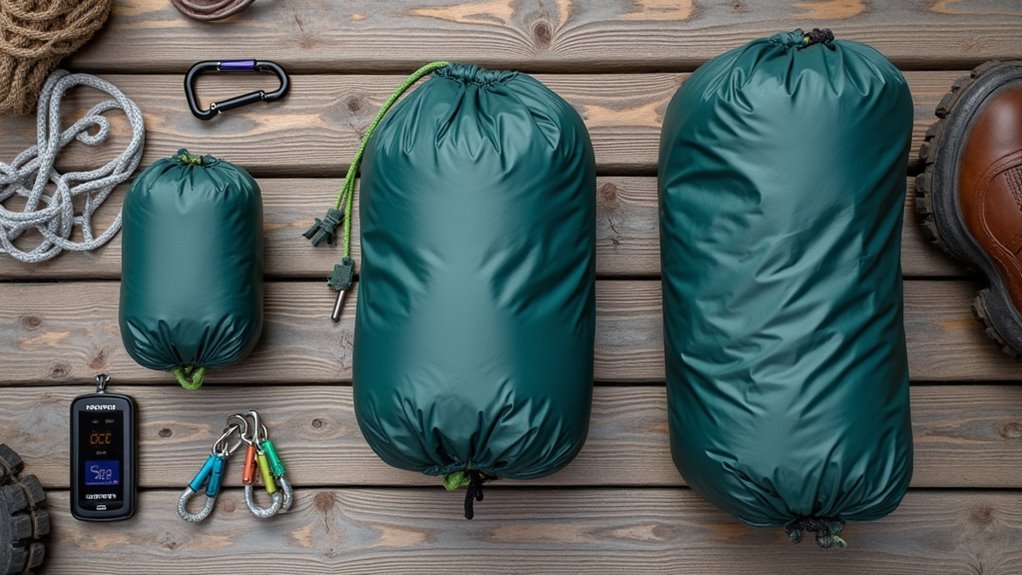
Unless you’re driving straight to your campsite, weight and packability will make or break your outdoor adventure. Every ounce counts when you’re hiking miles with everything on your back. Here’s what you need to take into account:
When every ounce on your back matters, smart gear choices become the difference between adventure success and painful failure.
For extreme adventures like glacier climbing, ultralight shelter options become even more critical as you’ll be carrying technical equipment alongside your camping gear.
While tent construction might seem like a technical detail, choosing between single-wall and double-wall designs directly impacts your comfort, budget, and pack weight.
Single-wall tents use one layer of waterproof fabric, making them lighter and cheaper. However, they’re prone to condensation buildup, which can leave you damp and uncomfortable. They work best in dry climates or short trips.
Double-wall tents feature an inner mesh tent and separate rainfly. This design creates airflow that reduces condensation dramatically. You’ll sleep drier and more comfortably, especially during humid conditions or extended trips.
The trade-off? They’re heavier and cost more.
Consider your typical camping conditions and budget. If you’re backpacking in wet climates or camping frequently, invest in double-wall construction for better comfort. If budget is a primary concern, consider exploring used camping tents which can offer quality double-wall construction at more affordable prices.
Beyond the tent’s wall construction, the door and vestibule setup determines how easily you’ll access your shelter and store your gear. You’ll want to contemplate these configurations carefully since they directly impact your camping experience and comfort.
Your tent’s door and vestibule configuration will make or break your camping comfort and convenience.
Here are four key factors to evaluate:
Choose configurations that match your camping style and group size without breaking your budget. When evaluating door and vestibule features, consider how the tent’s capacity aligns with your typical group size to ensure adequate space and functionality.
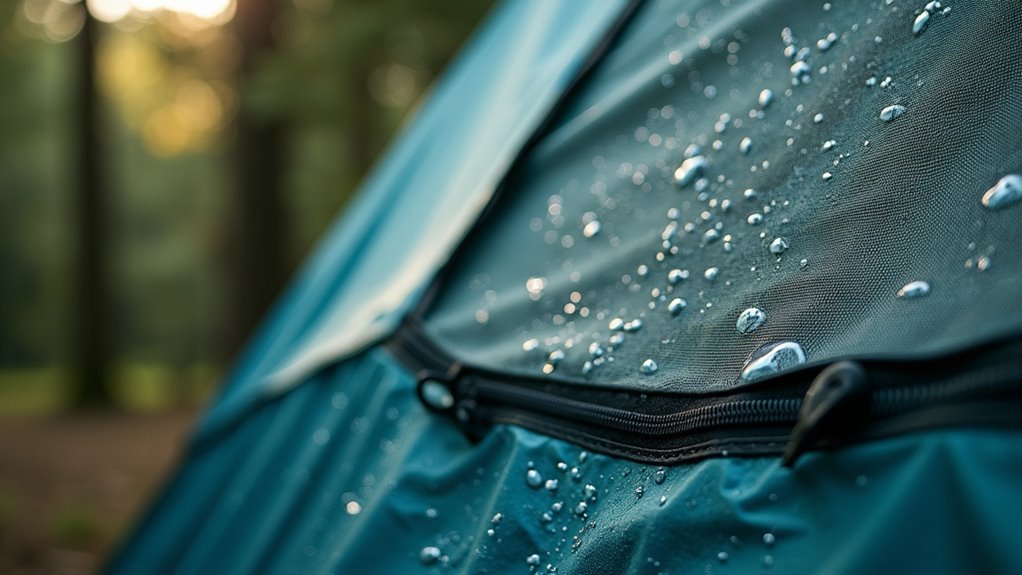
After you’ve settled on door configurations, the tent’s fabric and material choices will determine how well your shelter performs in different weather conditions and how long it’ll last. Focus on three key fabric features: waterproof ratings, breathability, and durability.
Look for tents with waterproof ratings between 1,500-3,000mm for most conditions. Higher ratings mean better protection but cost more.
Ripstop nylon offers excellent durability at budget-friendly prices, while polyester resists UV damage better.
Don’t overlook breathability—you’ll want fabrics that prevent condensation buildup inside.
Check seam construction too. Taped or sealed seams prevent water intrusion at stitch points.
For pole materials, aluminum strikes the best balance between weight and strength for most budgets, though fiberglass works fine for occasional use.
Remember that your tent selection is just one component of planning a successful camping trip that requires careful consideration of multiple factors.
Once you’ve evaluated fabric performance, proper ventilation becomes your next priority for creating a comfortable sleeping environment. Poor airflow leads to condensation buildup, making your tent feel like a humid sauna and potentially soaking your gear.
Look for these essential ventilation features:
Budget tents often skimp on ventilation, but adequate airflow prevents sleepless nights and protects your investment long-term. Remember that choosing the perfect camping tent requires balancing ventilation needs with your specific outdoor activities and climate conditions.
When you’re standing in a downpour or racing against sunset, a tent that takes forever to assemble becomes your worst enemy. Look for tents with straightforward pole systems—color-coded poles and clips beat complicated sleeve threading every time.
Hub-style poles create stronger structures but cost more, while basic straight poles work fine for casual camping and won’t break your budget.
Count the poles before buying. Two-pole designs set up fastest, though three-pole systems offer better space. Avoid tents requiring more than four poles unless you’re an experienced camper.
Test the setup process at home first—if it takes over ten minutes in perfect conditions, imagine the struggle in bad weather. Choose simplicity over fancy features you’ll curse later.
For newbie campers, mastering basic tent assembly techniques at home will build confidence and speed for your first outdoor adventures.
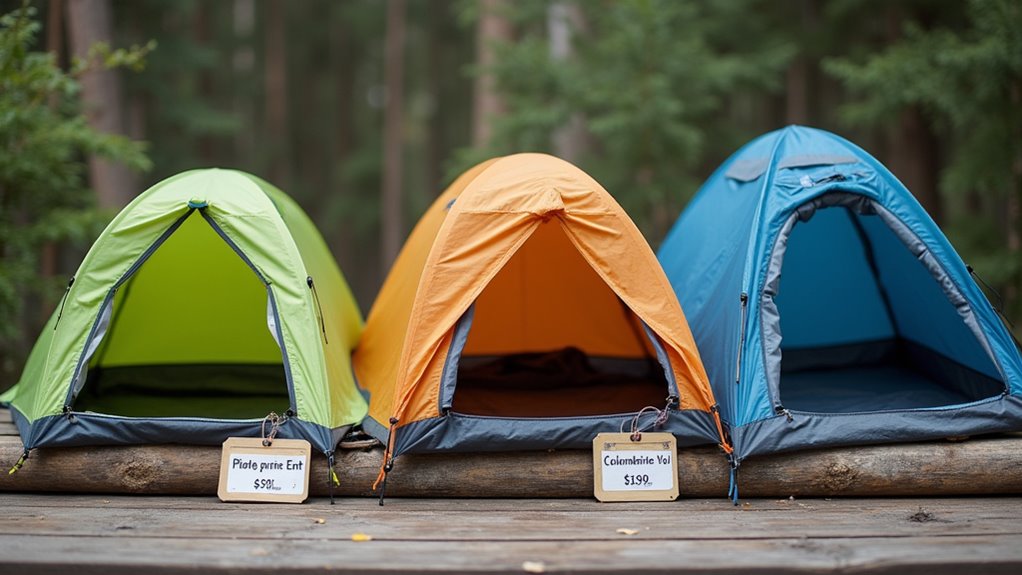
Getting the setup right matters, but it won’t mean much if you’ve overspent on features you don’t need. Smart tent shopping means balancing your actual needs with what you’re willing to spend.
Here’s how to maximize your tent investment:
Don’t chase the cheapest option or assume expensive automatically means better. Whether you’re planning multi-day adventures like the West Highland Way or weekend camping trips, your tent investment should match your hiking ambitions.
While price matters, the brand behind your tent can make or break your camping experience. Research manufacturers with solid reputations for durability and customer service. Check online reviews, camping forums, and ask fellow outdoor enthusiasts about their experiences with specific brands.
Don’t overlook warranty coverage – it’s your safety net when things go wrong. Look for manufacturers offering extensive warranties that cover defects, not just normal wear. Some brands provide lifetime guarantees on certain components, while others offer repair services at reasonable costs.
Budget-friendly doesn’t mean sacrificing quality. Lesser-known brands often deliver excellent value with strong warranties. Compare what’s covered: seams, zippers, poles, and fabric. A two-year warranty from a responsive company beats a lifetime guarantee from a brand that’s impossible to contact when you need help.
If you’re camping in areas where insects are prevalent, consider tents with built-in mosquito nets for added protection during your outdoor adventures.
Think of your tent as your home’s foundation – get it wrong, and everything else crumbles. You’ve got the roadmap now: match your camping style, crunch the numbers on capacity and weather needs, and don’t blow your budget on fancy features you won’t use. The perfect tent isn’t the most expensive one; it’s the one that keeps you dry, comfortable, and enthusiastic for your next adventure without breaking the bank.