Physical Address
304 North Cardinal St.
Dorchester Center, MA 02124
Physical Address
304 North Cardinal St.
Dorchester Center, MA 02124

Master these simple RV water tank cleaning techniques to eliminate that funky taste and ensure safe drinking water on every adventure.
Just when you’re settling into your favorite campsite, you notice that funky taste in your RV’s water – it’s no coincidence this always happens at the worst moments. Your freshwater tank probably needs a thorough cleaning, and you can’t afford to ignore it since contaminated water poses serious health risks. The good news is you don’t need expensive equipment or professional help to tackle this essential maintenance task. Here’s how you’ll transform your questionable water supply back into something safe and invigorating.
Before you notice that unmistakable musty smell wafting from your faucet, your RV’s water tank is likely already overdue for a thorough cleaning.
That funky odor isn’t the only red flag – you’ll also spot discolored water ranging from yellow to brown when you turn on taps.
Discolored water flowing from your RV taps signals serious contamination that demands immediate tank cleaning and sanitization.
Strange tastes, even with filtered water, signal bacterial buildup inside your tank.
Watch for reduced water pressure too, as sediment accumulation restricts flow through lines.
White or green film around faucet aerators indicates algae growth that’s spread throughout your system.
If it’s been more than six months since your last cleaning, don’t wait for these warning signs.
Regular maintenance prevents costly repairs and keeps your drinking water safe for you and your family.
Remember that proper water tank maintenance is part of responsible camping practices, ensuring you leave nothing behind that could contaminate natural water sources at your campsite.
Once you’ve identified that your RV water tank needs attention, you’ll want to gather the right supplies before diving into the cleaning process. You don’t need expensive specialty products – most items are probably already in your pantry or toolbox.
Start with white vinegar or baking soda as your primary cleaning agents. Both are effective, affordable, and safe for drinking water systems.
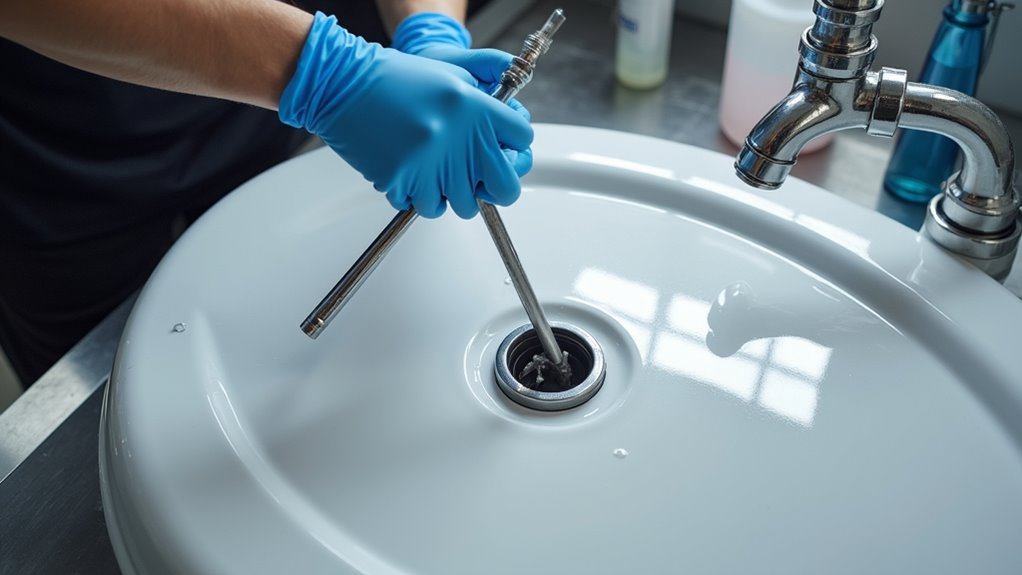
You’ll also need a water hose, basic hand tools like wrenches for accessing tank connections, and rubber gloves for protection.
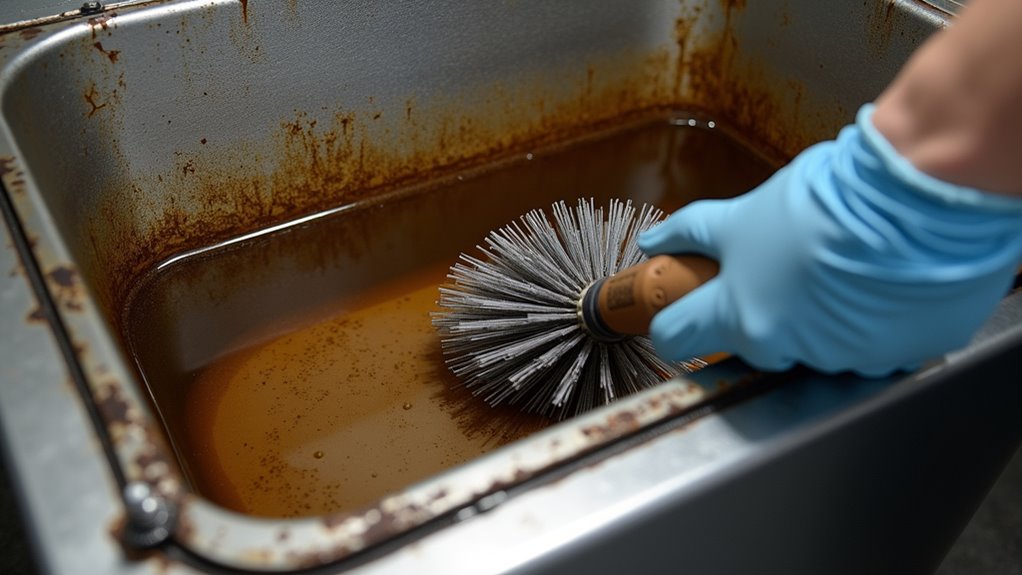
Don’t forget a flashlight or headlamp for inspecting hard-to-see areas, clean rags or paper towels, and a bucket for mixing solutions.
A small brush can help scrub stubborn buildup around fittings. Having these essentials ready streamlines the entire cleaning process.
If you’re planning to take your RV on fishing adventures, consider whether renting or buying a boat might enhance your outdoor experiences even further.
After gathering your supplies, you’ll want to start by completely draining your fresh water tank and turning off the water pump to prevent damage during cleaning.
Next, mix one cup of bleach with ten gallons of water in your tank. Fill the tank completely with this solution and let it sit for at least four hours – overnight’s even better for stubborn buildup.
Run the bleach solution through all your faucets and shower until you smell chlorine everywhere. This ensures your entire water system gets sanitized.
Drain everything completely, then refill with fresh water. Flush the system multiple times until there’s no bleach smell remaining.
For tough mineral deposits, use white vinegar instead of bleach using the same process. It’s gentler but equally effective for scale removal.
Regular maintenance of your RV’s water system is essential for safe camping adventures and ensures clean drinking water throughout your travels.
While bleach might seem harsh for something that holds your drinking water, it’s actually the most effective and budget-friendly way to eliminate harmful bacteria and algae from your RV’s freshwater system. You’ll need just one gallon of water mixed with one-quarter cup of unscented household bleach.
Pour this solution into your freshwater tank, then fill the remaining space with clean water.
Turn on each faucet, shower, and toilet until you smell bleach coming from every fixture. Let the solution sit for at least four hours, though overnight works better for stubborn contaminants.
After sanitizing, drain the entire system and refill with fresh water. Run all fixtures again until the bleach smell disappears completely before using your water for drinking or cooking. Once your water system is clean and ready, you can focus on planning family camping adventures that everyone will enjoy.
Following your thorough bleach sanitization, you’ll want to flush your system multiple times to make certain all chemical residue is gone before testing your water’s safety.
Start by draining your entire freshwater tank and refilling it with clean water. Run this fresh water through all faucets, showers, and appliances until you can’t detect any chlorine smell. You’ll likely need 2-3 complete flushes.
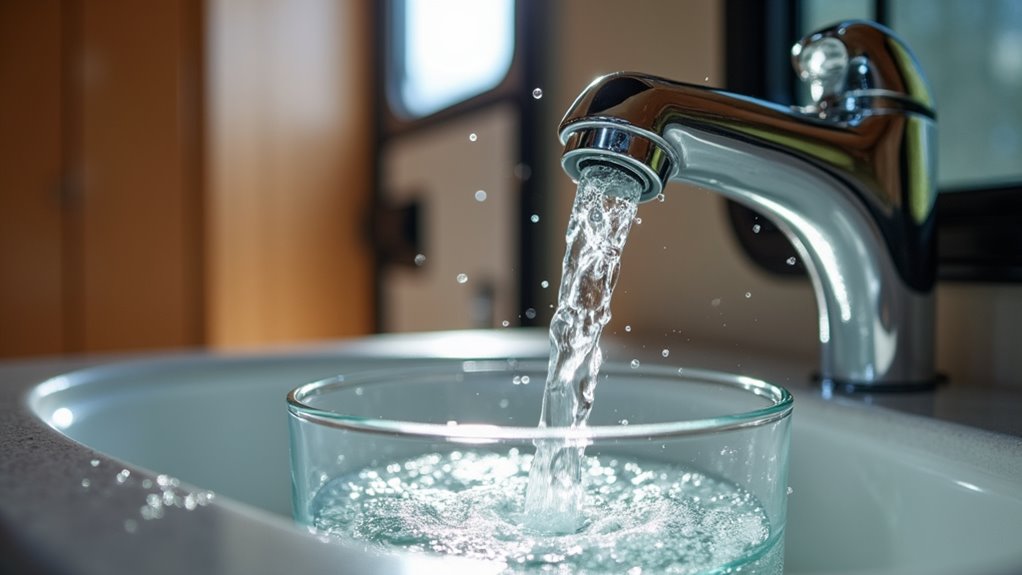
Once flushed, test your water quality using these affordable methods:
Your water’s ready when it tastes fresh and tests show no residual chemicals. When preparing for off-season storage, proper winter storage techniques will help protect your RV’s water system from freeze damage.
Since you’ve invested time and effort into cleaning your RV water tank, establishing a regular maintenance routine will save you money and prevent future headaches. Clean your tank every three to six months, depending on usage frequency.
Between deep cleans, add a few drops of bleach to fresh water fills to prevent bacteria growth.
Monitor your water’s taste and smell regularly – these are early warning signs of contamination. Replace water filters on schedule and inspect tank connections for leaks during routine maintenance checks.
Store your RV with empty, dry tanks to prevent mold and algae buildup during off-seasons.
Keep a maintenance log noting cleaning dates and any issues discovered. This simple tracking helps you spot patterns and stay ahead of problems before they become expensive repairs.
Well-maintained water systems enhance your caravan camping experiences by ensuring you always have access to clean, safe drinking water during your outdoor adventures.
Don’t let dirty water ruin your adventures – studies show that 85% of RV water system issues stem from inadequate tank maintenance. You’ll save hundreds in repairs and avoid potential health risks by following this simple cleaning routine every three to six months. It’s a small investment of time that pays huge dividends in peace of mind. Your family’s health and your wallet will thank you for staying on top of this essential maintenance task.