Physical Address
304 North Cardinal St.
Dorchester Center, MA 02124
Physical Address
304 North Cardinal St.
Dorchester Center, MA 02124

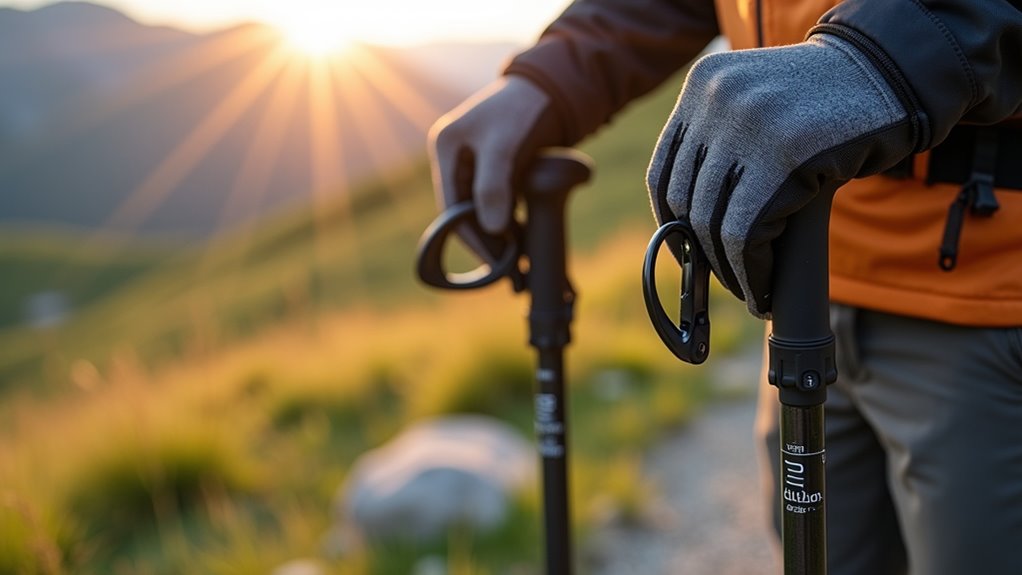
Just follow these 9 essential steps to perfectly adjust your hiking poles and discover the game-changing technique most hikers never learn.
Getting your hiking poles “dialed in” might sound like technical jargon, but it’s actually the difference between stumbling through trails and gliding confidently across any terrain. You’ve probably seen hikers who look effortlessly balanced while others seem to fight their gear with every step. The secret isn’t expensive equipment or years of experience—it’s knowing how to properly adjust your poles for each unique situation you’ll encounter on the trail.
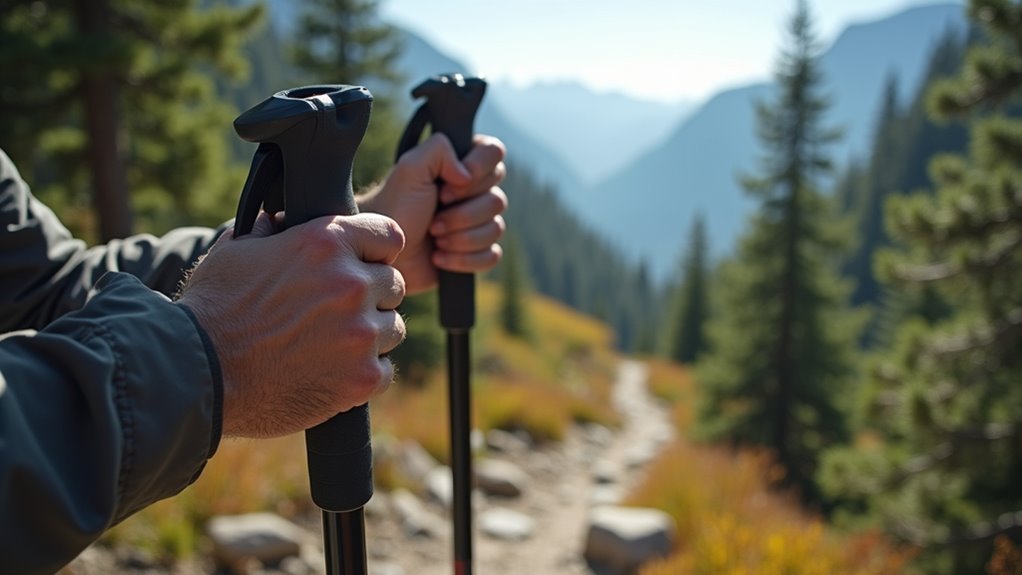
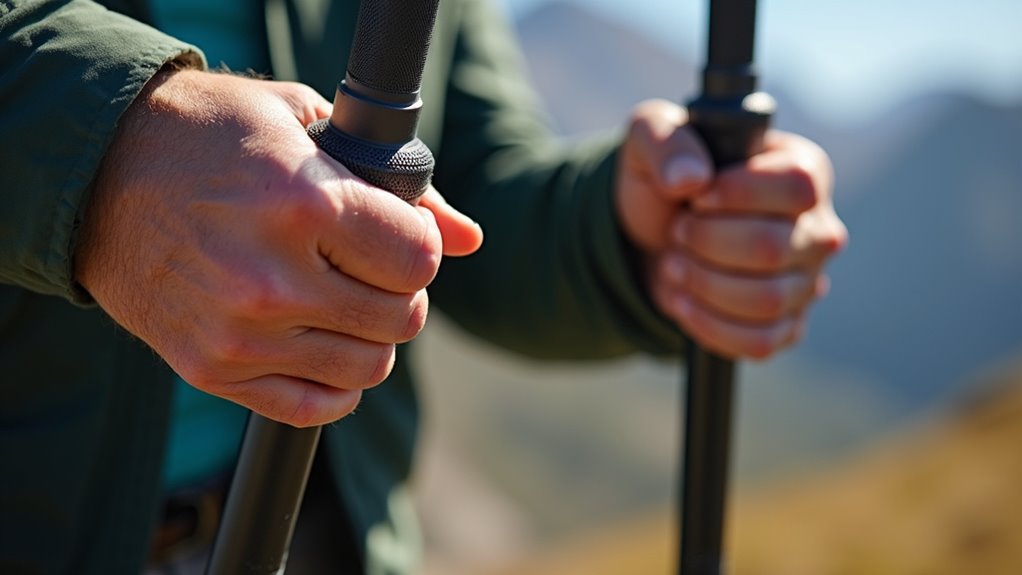
Before you hit the trail, you’ll need to find your baseline pole length for flat terrain. Stand upright and hold your poles with the tips touching the ground beside your feet. Your elbows should create a 90-degree angle when gripping the handles.
Stand upright with pole tips on the ground beside your feet, creating a 90-degree elbow angle for proper baseline measurement.
This position guarantees efficient energy transfer and reduces strain on your joints.
Most adjustable poles have measurement markings, so note your ideal setting for future reference. If you’re between sizes, choose the shorter length—you can always extend them slightly.
Test your adjustment by taking a few steps indoors. Your arms should swing naturally, and the poles shouldn’t feel awkward or force you into an unnatural posture.
This flat-terrain setting becomes your starting point for all other adjustments. Just like deciding whether to rent or buy outdoor equipment, having properly adjusted poles ensures you get the most value from your hiking investment.
Once you’ve set your initial pole length, you’ll want to verify the 90-degree elbow rule works for your body.
Stand upright and hold your poles with the tips touching the ground beside your feet. Your elbows should form a comfortable 90-degree angle when gripping the handles.
If your elbows bend more than 90 degrees, your poles are too short – extend them slightly. If your elbows are straighter than 90 degrees, your poles are too long – shorten them.
Don’t worry about achieving a perfect right angle; comfort matters more than precision.
Test this position by taking several steps while maintaining your grip. Your arms should swing naturally without strain.
This baseline length will serve as your starting point for different terrain adjustments.
Just as you carefully consider terrain factors when choosing the perfect campsite, you may need to fine-tune your pole length based on the specific hiking conditions you’ll encounter.
When you’re heading uphill, you’ll need to shorten your poles by 2-4 inches from your baseline length. This adjustment helps maintain proper body mechanics and prevents you from overreaching with each step.
Start with a 2-inch reduction for gentle inclines, then shorten further as the grade increases. Steeper climbs require more adjustment to keep your arms positioned correctly. Your poles should still allow your elbows to bend naturally while providing solid support.
Don’t wait until you’re struggling—adjust before you start climbing. Test different lengths during your hike to find what feels most comfortable. Remember, you can always fine-tune as conditions change.
The right pole height will help you maintain rhythm and reduce fatigue on challenging ascents. Proper pole technique becomes especially valuable when you’re camping with your partner, as maintaining good hiking form helps both of you enjoy the journey to your campsite.
Downhill hiking presents the opposite challenge—you’ll want to lengthen your poles by 2-4 inches from your baseline setting. This extension helps you maintain balance and control while reducing strain on your knees and ankles.
The longer poles act as reliable anchors, allowing you to plant them further ahead as you descend steep terrain.
Test the adjustment by holding your poles naturally at your sides. Your arms should form a slightly obtuse angle rather than the 90-degree position used for flat ground. This positioning gives you better leverage for braking and stability.
Don’t hesitate to make fine-tuning adjustments as trail conditions change. Rocky descents might require different lengths than smooth switchbacks.
Trust your instincts—you’ll quickly feel when the length isn’t quite right. Properly adjusted poles should be part of your essential backpack gear for any serious outdoor adventure.
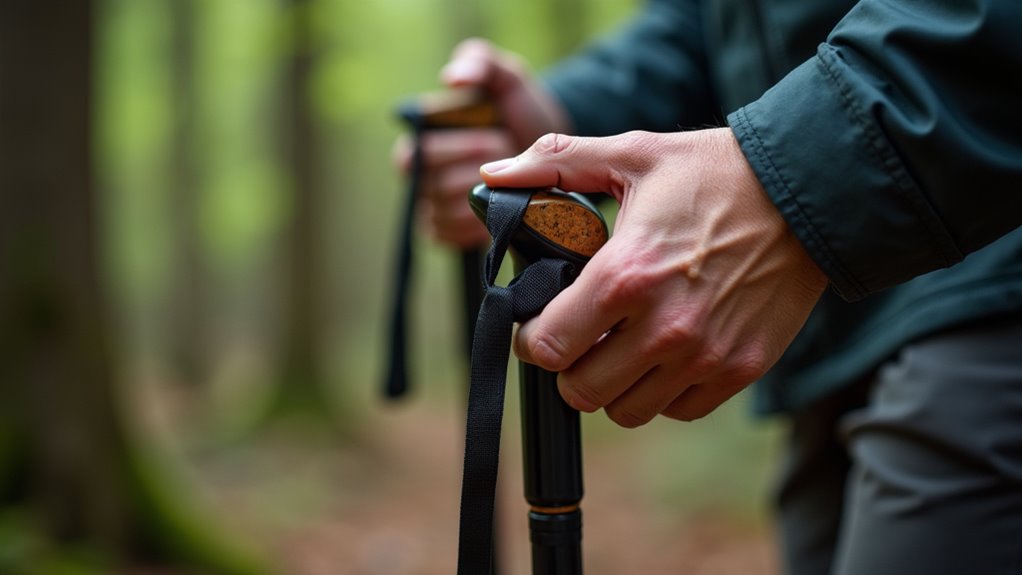
While proper pole length gets most of the attention, wrist straps deserve equal consideration since they’re your primary connection point during extended hikes.
First, loosen the straps completely and slide your hand up through the bottom of the loop. This positions the strap’s padded section against your wrist rather than your palm.
Next, grab the pole handle while the strap sits snugly around your wrist – you shouldn’t need to grip tightly since the strap supports your hand’s weight.
Adjust the tightness so you can easily slip your hand out in emergencies, but the strap won’t slide around during normal use.
Properly positioned straps reduce hand fatigue and improve your grip control on challenging terrain. Understanding the full range of trekking pole benefits helps you maximize their effectiveness once your wrist straps are properly configured.
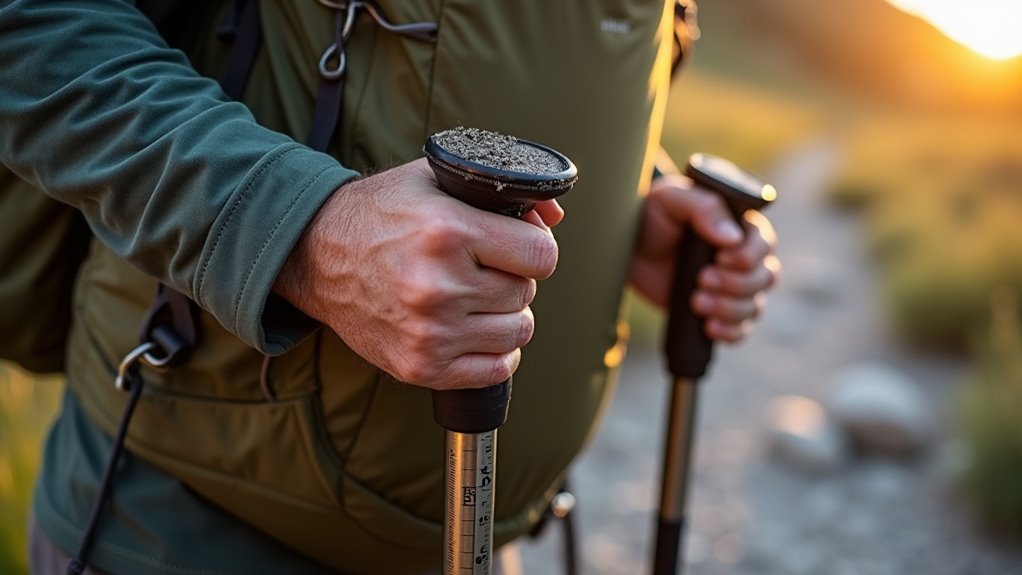
Once you’ve got your straps dialed in, your hand placement on the pole grip becomes equally important for comfort and control. Position your hands near the top of the grip for most terrain, allowing your wrists to stay straight and relaxed.
When ascending steep slopes, choke down on the pole by gripping lower on the shaft for better leverage and stability.
For descents, you’ll want to grip higher up or even hold the pole below the grip entirely for increased reach and balance.
Keep your grip firm but not tight—death-gripping your poles will tire your hands and forearms quickly.
Let the straps do most of the work while your hands guide direction and provide light pressure for stability.
If you’re hiking in regions where mosquitoes are prevalent, consider the additional protection that mosquito nets can provide during rest stops along the trail.
Your pack weight considerably affects your pole adjustment needs, so you’ll want to recalibrate your settings when carrying different loads.
With a heavy pack, shorten your poles by 1-2 inches to maintain proper balance and reduce strain on your shoulders. The extra weight shifts your center of gravity backward, making shorter poles more effective for stability.
For ultralight packing, lengthen your poles slightly since you won’t need as much counterbalance. Day hiking with minimal gear allows for standard adjustments based on terrain alone.
Test your settings before hitting the trail by walking around with your loaded pack. Your arms should swing naturally, and the poles should feel like extensions of your body rather than awkward attachments fighting against your movement.
Just as hikers explore white-water rafting spots across Asia for unique adventures, finding the right pole adjustment for your pack weight opens up new possibilities for comfortable trail exploration.
Different terrains demand specific pole adjustments to maximize their effectiveness and keep you moving efficiently.
Proper pole adjustments for varying terrain conditions directly impact your hiking efficiency and overall trail performance.
When ascending steep slopes, shorten your poles by 2-3 inches to maintain proper arm positioning and leverage. You’ll generate more power with each push and reduce strain on your shoulders.
For downhill sections, lengthen your poles by 2-3 inches to help you maintain balance and control your descent. This adjustment prevents you from leaning too far forward while providing stability on loose rocks or slippery surfaces.
On flat terrain, return to your standard height setting.
Rocky scrambles require shorter poles for better maneuverability, while creek crossings benefit from slightly longer poles to test water depth and maintain three points of contact.
Quick micro-adjustments become second nature with practice.
Missouri’s diverse hiking trails, including those featuring unique stone elephant formations, provide excellent opportunities to practice these terrain-specific adjustments.
After making your terrain-based adjustments, the most important step is guaranteeing your poles won’t collapse when you need them most. Test each locking mechanism by giving your poles a firm shake and applying downward pressure.
For twist-lock poles, turn the sections clockwise until they’re snug but not overtightened—you’ll still need to adjust them later. Lever-lock poles should click decisively into place with no wiggle room.
Double-check by planting your poles firmly on the ground and leaning your weight onto them. If they slip or compress even slightly, readjust immediately. A loose pole can throw off your balance on tricky terrain or steep descents.
Take thirty seconds now to ensure they’re rock-solid—it’ll save you from potential falls or frustrating read-justments mid-hike. Just like other essential gear for your family camping trips, properly secured hiking poles contribute to a safer and more enjoyable outdoor experience.
You’ve now got the tools to make your hiking poles work like extensions of your own arms. Don’t expect perfection on your first try—adjusting poles is like tuning an instrument, requiring practice to hit the right notes. Start with these basics, then trust your body’s feedback as you gain experience. Remember, properly adjusted poles aren’t just accessories; they’re your reliable partners on every trail adventure ahead.