Physical Address
304 North Cardinal St.
Dorchester Center, MA 02124
Physical Address
304 North Cardinal St.
Dorchester Center, MA 02124

Nobody expects these three hidden moisture sources to destroy their camping trip, but mastering these 10 strategies separates dry campers from soggy amateurs.
Most campers don’t realize that staying dry isn’t just about avoiding rain—it’s about controlling moisture from three different sources that can ruin your trip. You’re battling precipitation from above, ground moisture from below, and condensation from your own body heat inside your shelter. Each source requires specific strategies, and missing even one can leave you soggy and miserable. Here’s how you’ll outsmart all three moisture enemies and stay comfortable in any weather.
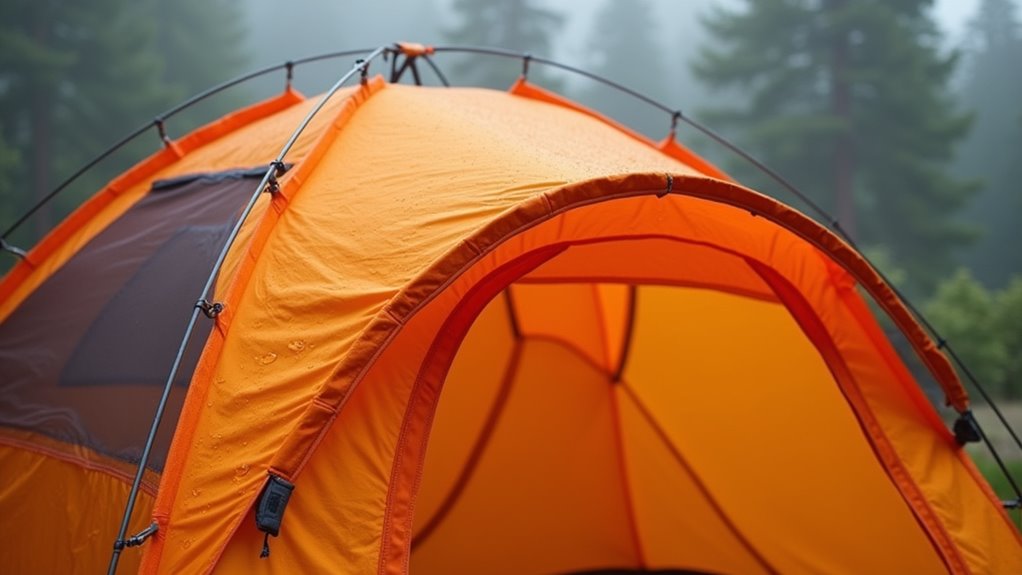
Your tent serves as your primary defense against rain, so investing in a quality waterproof model with adequate ventilation is essential. Look for tents with a waterproof rating of at least 3,000mm and fully taped seams to prevent leaks.
However, waterproofing alone isn’t enough—you’ll need proper ventilation to combat condensation buildup inside. Choose tents with mesh panels, multiple vents, or a double-wall design that creates airflow between the inner tent and rainfly. This circulation prevents your breath and body heat from creating moisture that’ll soak your gear and sleeping bag.
Before your trip, set up your tent at home and spray it with a hose to identify potential leak points. Seal any gaps with seam sealer to guarantee maximum protection when weather strikes. If you’re on a budget, consider a used camping tent that has been well-maintained, as it can offer excellent protection while helping you save money for other essential gear.
Even with the most waterproof tent, poor campsite selection can leave you sleeping in a puddle. You’ll want to avoid low-lying areas where water naturally collects during rainfall. Look for slightly elevated ground that’s still protected from wind.
Stay away from dried creek beds – they’re flash flood magnets. Don’t camp directly under trees with dead branches that could fall, but nearby trees provide useful rain protection and windbreaks.
Check the ground for natural drainage patterns. If you see channels or depressions, water will flow there during storms. Choose spots with good drainage where water won’t pool around your tent.
Test the ground by pressing down with your foot. Soft, spongy soil indicates poor drainage. Firm, well-draining ground keeps you drier.
When camping in mountainous regions like the Andes, these drainage principles become even more critical due to rapid weather changes and increased rainfall at higher elevations.
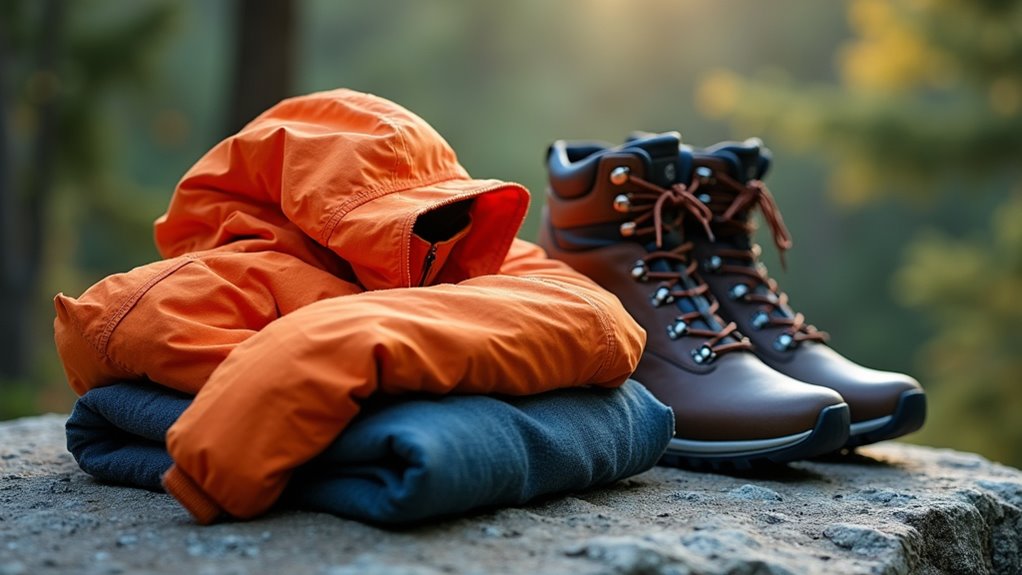
Quality rain gear makes the difference between staying comfortable and spending days in soggy misery. You’ll want a three-layer system that breathes while keeping moisture out. Don’t skimp on waterproof ratings – look for 10,000mm minimum for reliable protection.
Your layering system should include:
Test your gear before heading out. Cheap rain gear fails when you need it most, leaving you cold and wet.
Quality pieces last years and perform consistently in harsh conditions. When camping in tropical destinations, embracing local life means understanding weather patterns and preparing for sudden downpours that are common in these regions.
How devastating would it be to open your backpack and find your sleeping bag soaked through? You’ll avoid this nightmare by packing smart with waterproof protection.
Dry bags are your best friend. They’re lightweight, compressible, and completely waterproof when sealed properly. Use different sizes for clothes, electronics, and sleeping gear. Roll the top down three times and clip it shut.
For hard items like cameras or phones, choose rigid waterproof cases. They provide crush protection too. Ziplock bags work in a pinch but aren’t reliable long-term.
Pack liner bags inside your backpack as backup protection. Even if your pack’s rain cover fails, your gear stays dry. Store critical items like matches, first aid supplies, and spare clothes in multiple waterproof layers. Redundancy saves trips.
These waterproofing strategies are among the essential camping tips that every first-time adventurer should master before heading into the wilderness.
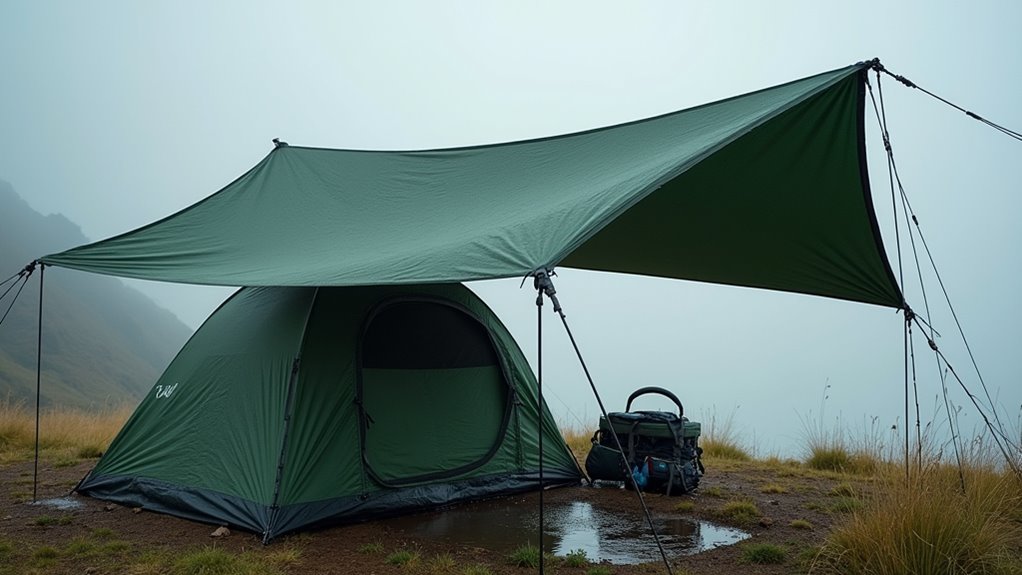
Waterproof bags protect your gear inside the pack, but what about the space where you’re sleeping and cooking? A well-positioned tarp system creates a dry zone that extends beyond your tent’s footprint. You’ll need paracord, stakes, and a quality tarp that’s larger than your camping area.
Strategic tarp placement transforms soggy conditions into manageable ones:
Don’t just throw it up randomly—think about wind direction, water runoff, and how you’ll move underneath it during storms. These shelter principles apply whether you’re in the wilderness or practicing city centre camping where urban structures can provide additional anchor points.
Even with a perfect tarp setup, standing water around your tent will find its way inside if you don’t manage ground drainage. You’ll need to create channels that direct water away from your campsite.
Use a small camp shovel or stick to dig shallow trenches around your tent’s perimeter. These channels should slope downhill, guiding runoff toward natural drainage areas like gullies or depressions. Don’t dig deep – just enough to redirect water flow.
Pack loose soil or rocks behind your tent to create a slight upward slope that pushes water away from the entrance. Clear debris like leaves and twigs that could block your drainage channels.
Check your trenches periodically during heavy rain and clear any blockages immediately. Minnesota’s abundant lakes and forests make proper drainage especially crucial for Minnesota camping enthusiasts who frequently encounter wet conditions.

While managing water around your tent helps keep the outside dry, you’ll also need backup dry clothes when your primary layers get soaked. Smart campers always pack spare clothing in waterproof containers, creating a reliable safety net against unexpected downpours or gear failures.
Your sealed storage system should include:
When selecting your shelter, consider spacious options like the Pegasus Tent that accommodate multiple people and provide ample room for organizing your dry storage system.
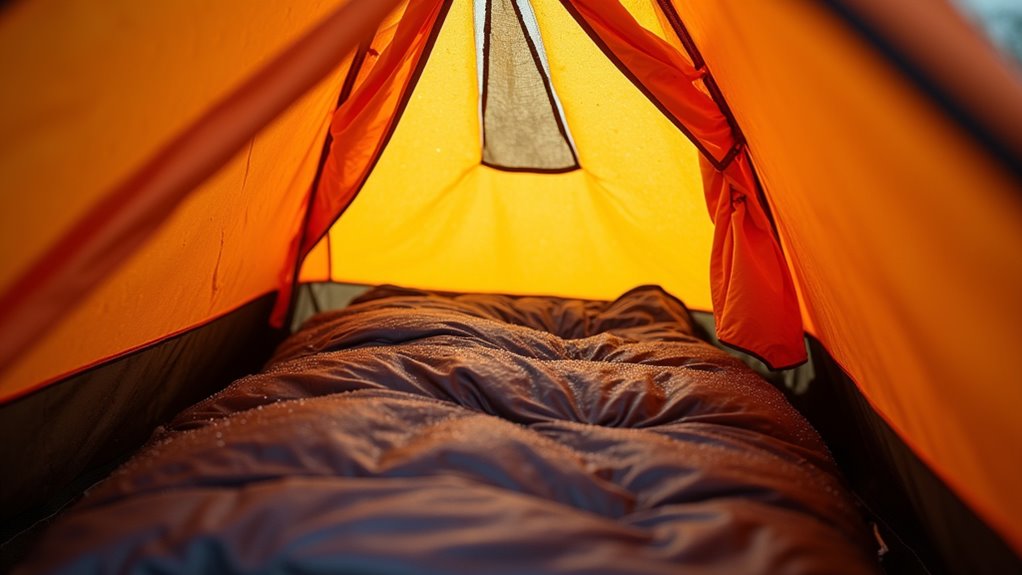
Ground moisture poses one of the biggest threats to a dry camping experience, since cold, wet conditions from below can soak through tent floors and sleeping gear faster than you’d expect. That’s why you need multiple barriers between yourself and the ground.
Ground moisture can destroy your camping trip by soaking through tent floors and gear before you realize what’s happening.
Start with a waterproof tarp or footprint under your tent—it’ll block ground moisture and add puncture protection.
Inside your tent, place a closed-cell foam pad or additional tarp beneath your sleeping pad. This creates a vapor barrier that prevents condensation from reaching your gear.
Don’t skimp on sleeping pad quality either. Invest in one with high R-value insulation that won’t compress when wet.
Layer these barriers correctly, and you’ll wake up warm and dry instead of cold and miserable. Ground-level moisture also creates ideal breeding conditions for mosquito populations, so proper moisture control helps reduce these bothersome insects around your sleeping area.
Blocking ground moisture solves only half the equation—you’ll also face water vapor building up inside your tent from your own breathing and body heat. Without proper ventilation, you’ll wake up to damp walls and wet gear.
Keep air moving to prevent condensation buildup:
You can’t eliminate all moisture, but smart ventilation management keeps condensation from soaking your sleeping bag. The key is balancing airflow with weather protection—don’t seal yourself into a moisture trap. Choosing the right camping spot initially can also help reduce moisture issues by avoiding low-lying areas where humidity naturally collects.
Even with the best shelter setup, rain can derail your camping plans if you haven’t thought beyond staying dry. You’ll need backup activities that work inside your tent or under a tarp. Pack waterproof card games, books, or portable electronics for entertainment during storms.
Plan covered cooking areas using your vehicle, picnic shelters, or large tarps stretched between trees.
Create dry cooking zones with your car, existing shelters, or tarps rigged between sturdy trees for reliable meal prep.
Scout alternative hiking trails with natural windbreaks or shorter loops you can complete between weather windows. Research nearby indoor attractions like visitor centers, museums, or restaurants as emergency options.
Consider recreational activities that can be done in covered areas and don’t feel like structured exercise to keep everyone engaged during extended rainy periods.
Always check weather forecasts before departure and adjust your itinerary accordingly. Having flexible plans prevents disappointment and keeps everyone comfortable when Mother Nature doesn’t cooperate with your outdoor agenda.
You’ve built your armor against nature’s wet assault—now wield it wisely. These ten strategies aren’t just camping tips; they’re your lifeline when the sky opens up and tests your resolve. Don’t let a little rain wash away your adventure dreams. Pack smart, pitch right, and stay vigilant. Remember, it’s not about avoiding the storm—it’s about dancing through it while staying bone dry. Your preparation today becomes tomorrow’s comfort under canvas.