Physical Address
304 North Cardinal St.
Dorchester Center, MA 02124
Physical Address
304 North Cardinal St.
Dorchester Center, MA 02124

How your avalanche transceiver could mean the difference between rescuing your snow camping partner or losing them forever beneath the snow.
When you’re planning winter adventures, packing essential gear, and venturing into avalanche terrain, your transceiver becomes your lifeline—not just another piece of equipment. You’ll need to understand how this critical device works, master its operation, and trust it completely when conditions turn dangerous. Most snow campers don’t realize they’re carrying around technology that’ll determine whether their partners survive a burial or become another statistic. Here’s what separates prepared adventurers from those who simply hope for the best.
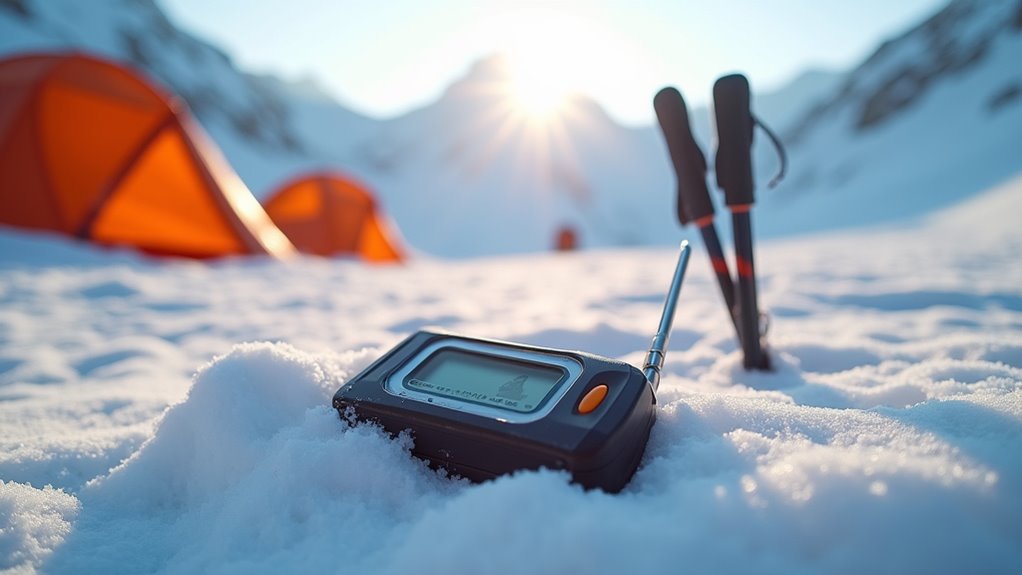
When you’re venturing into avalanche terrain, your transceiver becomes your lifeline—a sophisticated piece of technology that can mean the difference between life and death in a burial scenario. Modern avalanche transceivers operate on 457 kHz frequency, transmitting a continuous digital signal that other units can detect and track.
Your transceiver functions in two modes: transmit and search. In transmit mode, it broadcasts your location every second.
Your transceiver operates in dual modes—continuously transmitting your position every second while ready to switch instantly to search mode when needed.
When searching, it receives signals from buried transceivers and displays distance readings plus directional arrows. The device uses multiple antennas to triangulate signals, becoming more precise as you get closer.
Digital models offer advanced features like signal separation for multiple burials and signal processing that filters interference. Before heading into the backcountry, ensure you’ve evaluated what camping style best suits your winter adventure needs and skill level. Understanding these basics guarantees you’ll use your transceiver effectively when seconds count.
Before investing in an avalanche transceiver, you’ll want to focus on several critical features that directly impact your safety and rescue effectiveness.
Signal range is paramount—look for devices with at least 60-meter search range capability.
Battery life matters tremendously; choose models offering 300+ hours of transmit time with standard alkaline batteries.
Multiple antenna systems improve signal clarity and reduce search time during rescues.
Digital displays beat analog models every time, providing clearer directional arrows and distance readings.
Automatic revert-to-transmit functions ensure you’ll continue broadcasting if knocked unconscious during a secondary avalanche.
Consider devices with marking functions to identify multiple burial victims efficiently.
Weather resistance and durability are non-negotiable features.
Finally, ensure compatibility with other transceivers—standardized 457kHz frequency is essential for universal rescue operations.
Just as you need reliable water filtration systems for extended backcountry trips, your avalanche transceiver should be dependable in all conditions to ensure your safety in avalanche-prone terrain.
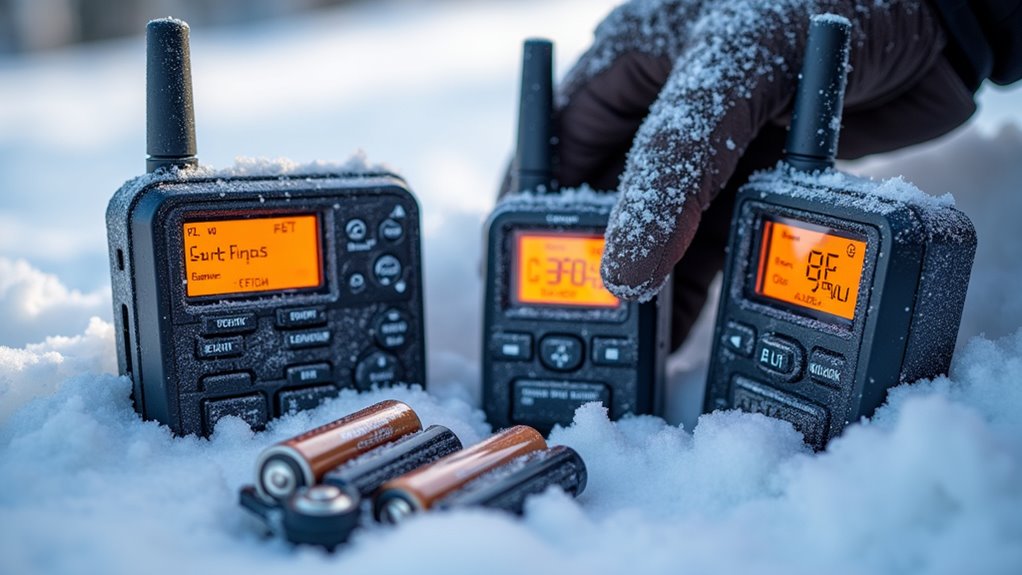
Although your avalanche transceiver might’ve worked perfectly last season, you can’t assume it’ll perform when your life depends on it. Test your beacon before every trip by conducting signal checks and range tests with your partners. Verify the display’s clarity, speaker volume, and button responsiveness.
Battery management demands vigilance. Replace alkaline batteries annually or after 200 hours of use. Lithium batteries last longer but cost more upfront. Always pack spare batteries and check power levels before departing. Cold weather drains batteries faster, so keep your transceiver close to your body for warmth.
Document your testing dates and battery changes. Create a simple log noting when you’ve replaced batteries and conducted function tests. This systematic approach ensures your transceiver remains reliable when seconds count during an emergency rescue. Maintaining your transceiver properly becomes even more critical during winter camping when comfortable sleep depends on having reliable safety equipment for peace of mind.
A properly functioning transceiver means nothing if you’re wearing it incorrectly during your winter expedition. Wear your transceiver against your body, underneath all clothing layers but over base layers. The harness should sit snugly around your torso—not loose enough to shift during movement. Keep the unit’s antenna oriented vertically along your body’s centerline.
Never attach your transceiver to your backpack, ski poles, or outer clothing. If you’re buried or separated from gear, you’ll lose your only lifeline. During multi-day trips, resist the urge to remove it for comfort while sleeping in your tent. Avalanches can occur near camp areas too.
Check the harness daily for wear, especially where buckles contact fabric. Cold temperatures make materials brittle and prone to failure. When planning your winter camping adventure, consider attending Britain’s Motorhome Show to explore specialized vehicle options that can serve as base camps for your expeditions.
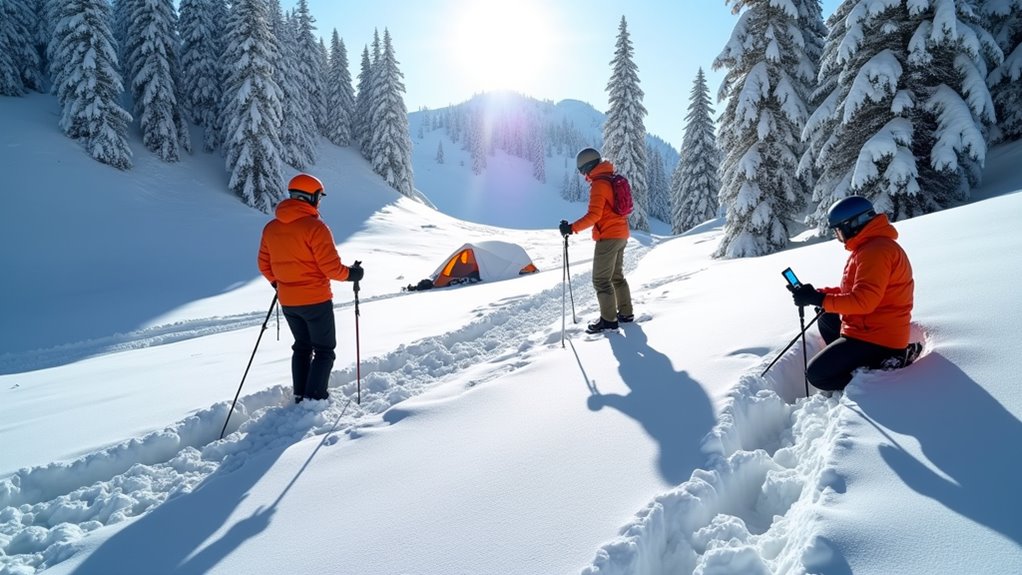
When disaster strikes and someone’s buried beneath the snow, every second counts in your rescue effort. Switch your transceiver to search mode immediately and begin the signal search using a coarse bracket pattern, moving quickly in straight lines about 150 feet apart.
Once you pick up a signal, follow the directional arrow and distance readings, reducing your search strip width as the signal strengthens.
When you’re within three meters, switch to fine search mode and probe methodically in a grid pattern. Insert your probe at 90-degree angles, spacing holes about 10 inches apart.
Once you strike the victim, don’t remove the probe – it marks the exact location. Begin digging strategically from the downhill side, creating a wide platform for easier extraction and immediate medical care.
Just as divers must avoid common mistakes that can lead to dangerous situations underwater, avalanche rescuers should practice these search techniques regularly to avoid critical errors during high-stress rescue scenarios.
Once you’ve located a buried victim, effective team coordination becomes your lifeline in the unforgiving backcountry where cell service doesn’t exist and help can’t reach you for hours or days. You’ll need to assign roles immediately and communicate clearly to maximize your rescue chances.
In the backcountry’s isolation, your team’s coordination and clear communication become the critical difference between life and death.
Designate one person as the incident commander who’ll direct operations and make critical decisions. They shouldn’t dig but instead coordinate efforts and maintain awareness of ongoing avalanche danger.
Other team members should rotate between digging, probing, and monitoring for additional slides.
Essential coordination tasks include:
While winter camping presents unique challenges, maintaining organized teamwork and clear communication signals remains fundamental to successful emergency response in any outdoor environment.
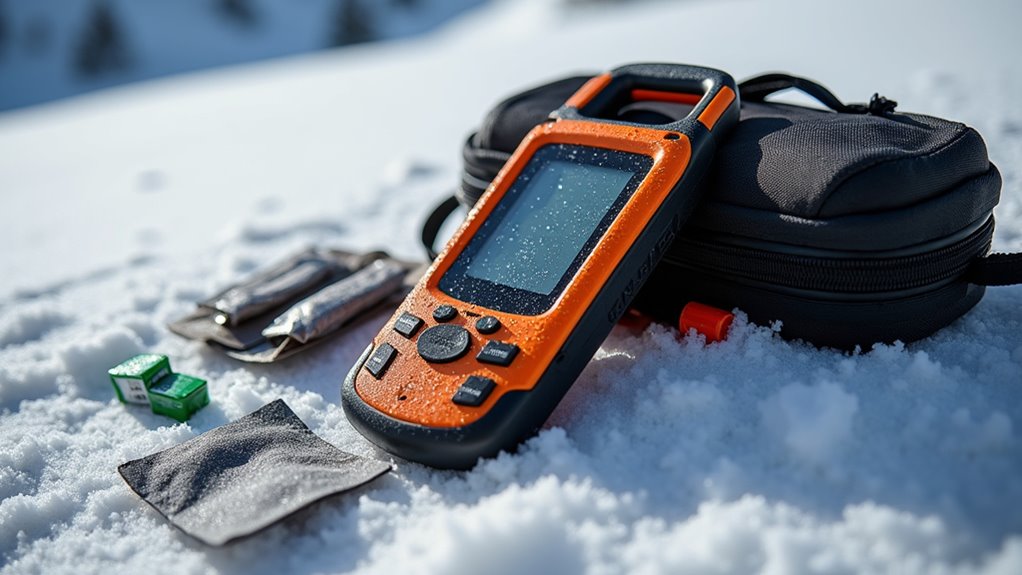
Your avalanche transceiver isn’t a device you can stuff in a closet and forget about until next season—it’s life-saving equipment that demands regular attention to function when seconds count.
Start with battery management. Remove batteries after each trip to prevent corrosion damage. Store them separately in a cool, dry place. Check battery contacts monthly for signs of oxidation or buildup.
Clean your transceiver’s exterior with a damp cloth, avoiding harsh chemicals that could damage seals or buttons. Never submerge the unit.
Store your transceiver in its original case or padded pouch, away from magnetic fields and extreme temperatures.
Test it monthly by performing signal checks with a partner’s device.
Update firmware annually through the manufacturer’s website. This guarantees peak performance and compatibility with newer models you might encounter in rescue situations.
While avalanche transceivers represent a significant investment, you can find affordable camping gear options and deals through various resources to help build out the rest of your winter safety kit.
While avalanche transceivers can’t prevent nature’s sudden fury, they’ll transform you from a helpless victim into someone who can save lives. You’ve learned the technology, mastered the search patterns, and practiced the protocols—but remember, your beacon’s only as reliable as your commitment to maintaining it. Don’t let complacency replace preparation. Keep those batteries fresh, practice regularly, and respect the mountains. Your transceiver isn’t magic; it’s a lifeline that demands your dedication.